آموزش حجاری در تری دی مکس 3ds Max و مادباکس Mudbox
Sculpting Integration Concepts for 3ds Max and Mudbox
آموزش حجاری
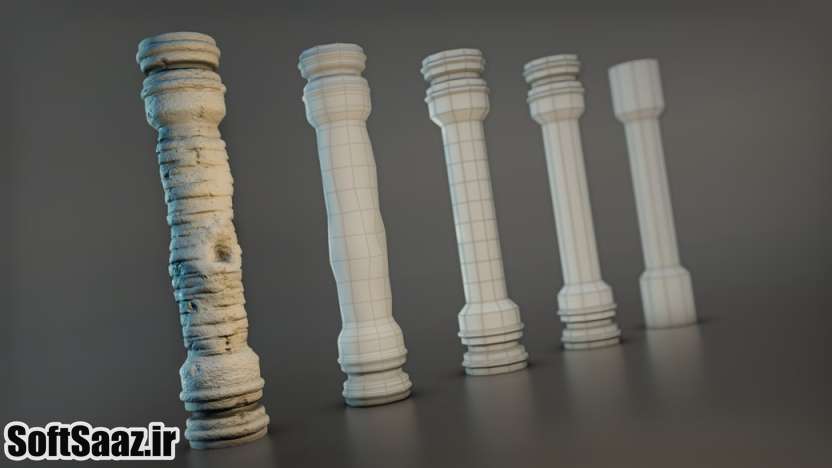
این آموزش حجاری در نرم افزار 3ds Max , Mudbox ، با استفاده از مفاهیم ، تکنیک های و ابزارها در ورک فلو Sculpting ، به ساخت مدلهای بسیار دقیق و با جزییات بالا پرداخته می شود. در این دوره فرآیند گرفتن یک مش پایین با کیفیت پایین به نرم افزار مجسمه سازی Mudbox ، آموزش داده می شود. با سافت ساز همراه باشید.
عناوین اصلی این دوره آموزشی:
- مروری بر Sculpting pipeline
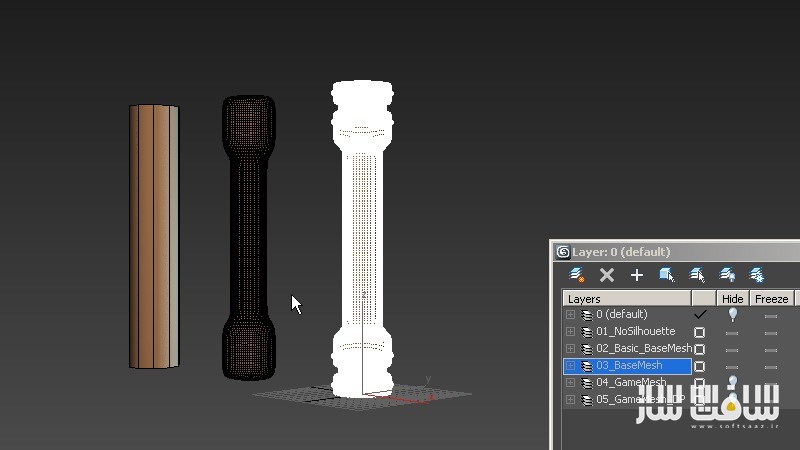
- آماده کردن برای مجسمه سازی هندسه ایی
- انتقال به هندسه در مادباکس
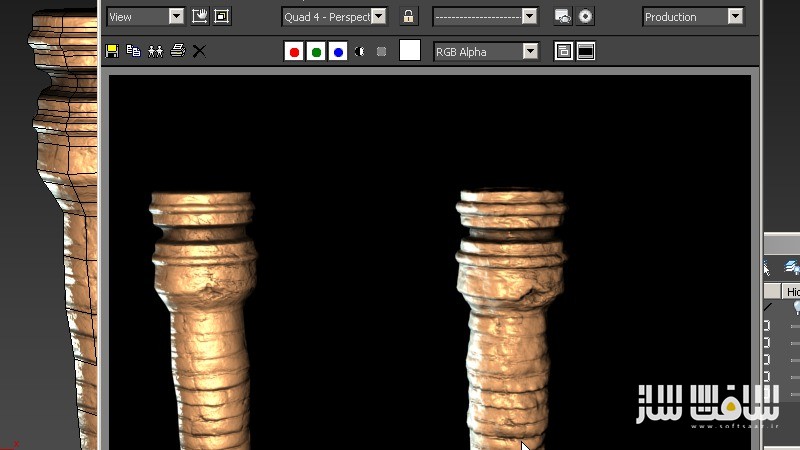
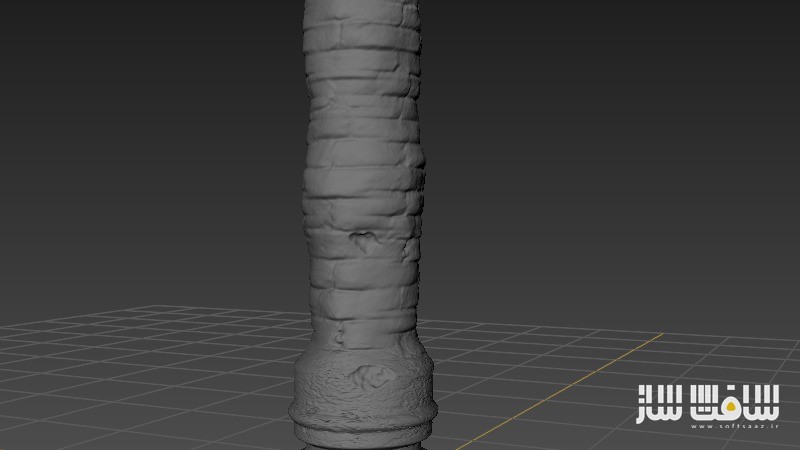
- مجسمه سازی جزییات بزرگ
- مجسمه سازی جزییات دقیق
- ایجاد لایوت UV
- نقشه های اکسترکت از Mudbox
- اعمال نقشه ها
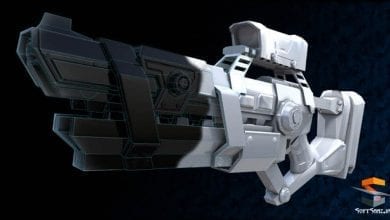
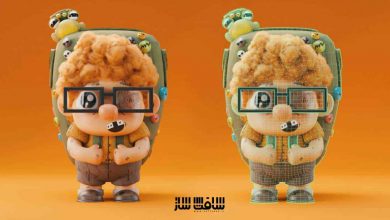
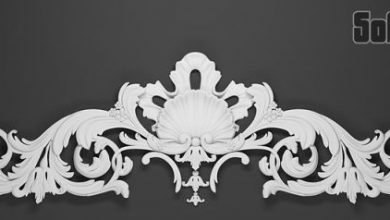
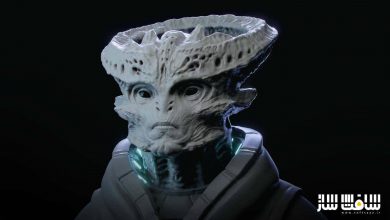
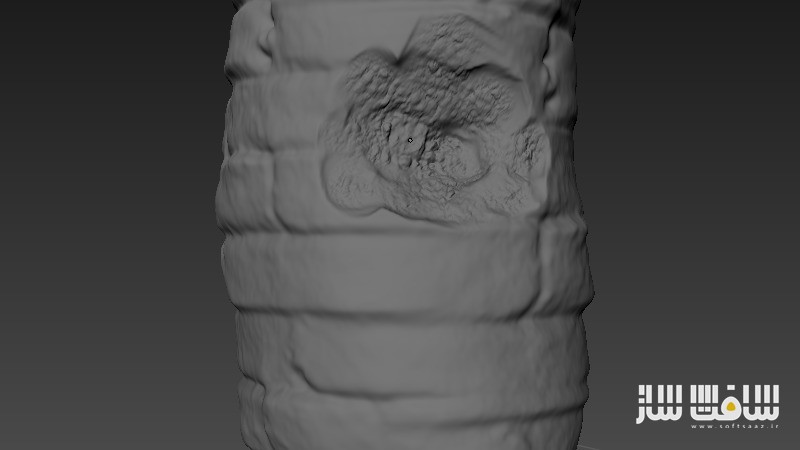
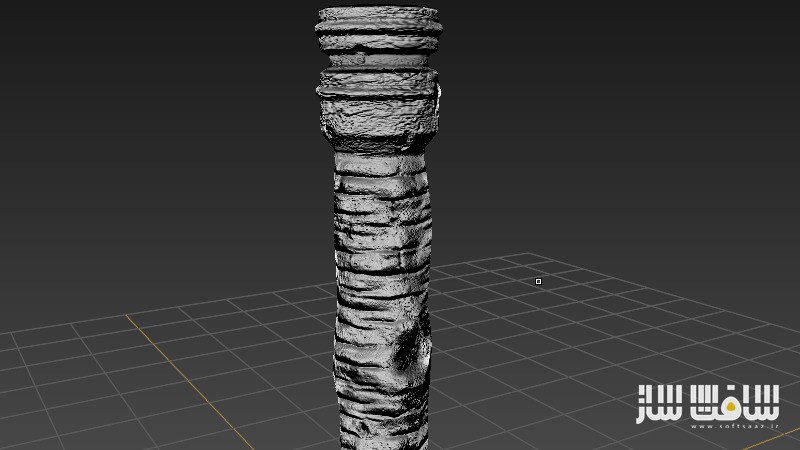
تصاویری از آموزش حجاری :

لطفا قبل از دانلود پیش نمایش دوره را مشاهده فرمایید:
عنوان دوره : Digital Tutors – Sculpting Integration Concepts for 3ds Max and Mudbox
سطح : متوسط
زمان کل دوره : 1.22 ساعت
تعداد فایل های تصویری : 9
سال آموزش : 2013
فایل تمرینی : دارد
مربی دوره : Joshua Kinney
نرم افزار : 3ds Max 2013 – Mudbox 2013 sp1
زیرنویس : ندارد
Digital Tutors – Sculpting Integration Concepts for 3ds Max and Mudbox
In this series of tutorials, we will discuss the concepts, techniques, and tools involved in using a sculpting workflow to build highly-detailed models. When building 3d models for games, film, or other applications, a high level of detail is often required. In order to achieve this detailed look, it’s not always feasible to use more traditional 3d modeling methods- moving points or adding edge-loops. In addition, meshes that are actually that detailed would be unusable because of their high polygon count. To get a detailed looking model while maintaining a workable poly count, a 3d sculpting application like ZBrush or Mudbox can be used. In this course we will talk about the process of taking a low-resolution base mesh into a sculpting application for further detailing. For our example we will be using Mudbox. We’ll talk about how the mesh should be prepared. We’ll also cover the transfer of the geometry back and forth between applications. We’ll also talk about sculpting methods, as well as UV layout and map creation. Finally we’ll cover both manual and more automatic ways of setting up your sculpted assets back in 3ds Max.In the end, you’ll have a great foundation in the purpose behind and methods involved in the subdivision sculpting process so you can begin to integrate it into your modeling workflow.
Introduction and project overview
Sculpting pipeline overview
Preparing the geometry for sculpting
Transferring the geometry into Mudbox
Sculpting large detail
Sculpting fine detail
Creating the UV layout
Extracting maps from Mudbox
Applying the maps
حجم کل :

برای دسترسی به کل محتویات سایت عضو ویژه سایت شوید
برای نمایش این مطلب و دسترسی به هزاران مطالب آموزشی نسبت به تهیه اکانت ویژه از لینک زیر اقدام کنید .
دریافت اشتراک ویژه
مزیت های عضویت ویژه :
- دسترسی به همه مطالب سافت ساز بدون هیچ گونه محدودیتی
- آپدیت روزانه مطالب سایت از بهترین سایت های سی جی
- بدون تبلیغ ! بله با تهیه اکانت ویژه دیگه خبری از تبلیغ نیست
- دسترسی به آموزش نصب کامل پلاگین ها و نرم افزار ها
اگر در تهیه اشتراک ویژه مشکل دارید میتونید از این لینک راهنمایی تهیه اشتراک ویژه رو مطالعه کنید . لینک راهنما
For International user, You can also stay connected with online support. email : info@softsaaz.ir telegram : @SoftSaaz
امتیاز به این مطلب :
امتیاز سافت ساز
لطفا به این مطلب امتیاز دهید :)