آموزش شبیه سازی سیالات در RealFlow و Cinema 4D
Realflow High End Fluid Simulations in Cinema 4D
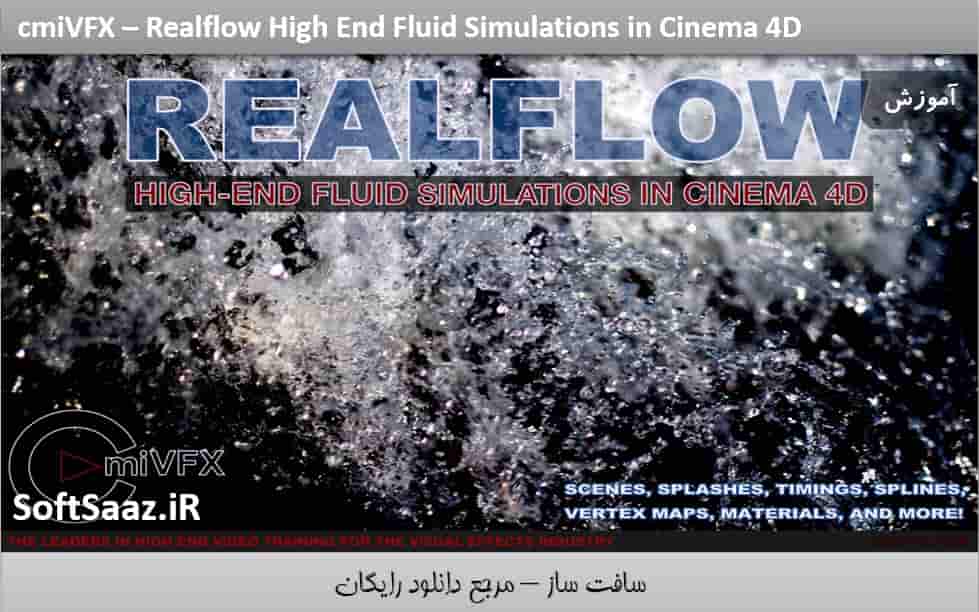
آموزش شبیه سازی سیالات در RealFlow
در این دوره آموزشی از شرکت cmiVFX ، مربی دوره ، شبیه سازی سیالات در محیط Cinema 4D با استفاده از تمام شیدر های یکسان ، مادیفایر ها و ابزارهایی که شما به طور معمول به یک ورک فلوی کراس پلت فرم ایمپورت می کنید را پوشش می دهد. در فصل اول ، چگونگی تنظیم صحنه Realflow ، نحوه دریافت یک Mesher ، انواع مختلف Emitter ، انواع مختلف daemon : یک Emitter دایره ایی ، یک Mesher و یک Gravity Daemon را یاد میگیرید. در فصل دوم آموزش ، در مورد ورک فلوی خاص تر و نحوه ایجاد یک Crown Splash ، طراحی یک قطره که به آب ضربه می زند ، صحبت خواهیم کرد .
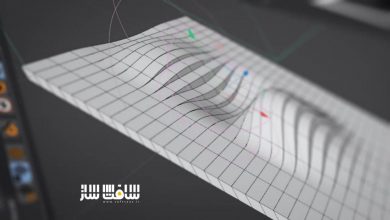
در فصل سوم کار با Image Emitter ، کار با برخی از شیدر های رویه ایی از جمله : checkerboard ، sunburst یا انواع مختلف نویز ها برای تولید آلفا ، یادگیری ترفند شسته و رفته با حروف با استفاده از spline shader را یاد خواهیم گرفت. در فصل چهارم نگاهی به Splines میندازیم و نحوه استفاده از آن جهت تولید مایعات را یاد می دهیم. در فصل پنجم تمرکز را روی کار با Vertex Map خواهیم برد .در فصل ششم نیز در رابطه با متریال ها صحبت می کنیم با سافت ساز همراه باشید.
عناوین اصلی این دوره آموزشی:
- درخت صحنه (Scene Tree)
- ایجاد emitter ، Mesher و Gravity Daemon
- Crown Splash
- Image Emitter
- کار با Splines
- کار با Vertex Maps
- کار با متریال ها
- و …

لطفا قبل از دانلود پیش نمایش دوره را مشاهده فرمایید:
عنوان دوره : cmiVFX – Realflow High End Fluid Simulations in Cinema 4D
سطح : مناسب برای همه
زمان کل دوره : 2 ساعت و 30 دقیقه
تعداد فایل های تصویری : 1
سال آموزش : 2016
فایل تمرینی : دارد
مربی دوره : Greg Kulz
نرم افزار : Cinema 4D , RealFlow
زیرنویس : ندارد
cmiVFX – Realflow High End Fluid Simulations in Cinema 4D
In the first chapter, we’ll go over the Scene Tree and how to set up a Realflow scene. This includes how to get a Mesher, different types of Emitters, different types of daemons: a Circle Emitter, a Mesher, and a Gravity Daemon. In chapter two, we’ll get into a more specific workflow and how to create a Crown Splash. We’ll make a drop that will hit some water. We’ll start off using a circle just to set up the scene that’s appropriate for a Crown Splash and tweak the Crown Splash daemon, editing its shape and timing to make it look really nice. In the third chapter, we’ll go into the Image Emitter. We’ll start off by using some procedural shaders, such as a checkerboard or a sunburst, or different types of noise to generate an alpha to show where our fluid will take place. We’ll also learn a neat trick with lettering using the spline shader. In chapter four, we’ll look at Splines and how to use those to generate fluids. Both as a drip – such as off of a rope or clothing line – and as well as a water path in the air, such as you see in soda commercials and gravy commercials. In chapter five, we’ll go into Vertex Map. The Mesher has a channel manager that creates different vertex maps based on X, Y, and Z position. It can also be set up to create a gray-value depending on the speed of your mesh. This can be combined with a colorizer and Vertex Map Shaders to create elaborate and unique material effects. Lastly, we’ll go over how to set up your materials. Most of the other tricks in Realflow are for figuring out how to get the particles and mesh to simulate the way you want, and I’ll show you some of my personal tricks for creating subsurface materials, some caustics, some ray-tracing, and to get motion blur to make the most of your simulation.
Chapter 1: Scene Tree
Setting up scene tree
Creating an emitter, mesher and gravity daemon
Creating a collider object with the collider tag
Kill-age, kill-isolated and kill-volume daemons to delete superfluous particles to maximize calculation power
Chapter 2: Crown Splash
Using a circle and fill emitter and container to make a scene appropriate for a crown splash
Create and use “initial state” to start at a more natural/presimulated state
Placeing and editing the crown daemon, including splash shape, number of spikes and timing
Adding a few kill daemons to steamline our scene
Chapter 3: Image Emitter
Setting up the image emitter using some procedural shaders such as checker board, and noise
Using the image emitter to create text, then melting it and setting up a test render
Chapter 4: Splines
Using a custom spline as an emitter and a K-age daemon to limit the drip length
Adding a Drag daemon and Sheeter daemon to modify the fluids behavior
Using the D-spline daemon to make our fluid travel along a spline
Chapter 5: Vertex Maps
The mesher object creates vertex maps that can be used for building materials
Adding one of the vertex maps to a colorizer we can create the impression of two colors paints blending together
Chapter 6: Materials
Setting up a subsuface scattering material
Setting up a refractive material with caustics
Setting up motion blur
حجم کل :

برای دسترسی به کل محتویات سایت عضو ویژه سایت شوید
برای نمایش این مطلب و دسترسی به هزاران مطالب آموزشی نسبت به تهیه اکانت ویژه از لینک زیر اقدام کنید .
دریافت اشتراک ویژه
مزیت های عضویت ویژه :
- دسترسی به همه مطالب سافت ساز بدون هیچ گونه محدودیتی
- آپدیت روزانه مطالب سایت از بهترین سایت های سی جی
- بدون تبلیغ ! بله با تهیه اکانت ویژه دیگه خبری از تبلیغ نیست
- دسترسی به آموزش نصب کامل پلاگین ها و نرم افزار ها
اگر در تهیه اشتراک ویژه مشکل دارید میتونید از این لینک راهنمایی تهیه اشتراک ویژه رو مطالعه کنید . لینک راهنما
For International user, You can also stay connected with online support. email : info@softsaaz.ir telegram : @SoftSaaz
امتیاز
جمع امتیاز
لطفا به این آموزش امتیاز بدهید