آموزش مدل سازی تفنگ در بلندر Blender
Modeling an Assault Rifle in Blender
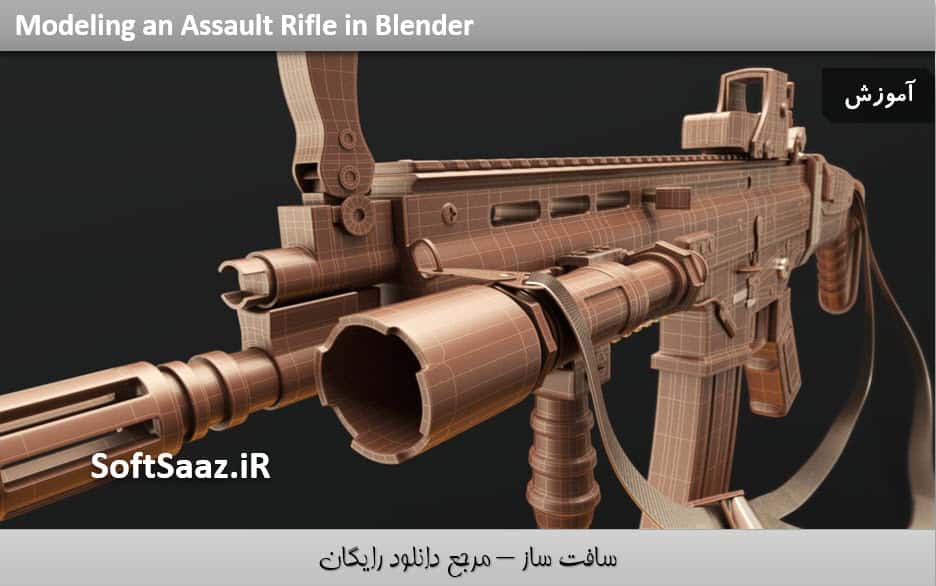
مدل سازی تفنگ در بلندر
در این آموزش مدل سازی تفنگ در بلندر از شرکت Digital Tutors ، مربی دوره Mark Masters ، به چگونگی مدل سازی یک تفنگ بسیار واقعی در نرم افزار Blender می پردازد.با در هم شکستن مرجع و شناخت اجزای مختلف تشکیل دهنده سلاح ، کار را شروع خواهیم کرد.
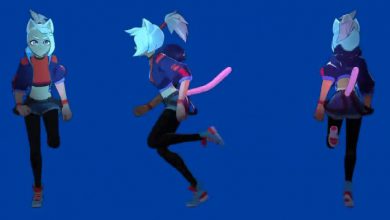
با بهره از ورک فلوی مدلینگ edge به مدل سازی قسمت های مختلف تفنگ پرداخته و با طیف گسترده ایی از ابزار مدلسازی و شورت کد های بسیار حیاتی برای تسریع ورک فلو به طور قابل توجهی آشنا خواهید شد.هنگامی که تمام قطعات اصلی تفنگ کامل شد ، بروی اتچمنت های متعددی مانند چراغ قوه ، لیزر قرمز تمرکز می کنیم. نحوه استفاده از ابزار NURBS path برای ایجاد چیز هایی شبیه به سیم ، کابل و تسمه را نشان می دهیم . در نهایت تکنیک های مدل سازی سطح سخت در بلندر را می آموزید. با سافت ساز همراه باشید.
عناوین اصلی مدل سازی تفنگ در بلندر :
- ایمپورت تصاویر مرجع
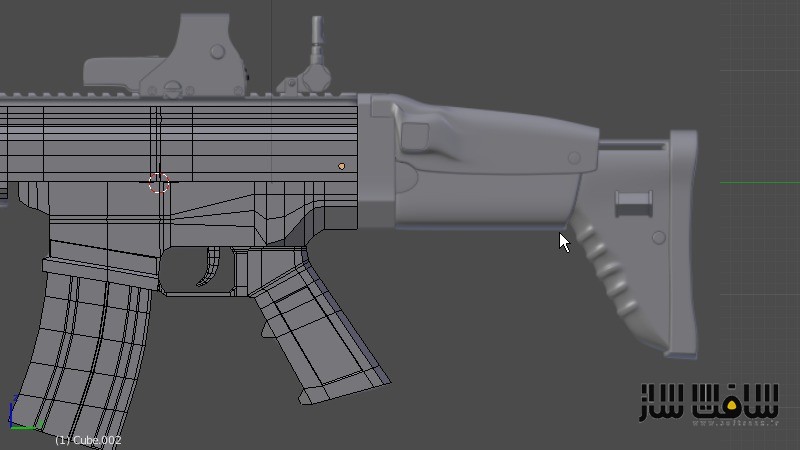
- مدل سازی ماشه و قطعات اصلی تفنگ
- مدل سازی barrel
- مدل سازی چراغ قوه
- مدل سازی لیزر قرمز
- مدل سازی سگک
- مدل سازی بند تفنگ
- و …
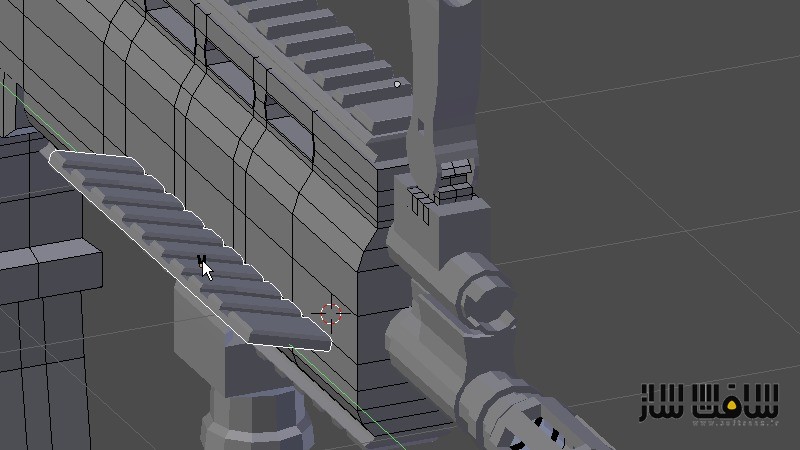
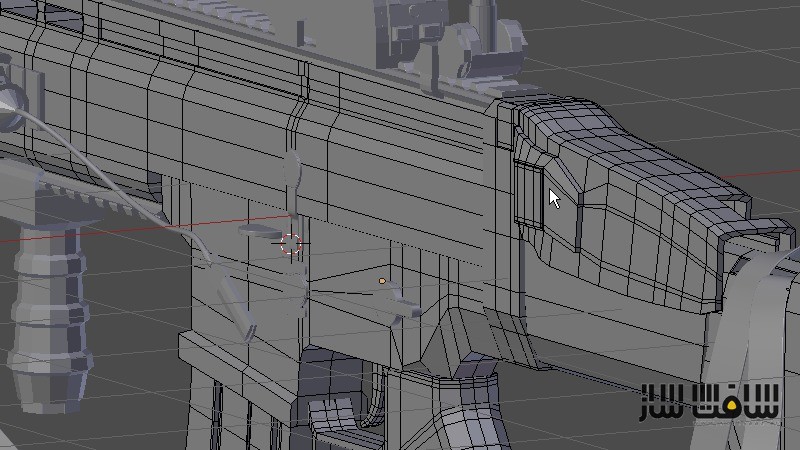
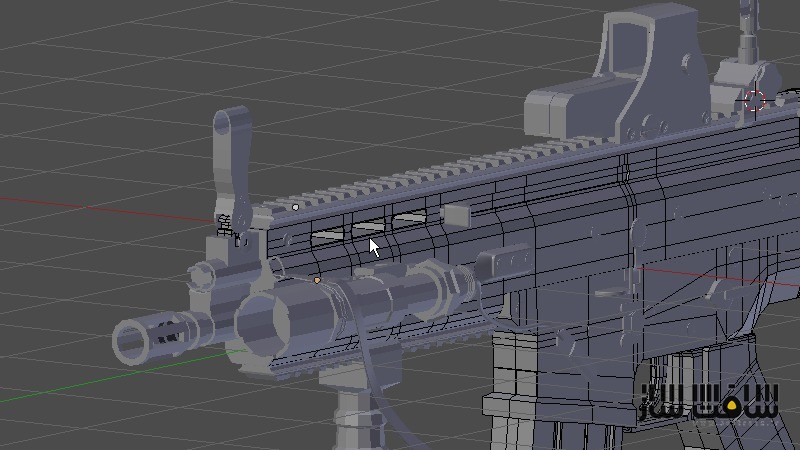
تصاویری از مدل سازی تفنگ در بلندر :


دانلود پیش نمایش مدل سازی تفنگ در بلندر :
عنوان دوره : Digital Tutors – Modeling an Assault Rifle in Blender
سطح : متوسط
زمان کل دوره : 9.36 ساعت
تعداد فایل های تصویری : 9
سال آموزش : 2015
فایل تمرینی : دارد
مربی دوره : Jonathan Williamson
نرم افزار : Blender 2.75
زیرنویس : ندارد
Digital Tutors – Modeling an Assault Rifle in Blender
In a more traditional modeling workflow we spend a lot of time adding, removing, and tweaking the vertices and edges that make up our model. Typically we do this via the various mesh modeling tools that we learned about in the Mesh Modeling Fundamentals course. These tools give us very good control but it also means there’s a lot of manual work, which can lead to more complicated mesh operations and ultimately, an unnecessarily complex mesh.Modifiers give you the power to work in a less-destructive manner, with more flexibility and speed. To give you an idea of how they might be used, consider the Mirror modifier, which is used for adding symmetry to your mesh. Rather than recreating the same details on the left and right (or front and back, or top and bottom), of your model, instead you can create it on just one side and let the mirror modifier replicate it to the other side automatically.
1 Introduction and project overview 01:18
2 Breaking down the reference 03:00
3 Importing reference images 05:32
4 Beginning the lower receiver 08:37
5 Continuing the lower receiver 09:23
6 Finishing the lower receiver 05:21
7 Starting the grip 08:45
8 Finishing the grip 08:06
9 Modeling the trigger and trigger guard 11:19
10 Modeling the magazine 11:52
11 Starting on the upper receiver 07:06
12 Continuing the upper receiver 07:25
13 Finishing the upper receiver 06:03
14 Starting on the top section of the stock 06:44
15 Continuing the top section of the stock 11:41
16 Finishing the top section of the stock 07:29
17 Modeling the bottom section of the stock 08:17
18 Starting on the base of the stock 06:56
19 Continuing the base of the stock 07:41
20 Finishing the base of the stock 10:50
21 Starting on the butt of the stock 08:50
22 Finishing the butt of the stock 12:20
23 Modeling the barrel 07:23
24 Beginning the iron sight attachment 08:14
25 Continuing the iron sight attachment 07:41
26 Finishing the iron sight attachment 11:20
27 Beginning the front sight 07:49
28 Finishing the iron sight 06:35
29 Modeling the top rail 10:02
30 Beginning the rear iron sight attachment 06:42
31 Continuing the rear iron sight attachment 07:02
32 Finishing the rear iron sight attachment 12:27
33 Beginning the front grip attachment 08:43
34 Finishing the front grip attachment 09:11
35 Modeling the side rails 08:45
36 Beginning the red dot sight 11:46
37 Continuing the red dot sight 10:20
38 Modeling the back plate for the red dot sight 07:42
39 Finishing the red dot sight 11:34
40 Starting on the flash light attachment 07:39
41 Continuing the flash light 07:35
42 Finishing the flash light 05:25
43 Modeling the wire connector for the flash light 05:51
44 Modeling for the on/off switch for the flash light 08:04
45 Modeling the flash light rail attachment 07:42
46 Beginning the strap hook 12:31
47 Cleaning up the topology for the strap hook 08:16
48 Modeling the buckles and beginning the strap 09:30
49 Continuing creating the strap 11:11
50 Finishing the strap 13:09
51 Modeling the safety and fire rate switch 08:57
52 Beginning the lower receiver details 11:43
53 Continuing the lower receiver details 10:37
54 Finishing the lower receiver details 11:39
55 Beginning the details for the upper receiver 11:46
56 Finishing the details for the upper receiver 07:57
57 Starting on the last details for the stock 06:49
58 Finishing the details for the stock 07:22
59 Modeling the screws and bolts 08:13
60 Beginning placement of the screws 07:06
61 Continuing placement of the screws and pins 09:10
62 Finishing the placement of the screws and pins 05:49
63 Modeling loop on the front of the upper receiver 05:21
64 Smoothing the lower receiver and magazine 08:44
65 Smoothing the geometry for the grip and the base of the stock 10:16
66 Smoothing the geometry for the stock 09:42
67 Finishing the smoothing process for the rest of the rifle 07:30
68 Final look at the finished rifle 03:30
حجم کل :

برای دسترسی به کل محتویات سایت عضو ویژه سایت شوید
برای نمایش این مطلب و دسترسی به هزاران مطالب آموزشی نسبت به تهیه اکانت ویژه از لینک زیر اقدام کنید .
دریافت اشتراک ویژه
مزیت های عضویت ویژه :
- دسترسی به همه مطالب سافت ساز بدون هیچ گونه محدودیتی
- آپدیت روزانه مطالب سایت از بهترین سایت های سی جی
- بدون تبلیغ ! بله با تهیه اکانت ویژه دیگه خبری از تبلیغ نیست
- دسترسی به آموزش نصب کامل پلاگین ها و نرم افزار ها
اگر در تهیه اشتراک ویژه مشکل دارید میتونید از این لینک راهنمایی تهیه اشتراک ویژه رو مطالعه کنید . لینک راهنما
For International user, You can also stay connected with online support. email : info@softsaaz.ir telegram : @SoftSaaz
امتیاز به این مطلب :
امتیاز سافت ساز
لطفا به این مطلب امتیاز دهید :)