آموزش کامل موتور رندر VRay در 3ds Max
The Ultimate Introduction to V-Ray for 3ds Max
آموزش کامل موتور رندر VRay در 3ds Max
این بزرگترین دوره ما در اینجا در MographPlus است. و تقریبا چهار ماه کار بر روی این دوره صرف کردیم. در این دوره، با بیش از 18 ساعت یا 1083 دقیقه آموزش های ویدیویی با کیفیت بالا و آموزشی، ما یکی از محبوب ترین موتورهای رندر را که VRay از گروه Chaos است رو در نرم افزار 3ds Max بررسی می کنیم.
“ آموزش کامل موتور رندر VRay در 3ds Max ” ما، بدون شک، با بیشترین جزئیات، با کیفیت بالا است که تا کنون در مورد VRay تاکید شده است.این فیلم ها به 9 بخش تقسیم می شوند با سافت ساز همراه باشید.
عناوین اصلی آموزش کامل موتور رندر VRay در 3ds Max :
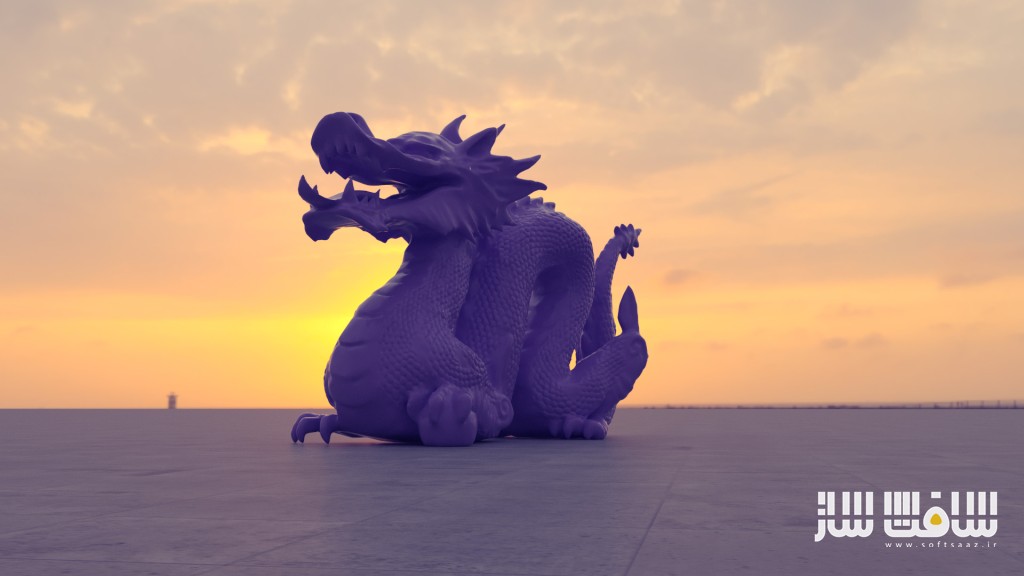
بخش 1: مقدمه
در قسمت اول، ما به شما یک نمای کلی از V-Rayدر 3ds max و رابط کاربری آن می دهیم.
بخش 2: نورپردازی
در قسمت دوم هه چیز در مورد نورپردازی است، تمام نورهای V-Ray از جمله : نور Area ، مش و نور dome ، نور خورشید و آسمان، نور IES را توضیح می دهیم. یاد می گیریم که چگونه از نور های استاندارد مکس با V-Ray و از ابزار روشنایی V-Ray مانند V-Ray Light Lister استفاده کنیم. ما به معنای واقعی کلمه، نور و پارامتر را با نمونه های عملی توضیح می دهیم و نحوه کار آنها را تجسم می کنیم.
بخش 3: نورپردازی جهانی
در بخش سوم، درباره ی Global illumination یا نورپردازی غیر مستقیم صحبت می کنیم، ابتدا یاد می گیریم که نورهای ray در دنیای واقعی چگونه کار می کنند و V-Ray چگونه شبیه سازی رفتار مشابه با استفاده از global illumination را نشان می دهد و بعد ما شروع به یادگیری در مورد همه ی موتورهای GI که در V-Ray هست مانند Brute force، Irradiance map و light cache میکنیم.
یاد می گیریم که برای تولید نورپردازی واقع بینانه چگونه از این موتورها در سناریو های مختلف نورپردازی استفاده کنیم. هر پارامتر قابل دسترسی در تب GI تنظیمات V-Rayبا مثال های واقعی را نشان خواهیم داد. و در نهایت نحوه ارائه انیمیشن های flicker-free را با Illumination جهانی را می آموزید. با سافت ساز همراه باشید.
بخش 4: نمونه برداری تصویر
بخش چهارم به هسته ی V-Ray اختصاص داده شده است که نمونه برداری تصویر است. ابتدا مفهوم پایه را یاد می گیریم، و سپس درباره ی نمونه ی Bucket و پیشرونده ی ، گزینه های DMC جهانی، فیلترهای تصویر و ماسک رندر فرا می گیریم.
بخش 5: متریال
در بخش 5 همه چیز در مورد متریال های V-Ray، و این طولانی ترین بخش این دوره است. وما بیشتر از 5 ساعت برای 17 درس وقت صرف می کنیم وتمامی متریال ها و نقشه هایی را که V-Ray ارائه می دهد توضیح می دهیم.ما این بخش را با متریال های V-Ray یاVRayMtl شروع می کنیم و برای توضیح این مطالب در پنج درس بیشتر از یک ساعت صرف می کنیم
سپس درباره ی نقشه برداری displacement و Bump ، متریال ترکیبی ،دو طرفه ، پراکندگی زیر سطحی، پوست، مو و متریال های CarPoint بحث می کنیم. درباره یV-Ray override و متریال های wrapper یاد میگیریم،ودر نهایت از تمام متریال ها و نقشه های باقیمانده موجود در V-Ray استفاده می کنیم.
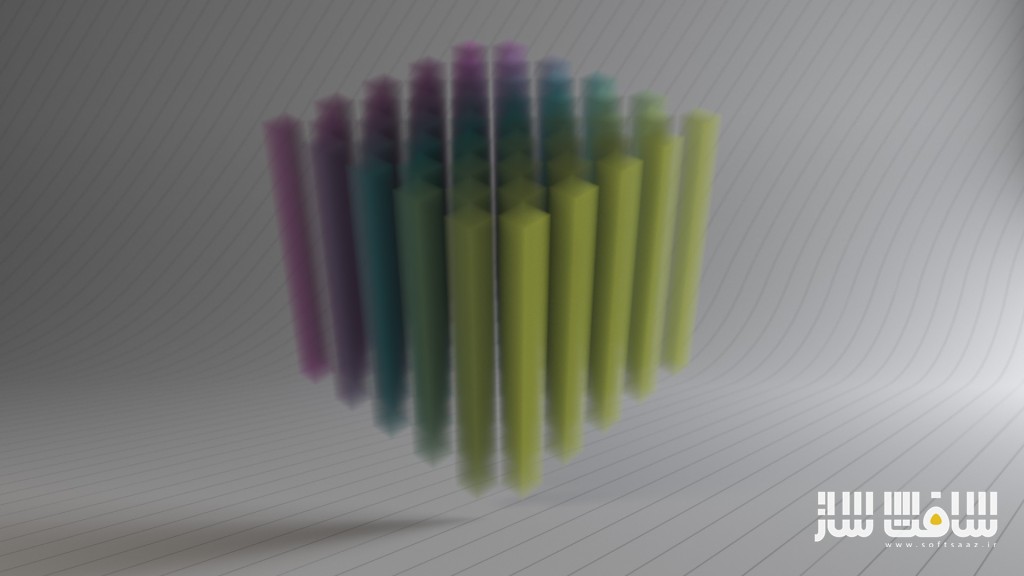
بخش 6: دوربین
در بخش بعدی در مورد دوربین ها و افکت های دوربین در V-Ray یاد می گیریم. ابتدا دوربین فیزیکی را بررسی ، سپس چگونگی تولید و تنظیم افکت هایی مانند عمق میدان و موشن بلور، مورد انواع دوربین های مختلف در V-Ray را یاد می گیریم.
پس از آن ما رندرینگ سه بعدی stereoscopic و افکت های لنز مانند bloom و glare در V-Ray را توضیح می دهیم و مانند سایر موضوعات ، پس از تماشای این بخش شما استاد دستکاری دوربین خود در V-Ray می شوید، زیرا همه چیز با حداکثر جزئیات بر اساس رویکرد آکادمیک توضیح داده شده است . با سافت ساز همراه باشید
بخش 7: تنظیمات رندر
در قسمت بعد به سراغ تظیمات رندر باقی مانده می رویم، ابتدا در مورد Color map و در مورد اهمیت آن در ساخت رندر هایی خود یاد می گیریم. سپس درباره ی بافر فریم مجازی، سوئیچ های global محیط و نحوه استفاده از آن برای تولید و تنظیم افکت caustics در V-Ray و همچین در مورد تنظیمات فنی و پیشرفته در تنظیمات تب V-Ray بحث می کنیم. یاد می گیریم که چگونه از V-Ray RT استفاده کنیم تا به صورت تعاملی صحنه را در زمان واقعی ترسیم کنیم.
سپس در طولانی ترین درس دوره، درباره عناصر رندر V-Ray بحث می کنیم و از طریق تمام عناصر رندر یاد می گیریم چگونه عناصر رندر های مختلف تولید کنیم و هرکدام را به رندر نهایی اضافه کنیم ، بعد یاد می گیریم چطور آن عناصر رندر را با استفاده از یک برنامه خارجی مانند After Effects کامپایل کنیم. و در نهایت در این بخش ما به تنظیمات سریع V-Ray که به شما امکان کنترل کیفیت کلی رندر شما را در یک رابط کاربری بسیار ساده و کاربر پسند می دهد نگاه می کنیم.

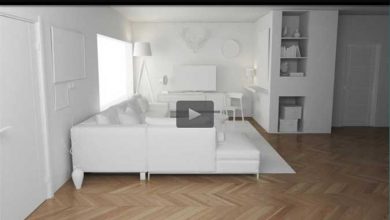
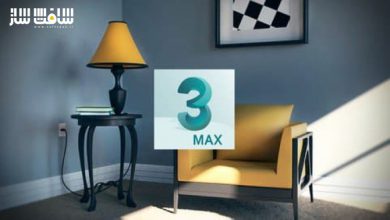
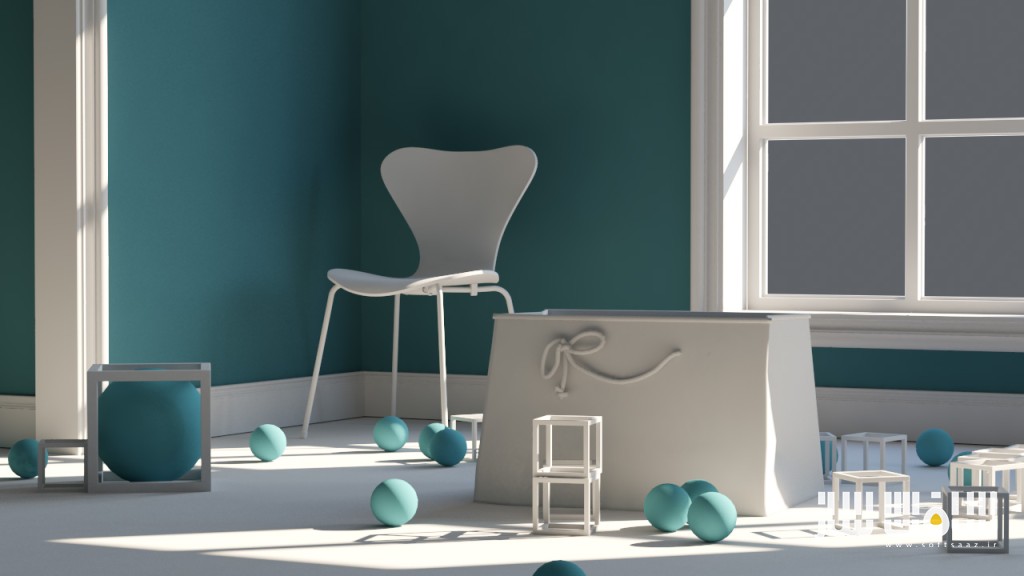
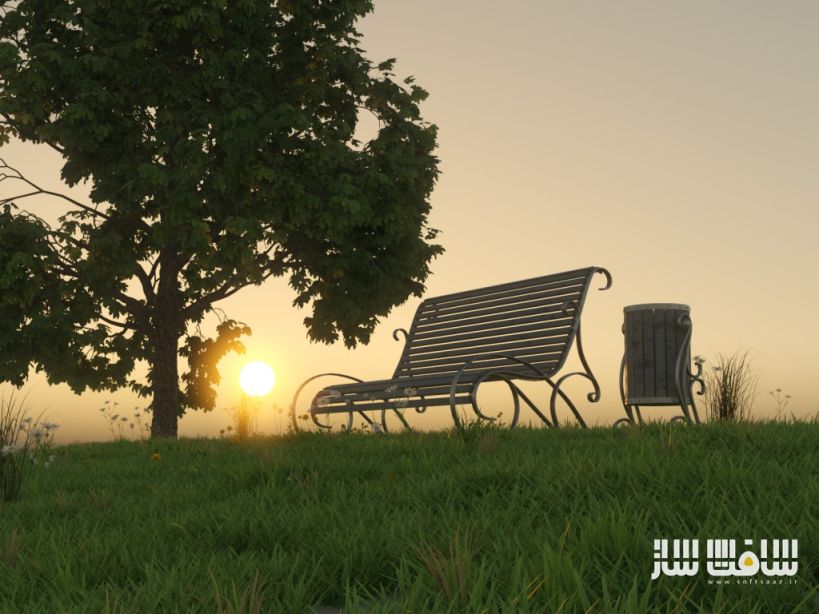
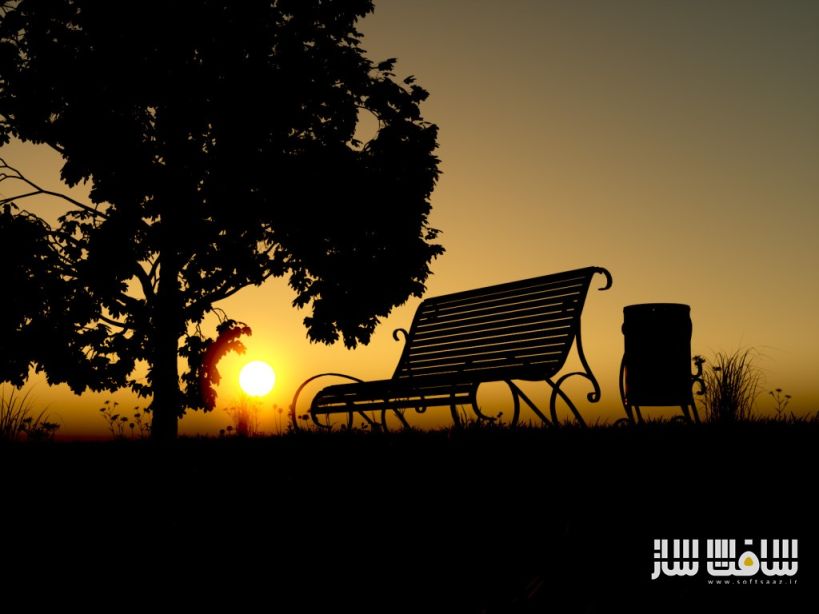
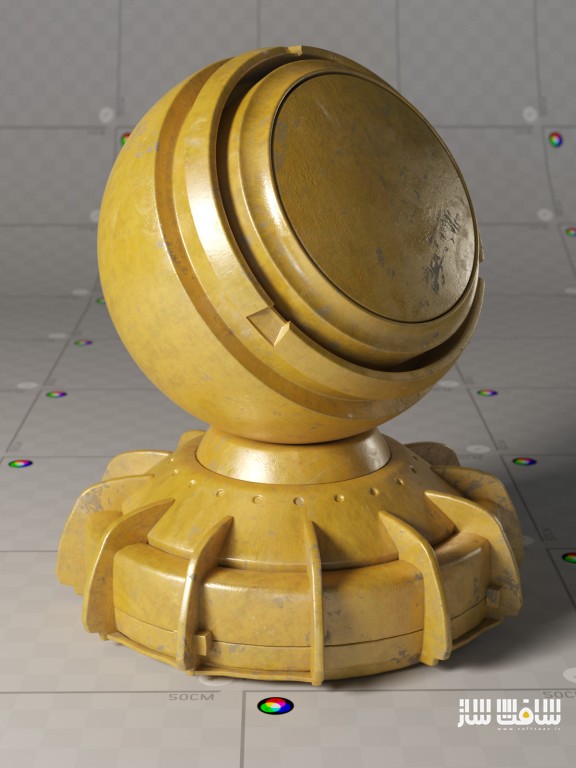
تصاویر آموزش کامل موتور رندر VRay در 3ds Max :
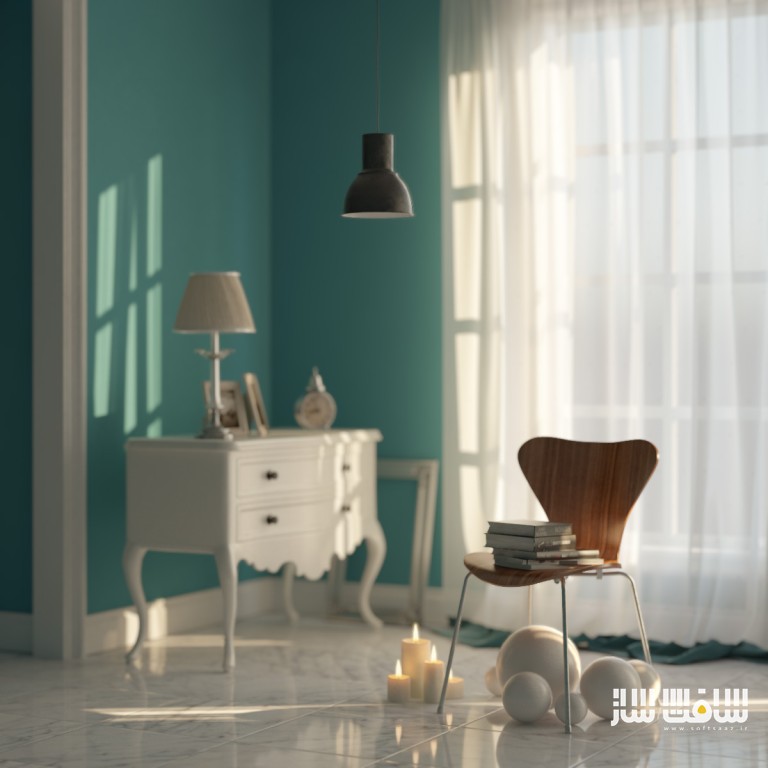


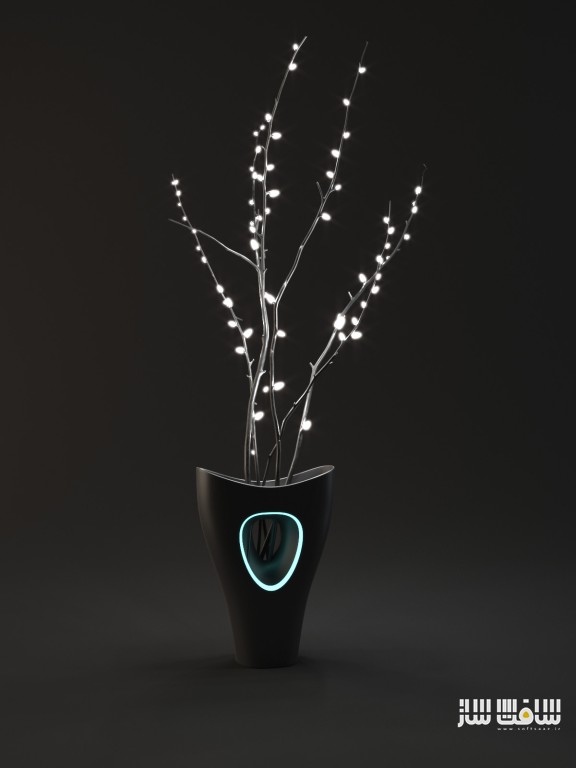
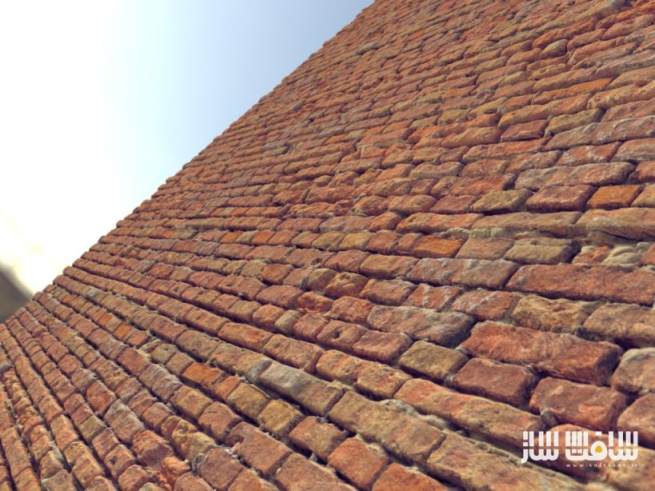

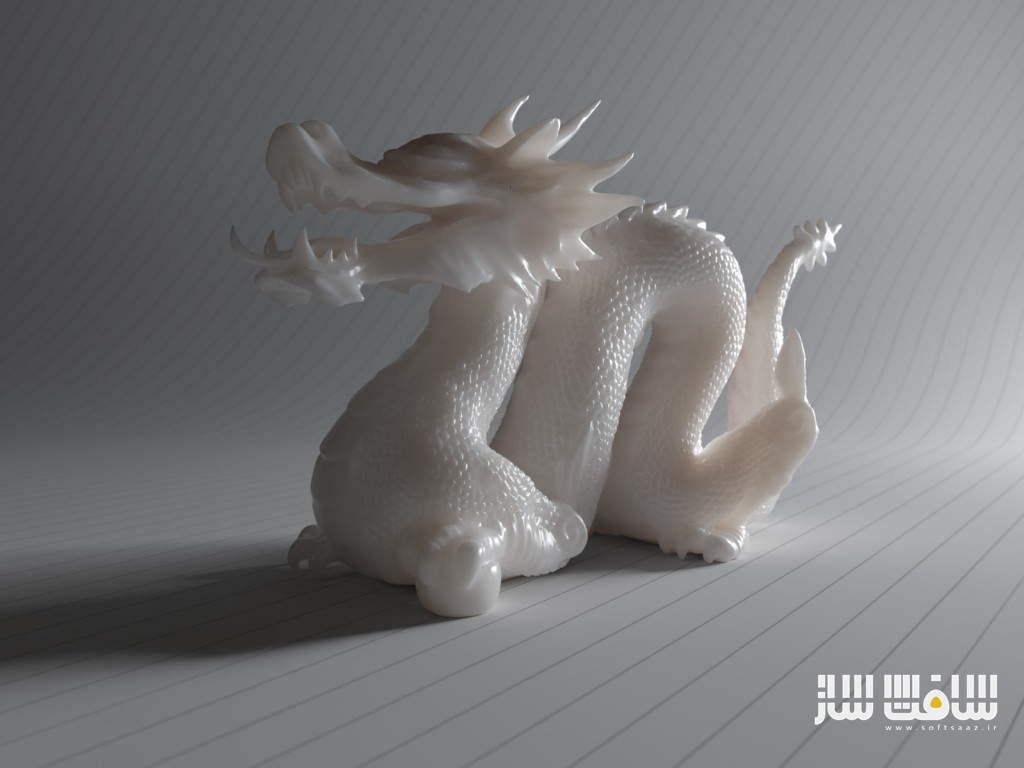


لطفا قبل از دانلود پیش نمایش دوره را مشاهده فرمایید:
عنوان دوره : The Ultimate Introduction to V-Ray for 3ds Max
سطح : پیشرفته
زمان کل دوره : 18.05 ساعت
تعداد فایل های تصویری : 68
سال آموزش : 2017
فایل تمرینی : دارد
مربی دوره : Kamel Khezri
نرم افزار : 3ds Max 2017 , V-Ray 3.4 , V-Ray 3.5
زیرنویس : ندارد
The Ultimate Introduction to V-Ray for 3ds Max
This is our biggest course ever here at MographPlus.com and we spent almost four months working on this course. In this course, in more than 18 hours, or 1083 minutes of high quality and academic video tutorials, we explore one of the most popular render engines which is V-Ray from Chaos Group.
Our “Ultimate Introduction to V-Ray for 3ds Max”, is without a doubt, the most detailed, high quality and academically approached course on V-Ray up to now. The videos are categorized into 9 sections,
Section 1 : Introduction
In section one, we give you a general overview of V-Ray in 3ds max and its user interface.
Section 2 : Lighting
Section two will be all about lighting, we go through all the lights that V-Ray offers. We explore V-Ray Area light, Mesh and dome light, V-Ray sun and sky, IES light, we learn how to use standard 3ds max lights with V-Ray and learn about V-Ray lighting tools like V-Ray Light Lister.
We literally explain every single option, light and parameter, with practical examples and visualize how they work.
Section 3 : Global Illumination
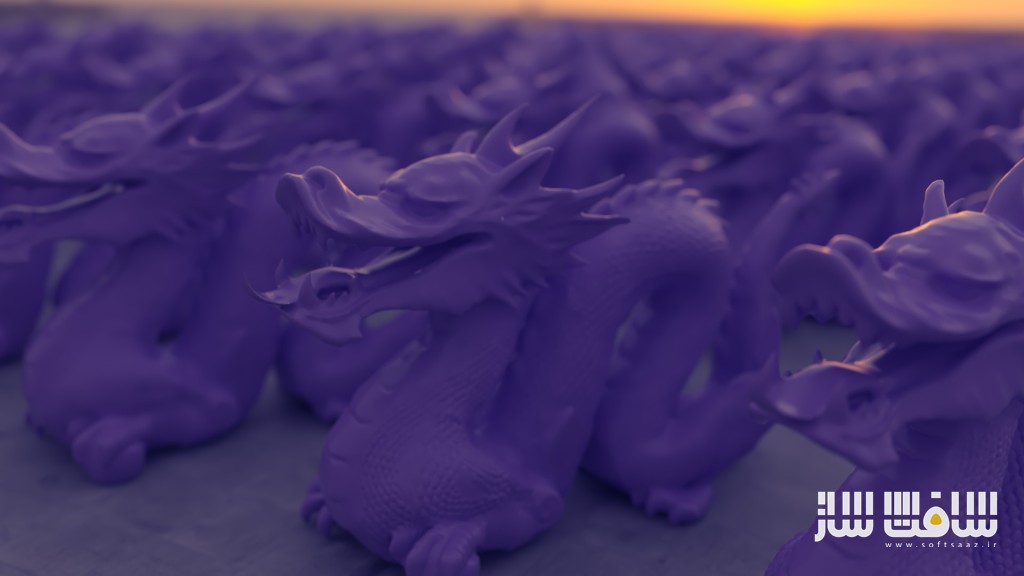
In section three, we talk about Global illumination or indirect lighting, first we learn how light rays work in real world and how V-Ray Simulates the same behavior using global illumination, and then we start learning about all the GI engines that V-Ray has, like Brute force, Irradiance map and light cache. We learn how to use these engines in different lighting scenarios to produce the most realistic lighting possible.
We go through every single available parameter in the GI tab of V-Ray settings with actual examples. And finally learn how to render flicker-free animations with Global Illumination.
Section 4 : Image Sampling
Section four will be dedicated to the very core of V-Ray, which is image sampling, first we learn the basic concept, and then we learn about Bucket and progressive image sampler, Global DMC options, Image filters and Render masks.
Section 5 : Materials
Section five is all about V-Ray materials, and this is the longest section of the course and we spend more than 5 hours in 17 lessons, explaining all the materials and maps that V-Ray has to offer.
We start this section with V-Ray material or VRayMtl and as this is the most important V-Ray material, we spend more than one hour, explaining this material over five lessons.
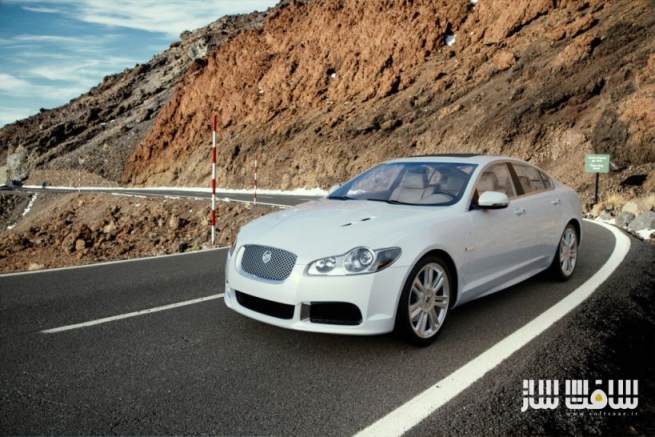
Then we talk about Bump and displacement mapping, blend material, two-sided, subsurface scattering, skin, hair and CarPoint materials.
We learn about V-Ray override and wrapper materials, And finally go through all the remaining materials and maps that are included in V-Ray.
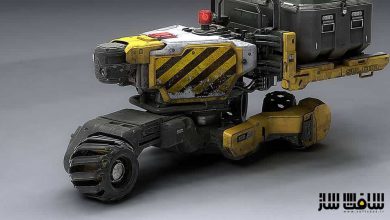
Section 6 : Camera
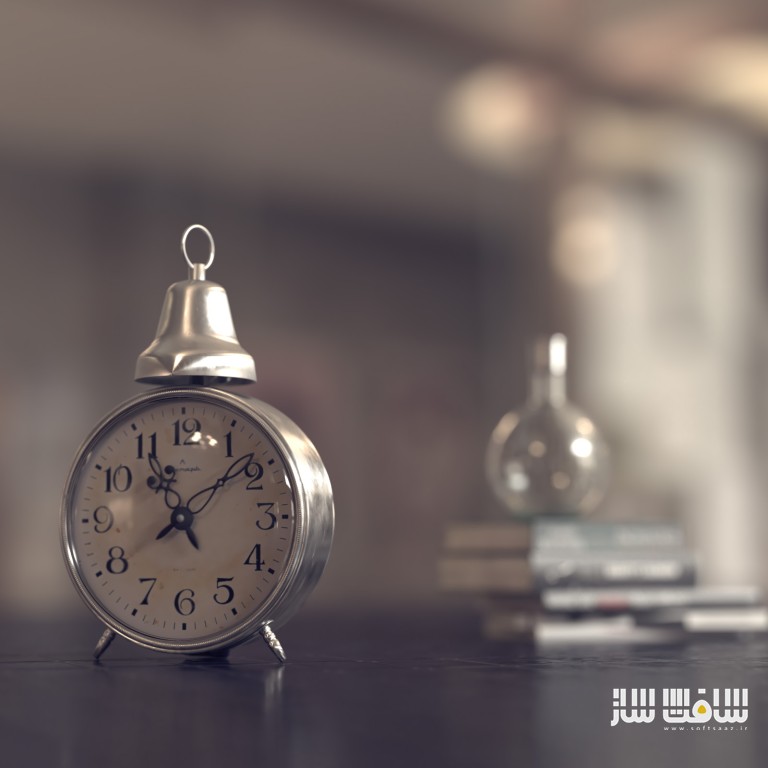
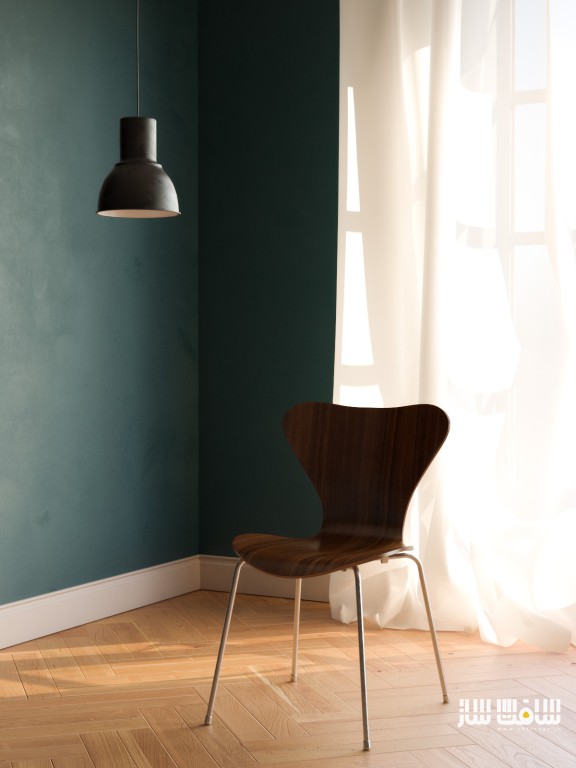
In the next section we learn about Cameras and camera effects in V-Ray, first we Explore Physical camera in depth, then we learn how to produce and adjust effects like Depth of field and motion blur, we learn about different camera types in V-Ray.
0601_Physical_Camera
Then we explain stereoscopic 3d rendering and lens effects like bloom and glare in V-Ray, And like other topics, after watching this section, you should be a master of handling your camera in V-Ray, because everything has been explained in extreme details and based on academic approach.
Section 7 : Render Settings
In the next section we go through the remaining render settings, first we learn about Color mapping and why it’s so important in forming your final render.Then we talk about V-Ray virtual frame buffer, global switches, environment roll-out and how to produce and adjust caustics effect in V-Ray.We also discuss about more technical and advanced settings in the settings tab of V-Ray.We learn how to use V-Ray RT to interactively render and adjust our scene in real time.
Then in the longest lesson of the course, we discuss and explain V-Ray Render elements or render passes, we go through all the render elements and learn how to generate different render elements and what each one adds to the final render, then we learn how to composite those render elements using an external application like After Effects.
And finally in this section we take a look at V-Ray quick settings which allows you to control the overall quality of your render in a very simple and user friendly interface.
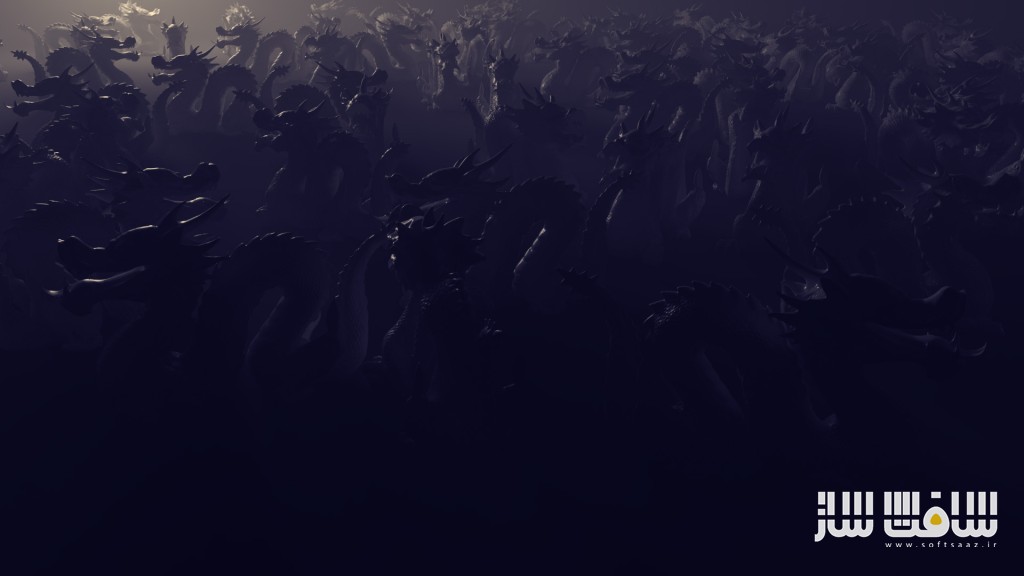
Section 8 : Geometries
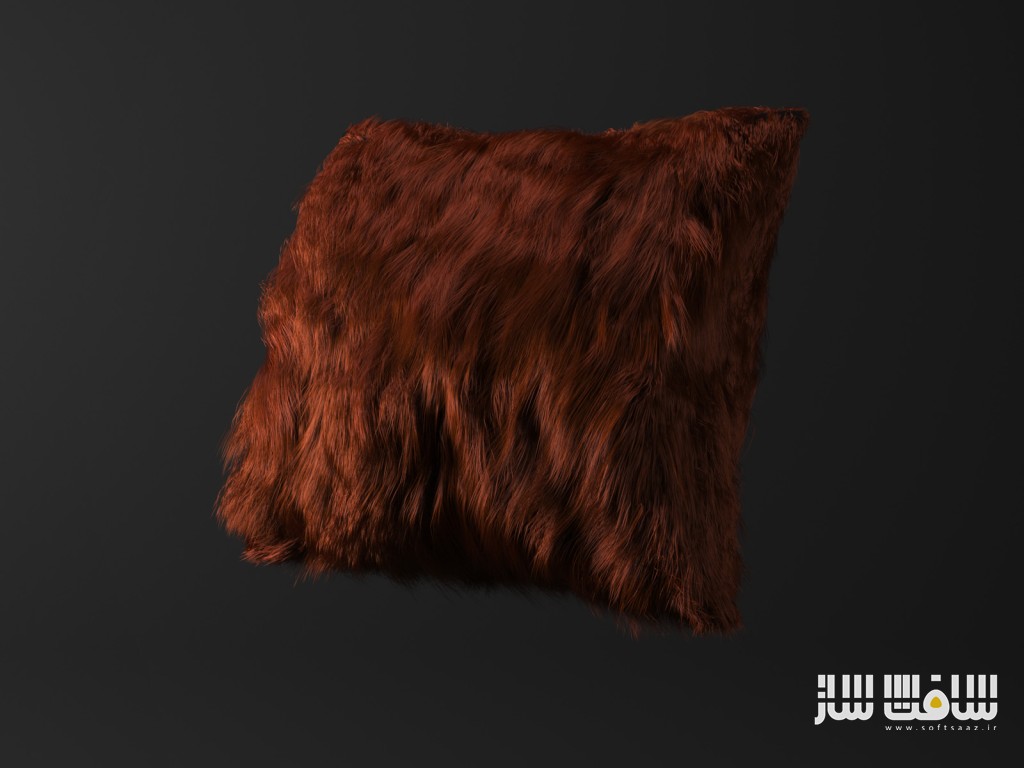
In section eight we learn about V-Ray geometries, including V-Ray Proxy, V-Ray Fur, section clipper and other geometries.
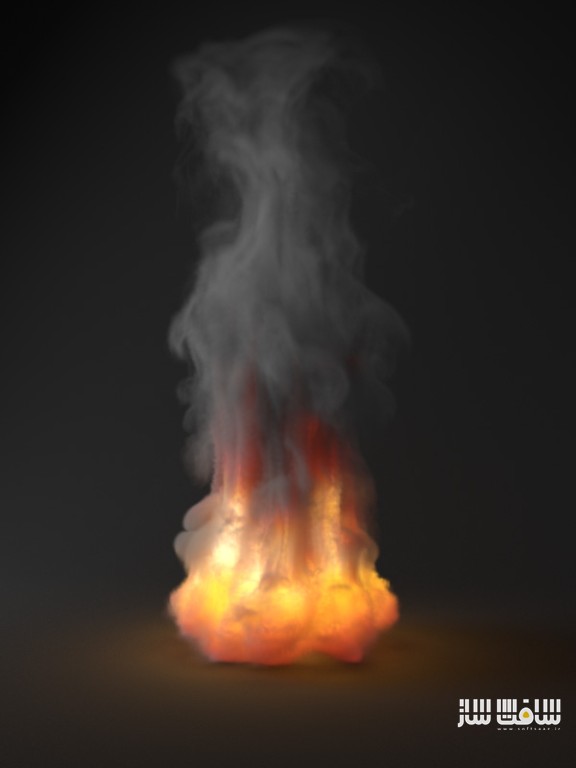
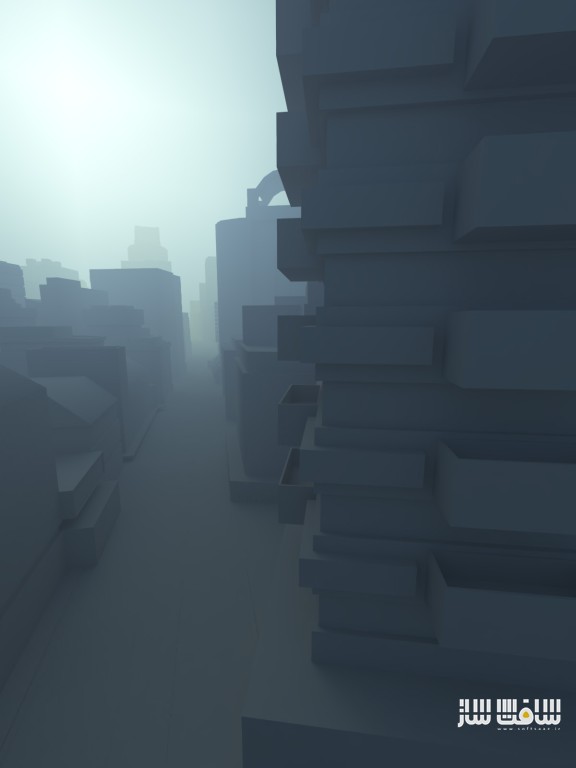
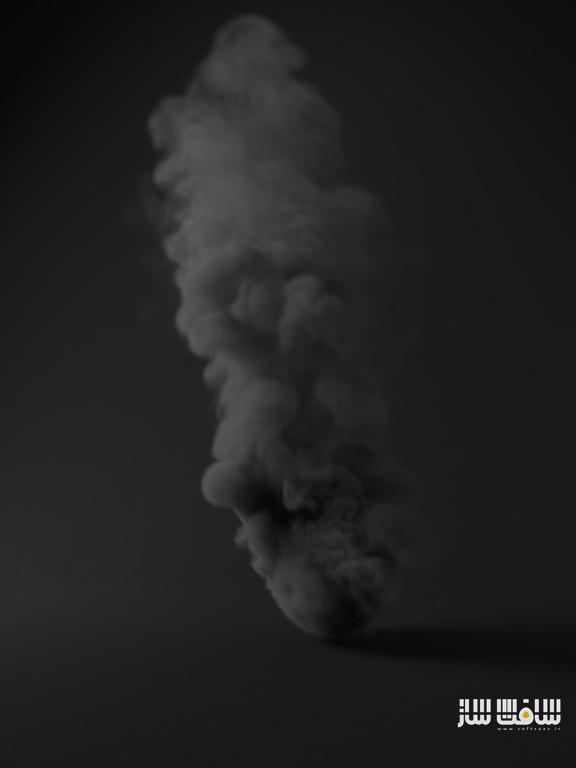
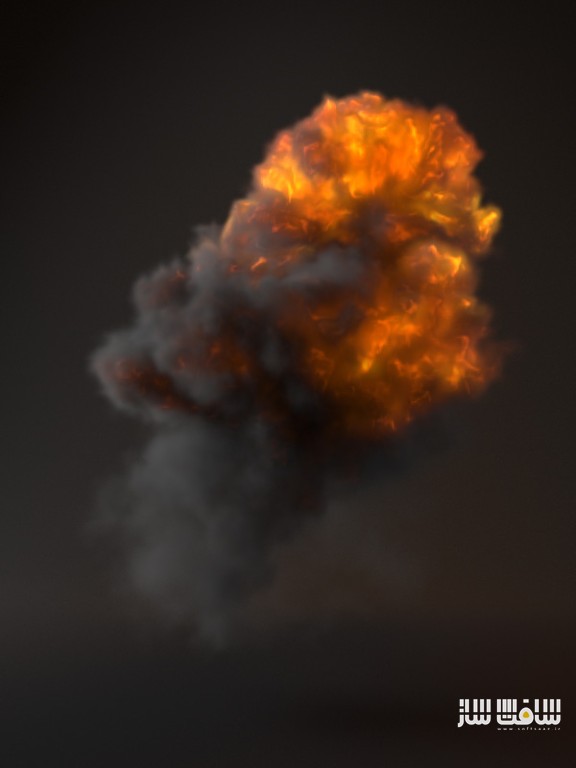
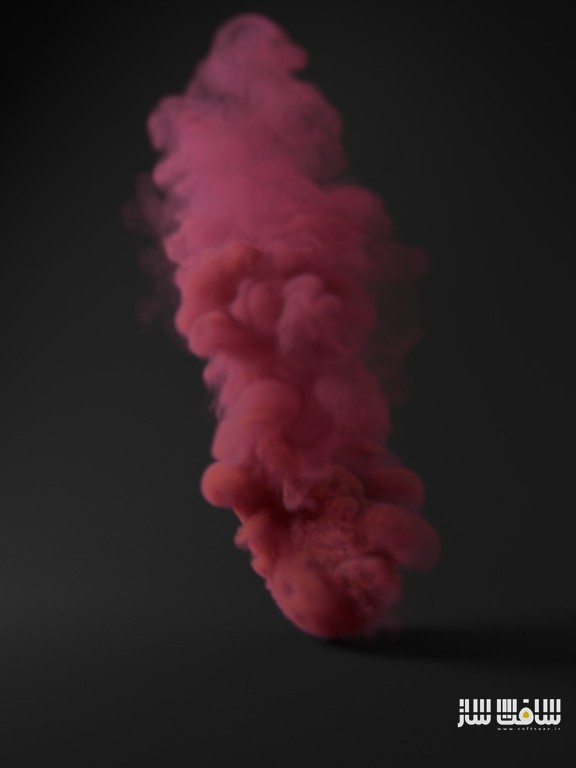
Section 9 : Atmospheric, Environment and Volumetrics
In the final section, we discuss Atmospheric and Volumetric effects in V-Ray, first we learn about V-Ray environment fig and explain all of its options using visual examples, then we learn about Aerial Perspective and Toon Render Effect.
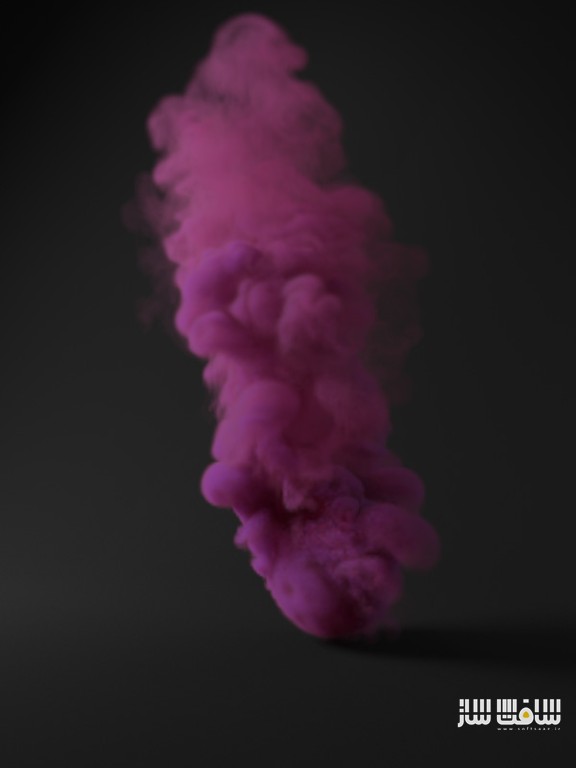
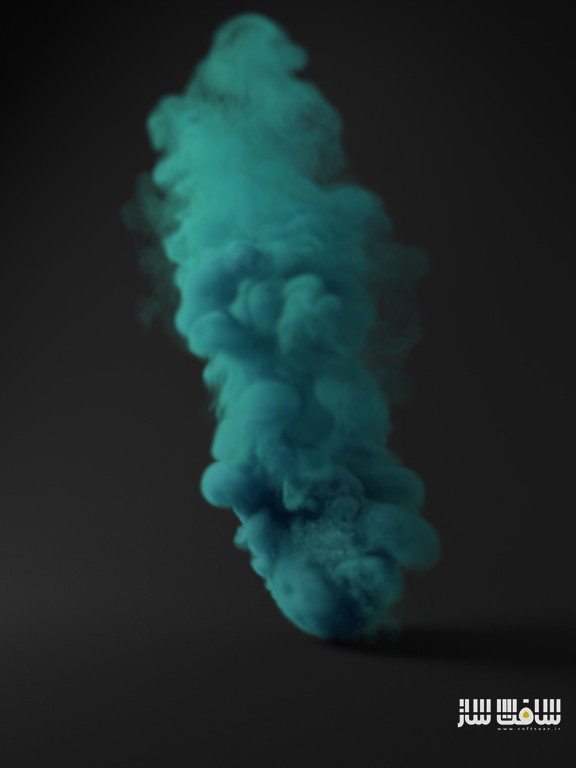
And in the final lesson, we learn about V-Ray Volumetric Grid which allows us to import grid-based cache formats like OpenVDB and render them using V-Ray, first we learn the basics and after that we import several OpenVDB files and try to adjust their shaders and settings to produce some exciting explosion, fire and smoke effects.
Introduction 05:54
Project Files 02:46
User interface 07:00
Area lights, plane,disc and sphere 35:20
Area lights, Skylight portal 13:56
Area lights, mesh light 09:58
Area lights, dome light 17:31
V-Ray sun and sky 23:32
V-Ray IES light 17:02
V-Ray ambient light 05:16
3ds Max lights 06:46
V-Ray light lister 03:53
What is Global Illumination? 12:32
Brute force 20:34
Irradiance map 57:01
Light cache 25:25
General settings 07:45
Object animation and GI 20:30
Basic image sampling consepts 09:26
Bucket image sampler 26:29
Progressive image sampler08:19
Global DMC settings 06:15
Image filters 03:15
Render mask 04:29
V-Ray material, Diffuse, Reflection and BRDF27:24
V-Ray material, Refraction and fog 14:09
V-Ray material,Translucency 10:40
V-Ray material,Self-illumination 04:51
V-Ray material, Options and interpolation 10:23
Bump and displacement mapping 25:53
V-Ray blend material 19:37
V-Ray two-sided material 11:13
V-Ray light material 07:53
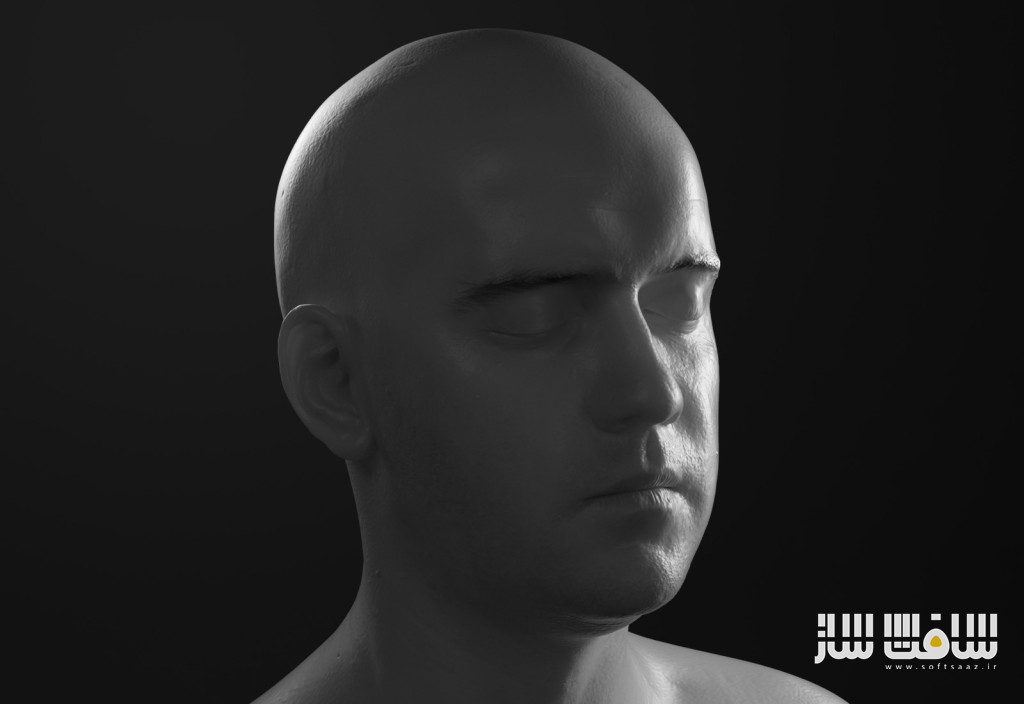
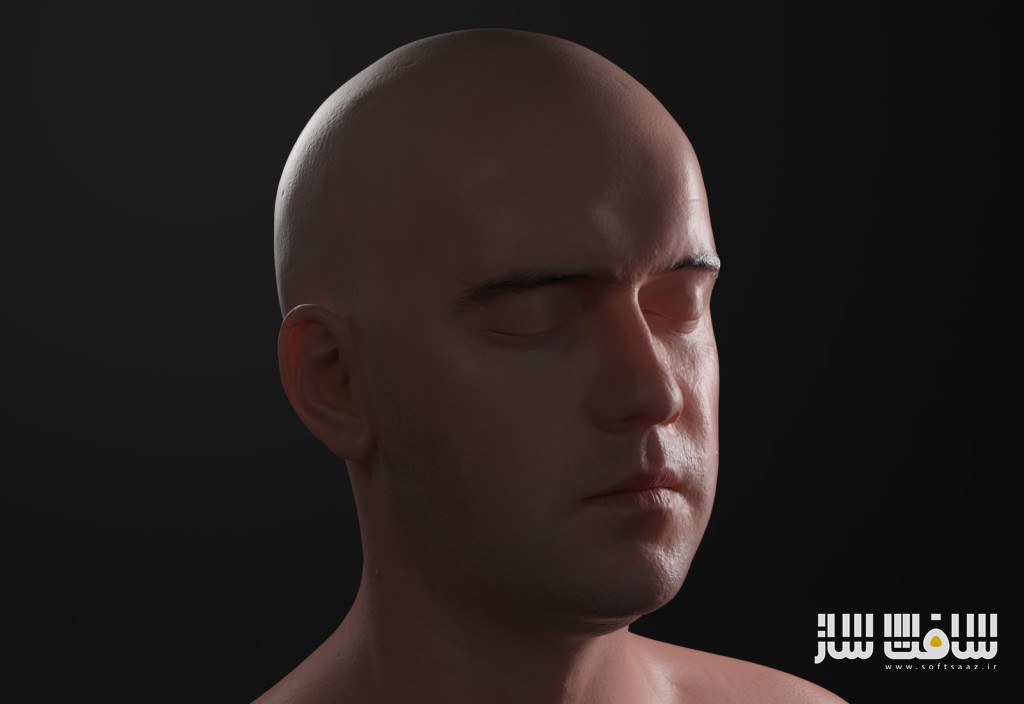
Subsurface scattering material 31:06
Skin material 40:47
Hair material and Hair Info texture 25:25
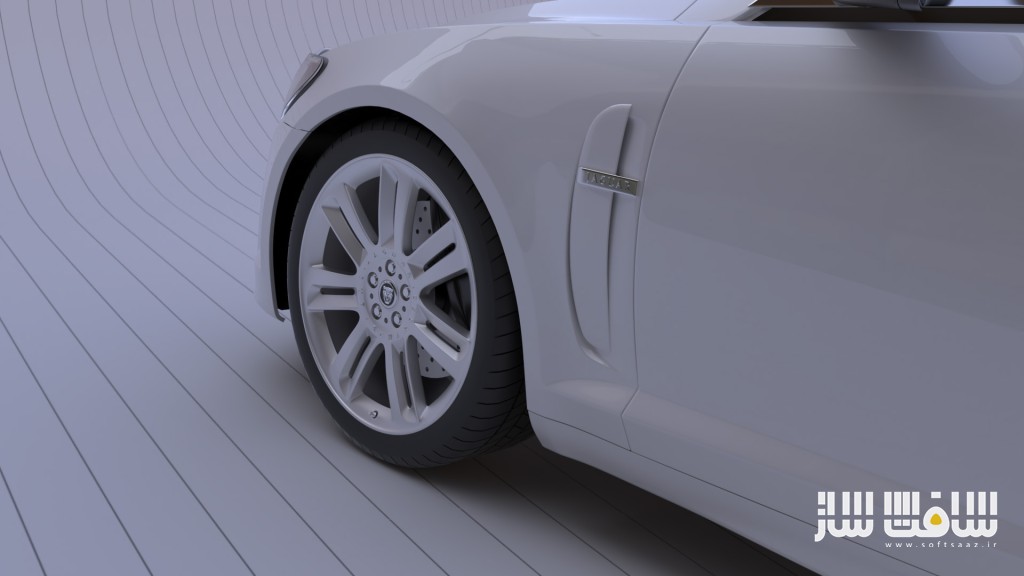
CarPaint, flakes and stochastic materials20:35
V-Ray override material 04:14
V-Ray wrapper material 22:23
Other materials 16:46
V-Ray maps 23:33
Physical Camera 29:22
Depth of Field 14:45
Motion blur 09:03
Camera types 09:19
Stereo 3d camera 07:45
Lens effects, Bloom and Glare 10:30
V-Ray physical camera and Global exposure controls 05:10
Color mapping 11:49
Frame buffer 27:36
Global switches 09:44
Environment 04:14
Caustics 13:37
Settings 19:49
V-Ray RT 17:47
Render Elements 59:02
V-Ray quick settings 03;59
V-Ray Proxy 13:51
V-Ray Fur 07:70
Section Clipper 08:53
Other geometries 05:12
Environment fog 20:41
Aerial perspective 06:11
Toon render effect 04:00
V-Ray Volumetric Grid 34:35
Adaptive Lights04:38
IPR – Interactive Production Rendering 04:27
Resumable Rendering 08:23
Interactive Lens Effects 01:46
ALsurface Shader 04:06
Rendering with V-Ray RT directly to VR Headsets 02:13
VFB Improvements while running V-Ray RT 02:47
Glossy Fresnel 02:39
Other New Features 03:36
Hybrid Rendering 03:02
Full Mode in Light Select Render Element 07:07
Cryptomatte 03:53
حجم کل :

برای دسترسی به کل محتویات سایت عضو ویژه سایت شوید
برای نمایش این مطلب و دسترسی به هزاران مطالب آموزشی نسبت به تهیه اکانت ویژه از لینک زیر اقدام کنید .
دریافت اشتراک ویژه
مزیت های عضویت ویژه :
- دسترسی به همه مطالب سافت ساز بدون هیچ گونه محدودیتی
- آپدیت روزانه مطالب سایت از بهترین سایت های سی جی
- بدون تبلیغ ! بله با تهیه اکانت ویژه دیگه خبری از تبلیغ نیست
- دسترسی به آموزش نصب کامل پلاگین ها و نرم افزار ها
اگر در تهیه اشتراک ویژه مشکل دارید میتونید از این لینک راهنمایی تهیه اشتراک ویژه رو مطالعه کنید . لینک راهنما
For International user, You can also stay connected with online support. email : info@softsaaz.ir telegram : @SoftSaaz
امتیاز - 100%
100%
لطفا به این آموزش امتیاز بدهید