آموزش Houdini Pyro در هودینی Houdini
Pluralsight - Introduction to Houdini Pyro
آموزش Houdini Pyro
در این آموزش ” آموزش Houdini Pyro ” از شرکت Pluralsight مربی دوره Sam Rickles ، مفاهیم اساسی و اصولی Pyro در هودینی را برای ایجاد افکت های متنوع آتش را به شما مراجعین عزیز سافت ساز می آموزد. ایجاد آتش سوزی و عناصر pyro ، مهارتی بسیار مهم برای یک هنرمند VFX هستش . با استفاده از امکانات قدرتمند Pyro در هودینی میتوانید به شبیه سازی و رندر افکت های آتش واقعی بپردازید.
کیادگیری ابزار shelf ، استفاده از بلوک های ساختمانی برای ایجاد آتش ، ایجاد افکت آتش پیچیده ، نحوه اکسپورت داده ، استفاده از Pyro Shader برای ایجاد تصاویر واقعی رندر و ابزار لازم برای نوردهی هر چیزی که در هنگام آتش ، از جمله مواردی است که در این دوره آموزشی که در سافت ساز ارائه شده است ، خواهید آموخت.با سافت ساز همراه باشید .
عناوین دوره آموزش Houdini Pyro :
- شروع کار با Pyro
- ایجاد منابع برای آتش مار
- ایجاد شبیه سازی Pyro در کمتر از 60 ثانیه
- بررسی نود Fluid Source
- مروری بر شبیه سازی Pyro
- اکسپورت و رندرینگ دیتای Pyro
- آتش صحنه و Geometry Prep
- تنظیمات شبیه سازی Pyro
- ایجاد منابع اضافی و کالیژن
- اضافه کردن Ember
- شبیه سازی مبتنی بر ذارت امیتر
- ایجاد یک منبع سیال از شبیه سازی ذرات
- ایجاد یک Meshlight برای آتش
- تنظیمات Mantra Node و رندرینگ آتش
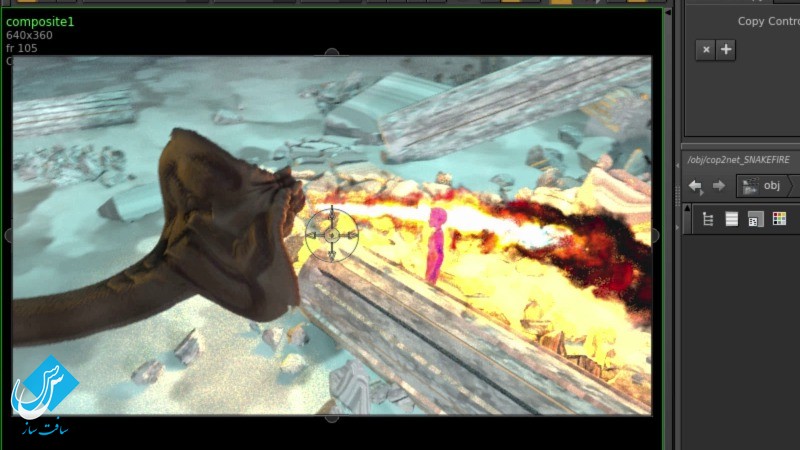
- کامپوزیت رندر آتش مار
- و …
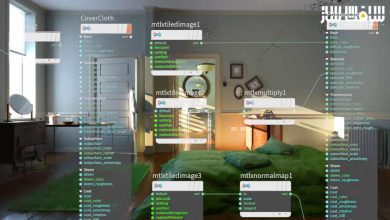
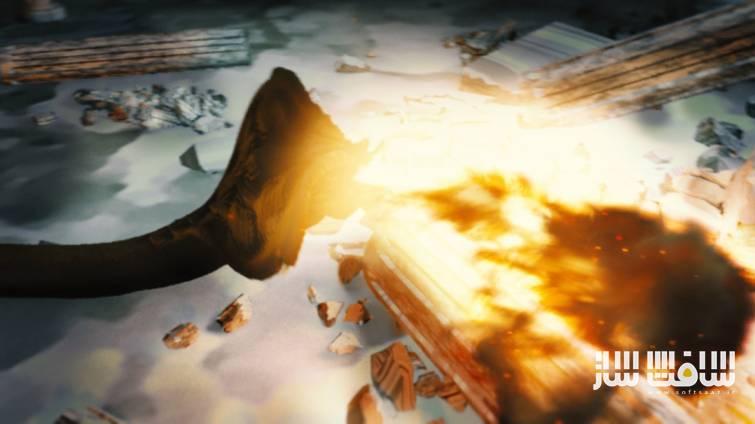
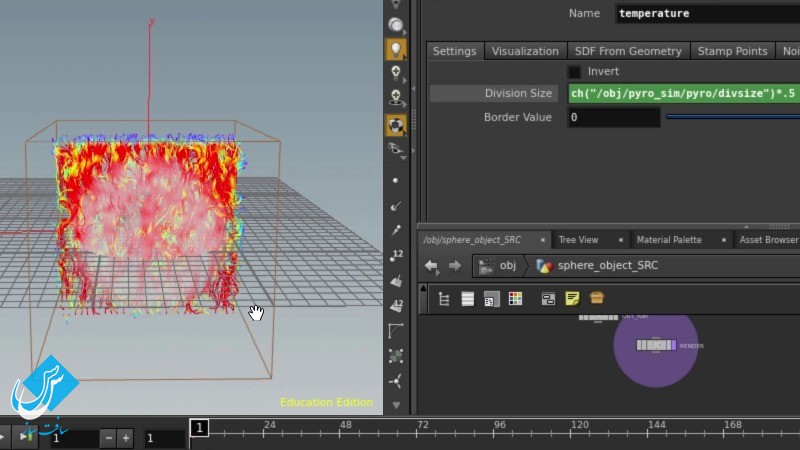
تصاویری از دوره آموزش Houdini Pyro :

پیشنمایش دوره آموزش Houdini Pyro :
عنوان دوره : Pluralsight – Introduction to Houdini Pyro
سطح : متوسط
زمان کل دوره : 4.16 ساعت
تعداد فایل های تصویری : 30
سال آموزش : 2016
فایل تمرینی : دارد
مربی دوره : Sam Rickles
نرم افزار : Houdini 15
زیرنویس : ندارد
Pluralsight – Introduction to Houdini Pyro
Whether it’s flame-breathing dragons or a simple campfire, digital fire effects are some of the most important elements in film and television, and a key skill for many VFX artists. In this course, Introduction to Houdini Pyro, you’ll learn the fundamental concepts of Houdini’s powerful Pyro Solver to create multiple fire-based effects. First, you’ll learn the shelf tools to get an initial simulation started and examine the individual parts that make up a Pyro simulation. Next, you’ll learn how to use these building blocks to create your own campfire effect, adding additional complexity to the simulation as you explore different sourcing solutions and ways to modify the various fields that are part of the solver. Then, you’ll adapt what you have learned to create a more complicated Fire Breath effect, further exploring new sourcing methods and capabilities of the Pyro Solver. Finally, you’ll explore how to export your data and use the Pyro Shader to create photo-realistic Mantra renders of your fire. By the end of the course, you’ll have a better understanding of the tools necessary to light anything imaginable on fire…digitally, of course. Software required: Houdini 15.
1 Course Overview 01:22
2 Creating a Pyro Simulation in Less Than 60 Seconds 04:42
3 Exploring the Fluid Source Node 06:44
4 Overview of the Pyro Simulation 09:25
5 Exporting and Rendering Pyro Data 07:45
6 The Campfire Scene and Geometry Prep 12:47
7 Setting up the Pyro Simulation 07:19
8 Creating Additional Sources and Collisions 12:00
9 Improving the Look of the Fire 13:08
10 Exporting the Fire 05:39
11 Adding Embers 10:52
12 The Snake Fire Scene and Geometry Prep 05:05
13 Isolating Emitter Geometry and Calculating Velocity 06:40
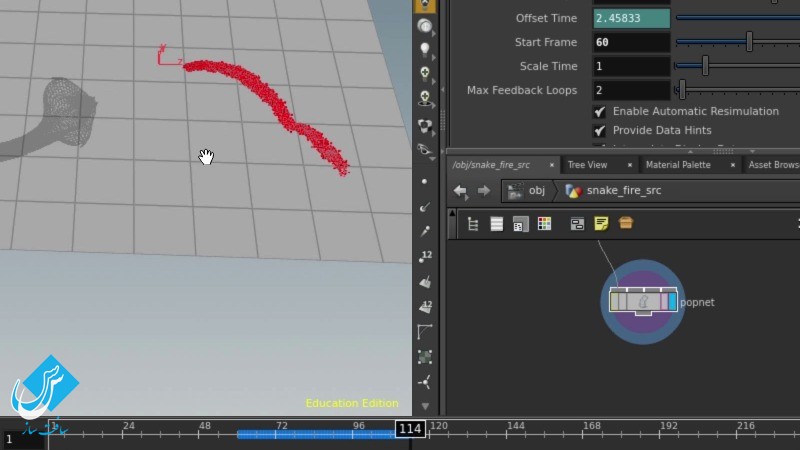
14 Simulating a Particle Based Emitter 09:51
15 Creating a Source Fluid From the Particle Simulation 09:02
16 Making Collision Objects and Sim Bounds 07:41
17 Setting up the Fire Breath Pyro Sim 09:28
18 Improving Fire Look with Fuel Advection and Shaping 06:32
19 Modifying Source and Additional Pyro Shaping 06:47
20 Further Source Tweaks and Making New Colliders 09:03
21 Using Additional Fields to Add Complexity to Colliders 07:12
22 Exporting the Fire Breath Sim and Adding Embers 12:32
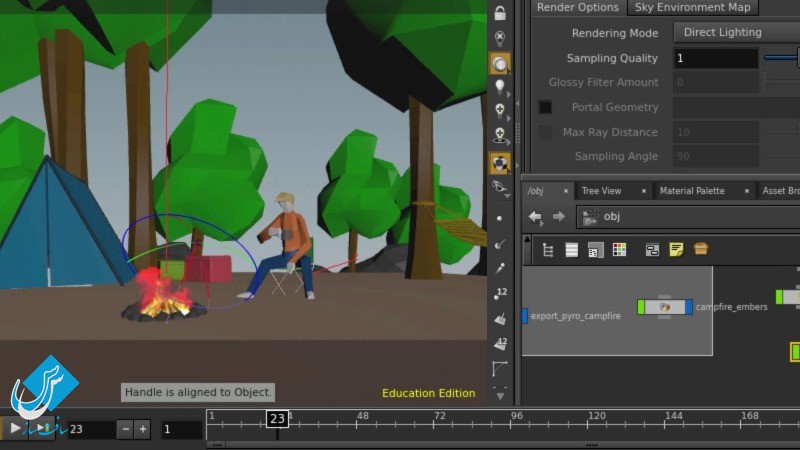
23 Setting up Lights for the Campfire Scene 05:26
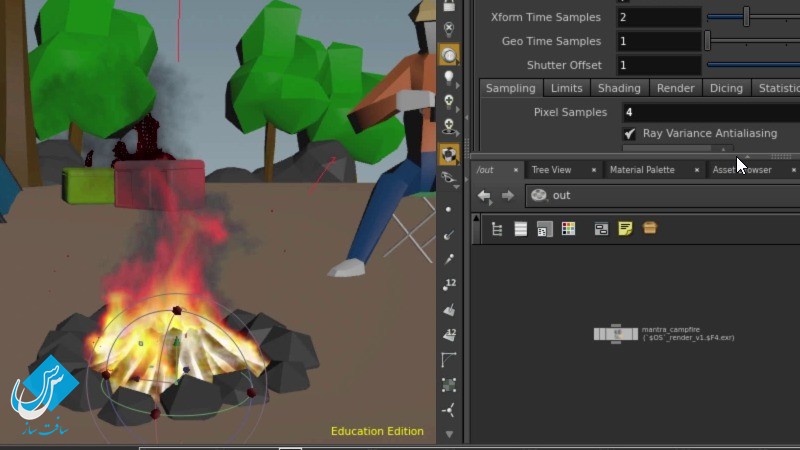
24 Applying and Tweaking a Pyro Material for the Campfire 04:21
25 Creating a Meshlight for the Campfire 07:07
26 Setting up a Mantra Node and Rendering the Campfire 09:30
27 Setting up Lights for the Snake Fire Scene 11:39
28 Applying and Tweaking a Pyro Material for the Snake Fire 07:48
29 Creating a Meshlight and Creating Render Passes for the Snake Fire 13:38
30 Compositing the Final Snake Fire Render 15:06
دانلود با لینک مستقیم و سرعت بالا :

برای دسترسی به کل محتویات سایت عضو ویژه سایت شوید
برای نمایش این مطلب و دسترسی به هزاران مطالب آموزشی نسبت به تهیه اکانت ویژه از لینک زیر اقدام کنید .
دریافت اشتراک ویژه
مزیت های عضویت ویژه :
- دسترسی به همه مطالب سافت ساز بدون هیچ گونه محدودیتی
- آپدیت روزانه مطالب سایت از بهترین سایت های سی جی
- بدون تبلیغ ! بله با تهیه اکانت ویژه دیگه خبری از تبلیغ نیست
- دسترسی به آموزش نصب کامل پلاگین ها و نرم افزار ها
اگر در تهیه اشتراک ویژه مشکل دارید میتونید از این لینک راهنمایی تهیه اشتراک ویژه رو مطالعه کنید . لینک راهنما
For International user, You can also stay connected with online support. email : info@softsaaz.ir telegram : @SoftSaaz
امتیاز دهی به این مطلب :
امتیاز سافت ساز
لطفا به این مطلب امتیاز دهید ☺️