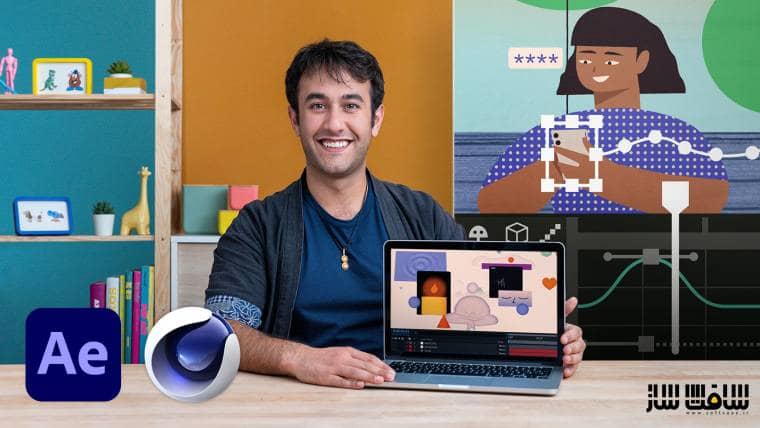
آموزش انیمیشن 2D و 3D با After Effects و Cinema 4D
Domestika - 2D and 3D Animation with After Effects and Cinema 4D
آموزش انیمیشن 2D و 3D
در این آموزش انیمیشن 2D و 3D از هنرمند Andrea Gendusa، با زندگی بخشیدن به هر نوع تصویری و ایجاد انیمیشن های عمیق و داینامیک در افترافکت و سینمافوردی آشنا خواهید شد. این انیماتور ایتالیایی، با ترکیبی از سینمافوردی و افترافکت ، بهترین تیم رویایی انیمیشن را ایجاد کرده است.
در این آموزش با نحوه ترکیب تکنیک های انیمیشن سه بعدی و دو بعدی جهت سوپرایز کردن کاربران ، افزودن عمق به انیمیشن ها و شکستن محدودیت های خطی دو بعدی را یاد خواهید گرفت. این دوره آموزشی توسط تیم ســافــت ســاز برای شما عزیزان تهیه شده است.
عناوین اصلی دوره آموزشی :
- آشنایی با مدرس دوره و کارهای ایشان
- توسعه پروژه انیمیشنی با اسکریپت
- شناسایی ایده برای ترکیب دو بعدی و سه بعدی
- ایجاد استوری بورد با تعریف زاویه و نقاط قوت هر فریم،حرکات مختلف دوربین، نحوه انتقال به صحنه سه بعدی
- استفاده از استوری بورد بعنوان یک رفرنس
- ایجاد افکت ها،تکسچرینگ و تکنیک های مختلف پست پروداکشن در Illustrator و After Effects
- سازماندهی پروژه انیمیشن برای طراحی صحنه های ویدویی
- انیمیت کردن صحنه ها در افترافکت
- آشنایی با چندین افزودن مفید جهت ساده سازی کار
- طراحی اجزای سه بعدی انیمیشن در سینمافوردی
- پیکرپبندی پروژه،مدل سازی آبجکت های ساده و انیمیت آن در سینمافوردی
- استفاده از افزونه Cineware
- ایجاد متریال ها و نورپردازی با سینمافوردی
- اکسپورت انیمیشن به افترافکت و کامپوزیشن آن

عنوان دوره : Domestika – 2D and 3D Animation with After Effects and Cinema 4D
سطح : متوسط
زمان کل دوره : 19 ساعت
تعداد فایل های تصویری : 66
سال آموزش : 2020
فایل تمرینی : ندارد
مربی دوره : Andrea Gendusa
نرم افزار : After Effects, Illustrator, Cinema 4D
زیرنویس انگلیسی : دارد
Domestika – 2D and 3D Animation with After Effects and Cinema 4D
Learn how to breathe life into any illustration and create animated pieces with depth and dynamism
A great team goes beyond the sum of its components; its members must complement each other, enhancing their strengths and minimizing their weaknesses. Through the perfect combination of Adobe After Effects and Cinema 4D, Italian animator Andrea Gendusa has created the ultimate animation dream team.
In this course, you will learn to combine 2D and 3D animation techniques to surprise your viewers, adding depth to your animations and breaking the linear limits of 2D.
Get to know a bit about Andrea and his professional career. Learn what types of projects he works on and take a look at some of his main influences.
Start developing your final animation project using a brief and a script, identifying a simple idea to combine 2D and 3D in at least one scene of the project.
Create a storyboard to define the angles and strong points of each frame, the different camera movements, and how to transition into a scene made in 3D.
Using your storyboard as a reference, define the visual style of your piece. Using Illustrator and After Effects, effects, textures, and different post-production techniques will be applied, depending on the artistic direction of your project.
Start designing the scenes of your video, paying special attention to how you organize your animation project. Animate the scenes in After Effects and get some workflow tips from Andrea to help avoid jams during the animation process. Learn about some useful plug-ins to help you streamline your work.
Next, go into Cinema 4D to design the 3D components of your animation. Andrea explains how to configure the project, model simple objects, and animate them. Once you have your scene defined, it’s time to synchronize the two programs using the Cineware plug-in.
Finally, create the materials and lighting within Cinema 4D. Export your 3D animation to After Effects for compositing and give your animation the final touches it needs before sharing it with the world.
What is this course’s project?
Create a 20 to 30-second animation in Adobe After Effects with at least two transitions made in Cinema 4D.
Who is it for?
Animators, designers, illustrators, or anyone who would like to learn new animation tools to enhance their projects.
What you need
You will need basic knowledge of Adobe After Effects, Illustrator, and Cinema 4D.
Regarding the materials, you will need a computer with the aforementioned programs installed (or similar) and an iPad or graphics tablet.
حجم کل : 5.2 گیگابایت

برای دسترسی به کل محتویات سایت عضو ویژه سایت شوید
برای نمایش این مطلب و دسترسی به هزاران مطالب آموزشی نسبت به تهیه اکانت ویژه از لینک زیر اقدام کنید .
دریافت اشتراک ویژه
مزیت های عضویت ویژه :
- دسترسی به همه مطالب سافت ساز بدون هیچ گونه محدودیتی
- آپدیت روزانه مطالب سایت از بهترین سایت های سی جی
- بدون تبلیغ ! بله با تهیه اکانت ویژه دیگه خبری از تبلیغ نیست
- دسترسی به آموزش نصب کامل پلاگین ها و نرم افزار ها
اگر در تهیه اشتراک ویژه مشکل دارید میتونید از این لینک راهنمایی تهیه اشتراک ویژه رو مطالعه کنید . لینک راهنما
For International user, You can also stay connected with online support. email : info@softsaaz.ir telegram : @SoftSaaz
امتیاز به این مطلب :
امتیاز سافت ساز
لطفا به این مطلب امتیاز بدید 🦋