دوره بینظیر مقدمه ای بر Arnold 6 , 7 برای Cinema 4d | آپدیت
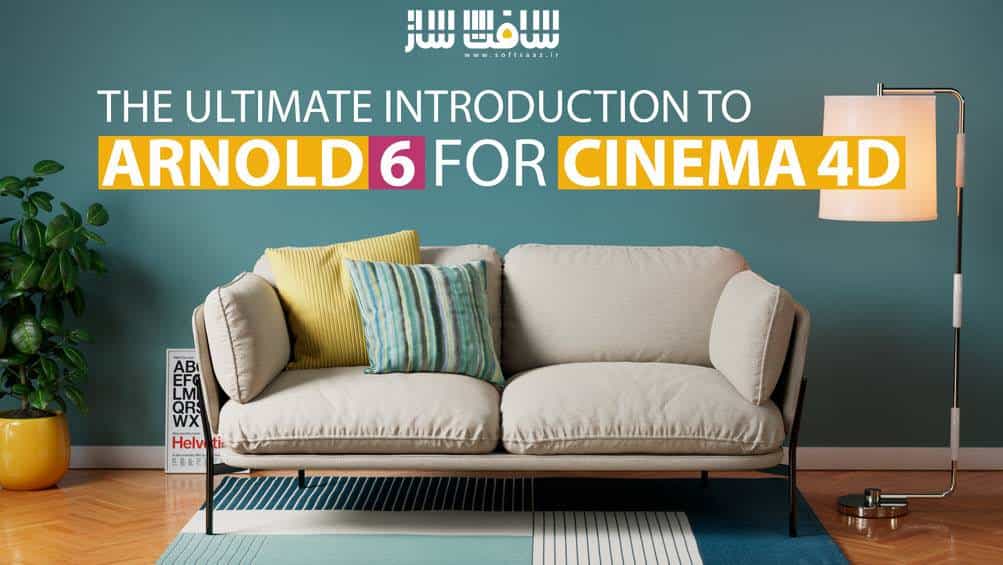
The Ultimate Introduction to Arnold 6-7 for Cinema 4d
دوره بینظیر مقدمه ای بر Arnold 6
در این دوره بینظیر مقدمه ای بر Arnold 6 برای Cinema 4d مدرس به شرح تمامی پارامتر های ورژن جدید Arnold 6 می پردازد و ضمن معرفی تفاوت های این موتور رندر با ورژن قبلی اقدام به تشریح کاملا علمی و عملی نور و شیدر میکند و شما را قادر به ساخت متریال های پیچیده به وسیله این موتور رندر قدرتمند میکند .
این دوره که در برگیرنده 700 دقیقه یعنی قریب به 12 ساعت است شامل 84 ویدئوی آموزشی است هر کدام از فیلم های آموزشی شما را یک گام تا مسیر حرفه ای شدن همراهی میکند دروس و سیلابس درسی این مجموعه آموزشی به شرح زیر است :
مقدماتی : در این قسمت به معرفی توابع مختلف موتور رندر آرنولد می پردازیم و شما را از جریان کلی پردازش تصویر توسط این موتور رندر مطلع خواهیم ساخت.
نمونه برداری یا سمپلینگ : وقتی با آرنولد مشغول فعالیت هستید مباحثی مانند Sampling و Ray depth بسیار حائز اهمیت هستند که شما باید به صورت پایه ای با آن ها آشنا شوید به همین خاطر است که ما هشت جلسه خود را یعنی قریب به هشت جلسه درسی را به تشریح کامل این بحث اختصاص داده ایم ما باید مطمعن شویم شما به صورت اصولی کنه و ریشه این مطلب را درک کرده اید.
نورپردازی : در این جلسه شما قادر به درک رفتار نور در دنیای واقعی و شبیه سازی آن در نرم افزار سینما فوردی توسط موتور رندر آرنولد هستید و متوجه تفاوت نور های مختلف در موتور رندر Arnold میشود از جمله نور هایی که در این جلسه مورد بحث و بررسی قرار میگیرد میتوان به Area Lights ، Spot ، Distant و Point Lights اشاره کرد ما یاد میگیریم که Light Filters چیست و چگونه میتوانیم از ویژگی های آن ها استفاده کنیم در ادامه به تشریح کامل Image Based Lighting به وسیله عکسهای HDRI میپردازیم شما در ادامه یاد میگیرید چگونه قادر به رندرینگ نور های صحنه های داخلی و خارجی باشید در ادامه به معرفی روش های دستیابی به نور های Volumetric در Arnold می پردازیم و شما را با نتایج حیرت انگیز این موتور رندر رو به رو خواهیم کرد سرانجام یاد میگیریم از Light Manager به منظور ساماندهی به نور های موجود در صحنه استفاده کنیم.
شیدینگ : در این جلسه شروع به معرفی شیدر ها و نود های درون انجین آرنولد میکنیم یعنی نه تنها شما از روند کلی شیدر های خاص در آرنولد یک درک کلی پیدا میکنید بلکه بعد از تماشای این قسمت مجهز به درک فرامین و مفاهیم زیر خواهید شد. تکنیک cuttingedge در shader development اصول هسته شیدینگ.
دوربین : در این قسمت به معرفی و تشریح کامل انواع دوربین ها ، موشن بلر و دف آف فیلد و هر آنچه به دروبین در موتور رندر آرنولد مربوط میشود خواهیم پرداخت.
رندرینگ و خروجی : این قسمت را میتوان یکی از مهم ترین قسمت های این کورس آموزشی دانست چرا که ضمن تعلیم مباحث مهمی مانند IPR به تشریح روش های رندر گیری به وسیله GPUخواهد پرداخت و سعی در زدایش افکار غلط در مورد رندر گیری با GPU در Arnold دارد مثل اینکه چرا گاهی اوقات زمان زیادی باید صرف شروع رندر با کارت گرافیک در موتور رندر Arnold شود و نتیجه میگیریم که رندر با Arnold توسط کارت گرافیک بسیار قدرتمند است. این دوره آموزشی توسط تیم ســافــت ســاز برای شما عزیزان تهیه شده است.
درس های متفرقه : در این درس به معرفی و تشریح مفاهیم زیر خواهیم پرداخت :
- Arnold Scatter Object
- Arnold Parameters tag
- USD
- ASS
- particles
- splines
- Arnold volume
- openVDB

عنوان دوره : The Ultimate Introduction to Arnold 6-7 for Cinema 4d
سطح : متوسط
زمان کل دوره : 12 ساعت
تعداد فایل های تصویری : 84
سال آموزش : 2020
فایل تمرینی : دارد
مربی دوره : mographplus
نرم افزار : Cinema 4d , Arnold
زیرنویس انگلیسی : ندارد
Gumroad The Ultimate Introduction to Arnold 6-7 for Cinema 4d
It’s a 700 minutes course, almost 12 hours, in 84 videos, every single minute is planned and thought for, there is no rambling, you get the top-notch quality you’ve come to expect from MographPlus.
Chapter 1: Introduction
we start off the course by introducing Arnold for Cinema 4d, where to find different Arnold tools and functions, and walk you through the general workflow to get your job down with Arnold inside Cinema 4d.
Chapter 2: Sampling
When working with Arnold, sampling and ray depth are the most important principles that you should be familiar with, that’s why we discuss them comprehensively in 42 minutes and in 8 lessons , we make sure you comprehend the core principles before moving on to more general topics like lighting and shading.
Chapter 3: Lighting
The next section of the course is all about lighting, you learn about the fundamentals of lighting and different lighting techniques while learning about the vast and unique lighting tools that Arnold offers.
We learn about Area Lights, spot, distant and point lights, mesh and photometric lights.
We learn what are light filters and how to use them to direct lighting very specifically.
We talk about physical sky and image-based lighting, you learn how to approach interior and exterior lighting in Arnold for cinema 4d.
We learn about the amazing volumetric effects in Arnold, including Atmosphere Volume and fog.
And finally, we discuss how to use Arnold’s light manager to be able to manage all the lights in the scene in one single window.
Chapter 4: Shading
In this section we start talking about Arnold shaders and nodes. Not only you learn about all the specific Arnold shaders, but after watching this section, you will be equipped with the core shading fundamentals and cutting-edge techniques in shader development.
First, we get to know the Arnold Shader Network in depth, then we learn about the powerful Standard Surface Shader which is capable of creating all sorts of materials, we dedicated 9 in-depth videos to this shader.
Then we discover bump and displacement mapping in Arnold.
After that I will introduce you to a new simplified approach to shader creation, I will show you how to create some of the most daily shaders like plastic, wood, concrete, metals and so on.
You also learn how to create highly realistic Human Skin Shader using the Standard Surface Shader.
Standard Hair Shader will be covered in detail, it’s an easy to use, yet powerful shader…
We’ll be covering the robust Car Paint and Toon Shaders as well, we learn how to read and render Mograph and field colors and render them with Arnold.
Then we learn about Layer and mix, Flat, lambert, two-sided, color jitter, triplanar, RaySwitch, Ambient occlusion, curvature, shadow matte, utility, substance shader, color and utility nodes, math, conversion and shading state nodes and much more.
Chapter 5: Camera
Then we learn all about Cameras, camera types, Depth of field, motion blur and everything that relates to working with cameras in Arnold.
Chapter 6: Rendering
This chapter is all about rendering with Arnold, first we discover the powerful IPR or Interactive Preview Render window.
Then we talk about GPU Rendering in Arnold and clear all the misconceptions about it, like why sometimes it takes so much time before GPU rendering starts and so on, Arnold’s implementation of GPU rendering is quite good as you can switch between CPU and GPU rendering flawlessly.
Then we talk about ACES, a system to manage color in all levels of the production, I will give you an overall understanding of what ACES is and does, then I share a few examples comparing ACES and the default color manger and show you why ACES is just way better.
Then we take a look at Arnold Driver and how to export still frames and animations with Arnold.
After that, we dive deep into the subject of AOVs. What are the AOVs that Arnold offers and how to save them out. we talk about custom AOVs, Global AOV Shaders, cryptomatte workflow, AOV light groups, and finally compositing AOVs in fusion will be covered, both the famous back to beauty composite with the essential AOVs and the Light Mix composite which let us to relight our scene completely after the render in a very easy manner.
After that we discover different render settings in Arnold including adaptive sampling, texture settings and TX manager.
We cover Nvidia’s real-time Optix denoiser and the Arnold’s own powerful post-render denoiser in-depth with a lot of comparative examples.
Chapter 7: Miscellaneous
In the final chapter of the course, we take a closer look at Arnold Scatter Object, Arnold Parameters tag, Arnold scene export to USD and ASS files, and Arnold Procedurals.
Then we learn how to deal with particles and splines,.we also take a look at some of the very useful Arnold utilities.
And at last, we learn about Arnold volume, I show you all the steps you need to render openVDB files in Arnold and how to render realistic fire, smoke and explosion in Cinema 4d thanks to the Standard Volume shader.
حجم کل : 32.2 گیگابایت

برای دسترسی به کل محتویات سایت عضو ویژه سایت شوید
برای نمایش این مطلب و دسترسی به هزاران مطالب آموزشی نسبت به تهیه اکانت ویژه از لینک زیر اقدام کنید .
دریافت اشتراک ویژه
مزیت های عضویت ویژه :
- دسترسی به همه مطالب سافت ساز بدون هیچ گونه محدودیتی
- آپدیت روزانه مطالب سایت از بهترین سایت های سی جی
- بدون تبلیغ ! بله با تهیه اکانت ویژه دیگه خبری از تبلیغ نیست
- دسترسی به آموزش نصب کامل پلاگین ها و نرم افزار ها
اگر در تهیه اشتراک ویژه مشکل دارید میتونید از این لینک راهنمایی تهیه اشتراک ویژه رو مطالعه کنید . لینک راهنما
For International user, You can also stay connected with online support. email : info@softsaaz.ir telegram : @SoftSaaz
امتیاز به این مطلب :
امتیاز سافت ساز
لطفا به این مطلب امتیاز بدید 🦋