آموزش و معرفی جامع کرونا رندر برای Cinema 4D
Mograph Plus – Comprehensive Introduction to Corona for Cinema 4D
آموزش و معرفی جامع کرونا رندر
در این آموزش ” معرفی جامع کرونا رندر برای سینما فوردی ” از شرکت MographPlus ، مدرس در طول 8 ساعت به شما می آموزش می دهدچگونه از Corona به صورت حرفه ای در سینما فوردی استفاده کنید ، در بخش اول آموزش ما یک مرور کلی از رابط کاربری Corona و جریان کاری کلی در سینما فوردی را برای شما ارائه می دهیم ، سپس به بخش 2 می روید همه چیز در مورد نورپردازی و Global Illumination است در این بخش می آموزیم که چگونه پرتوهای نور در دنیای واقعی کار می کنند و چگونه Corona با استفاده از Global illumination رفتار مشابهی را شبیه سازی می کند ،
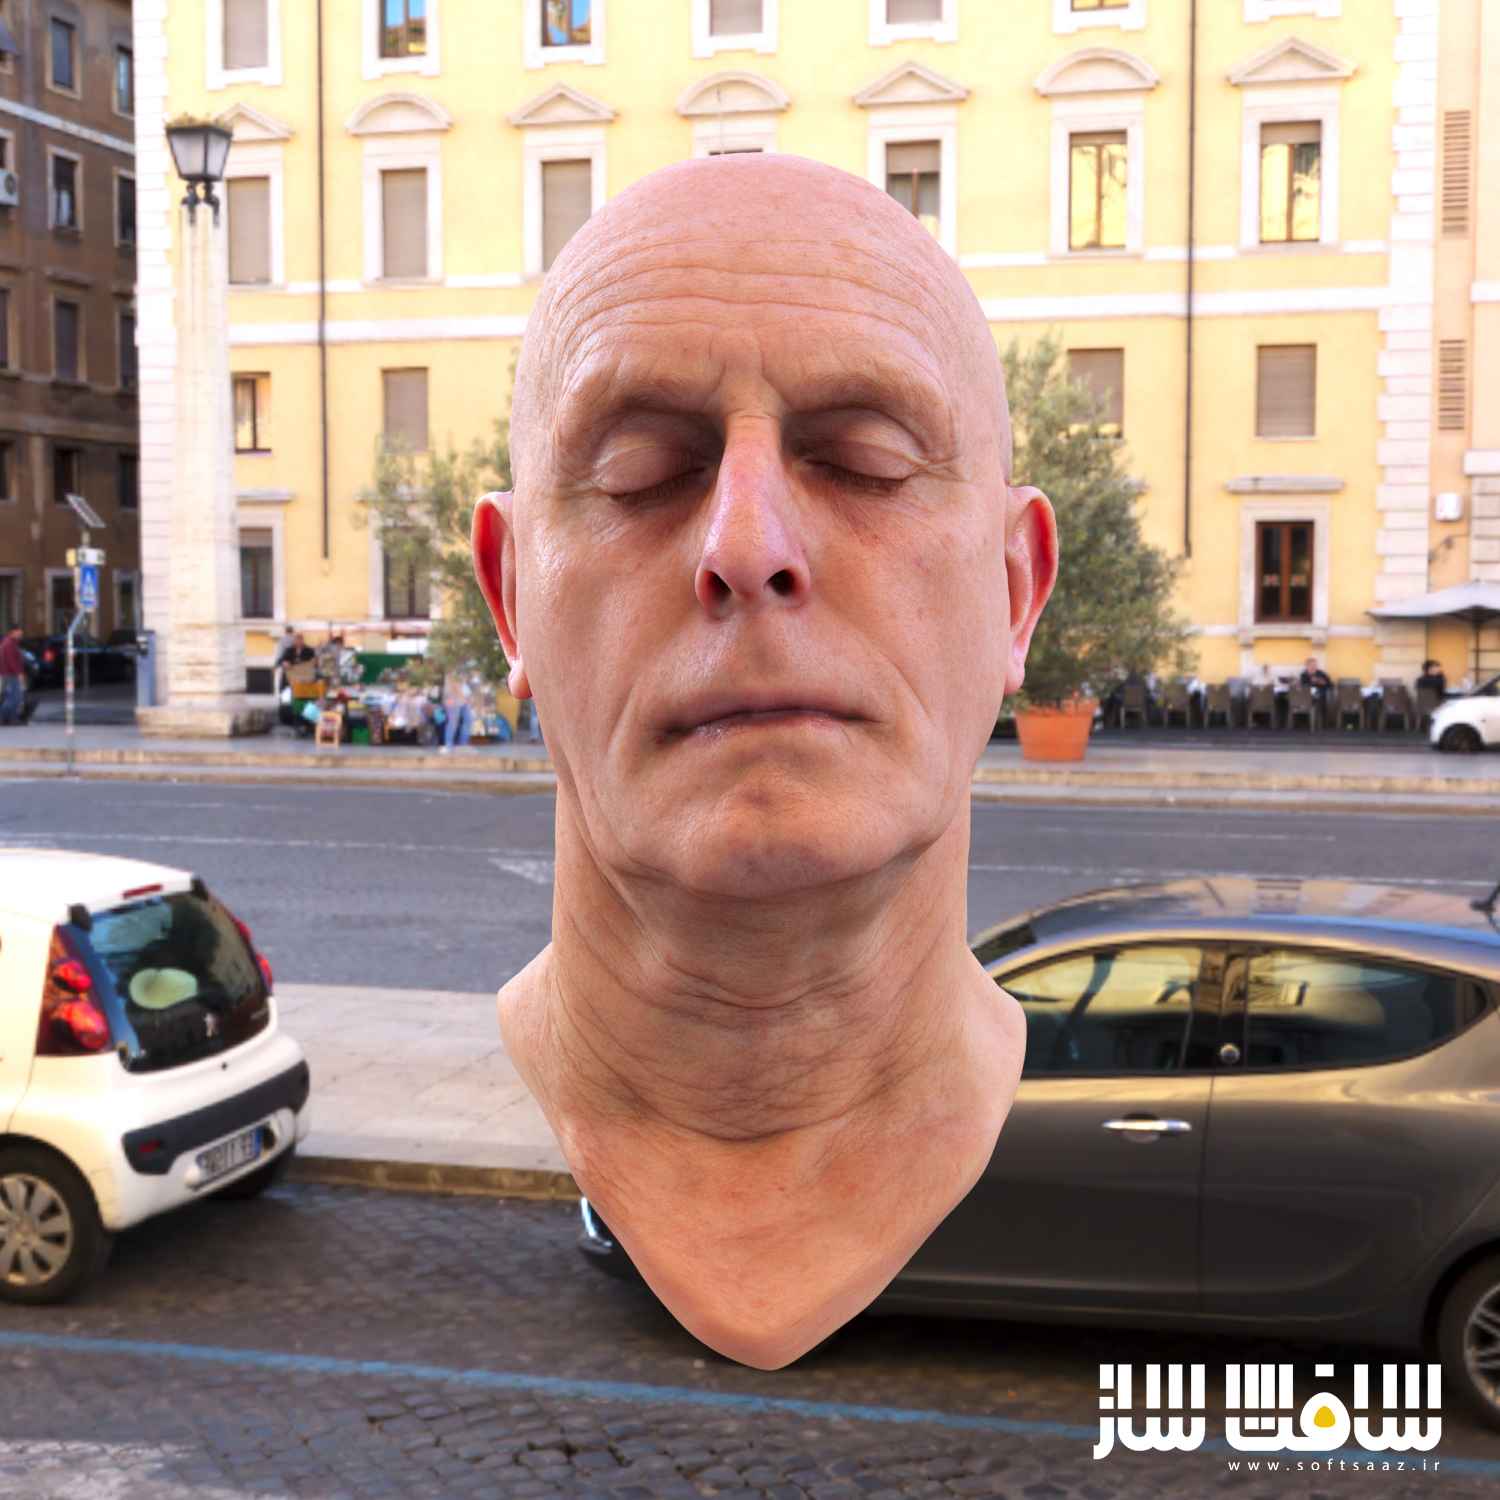
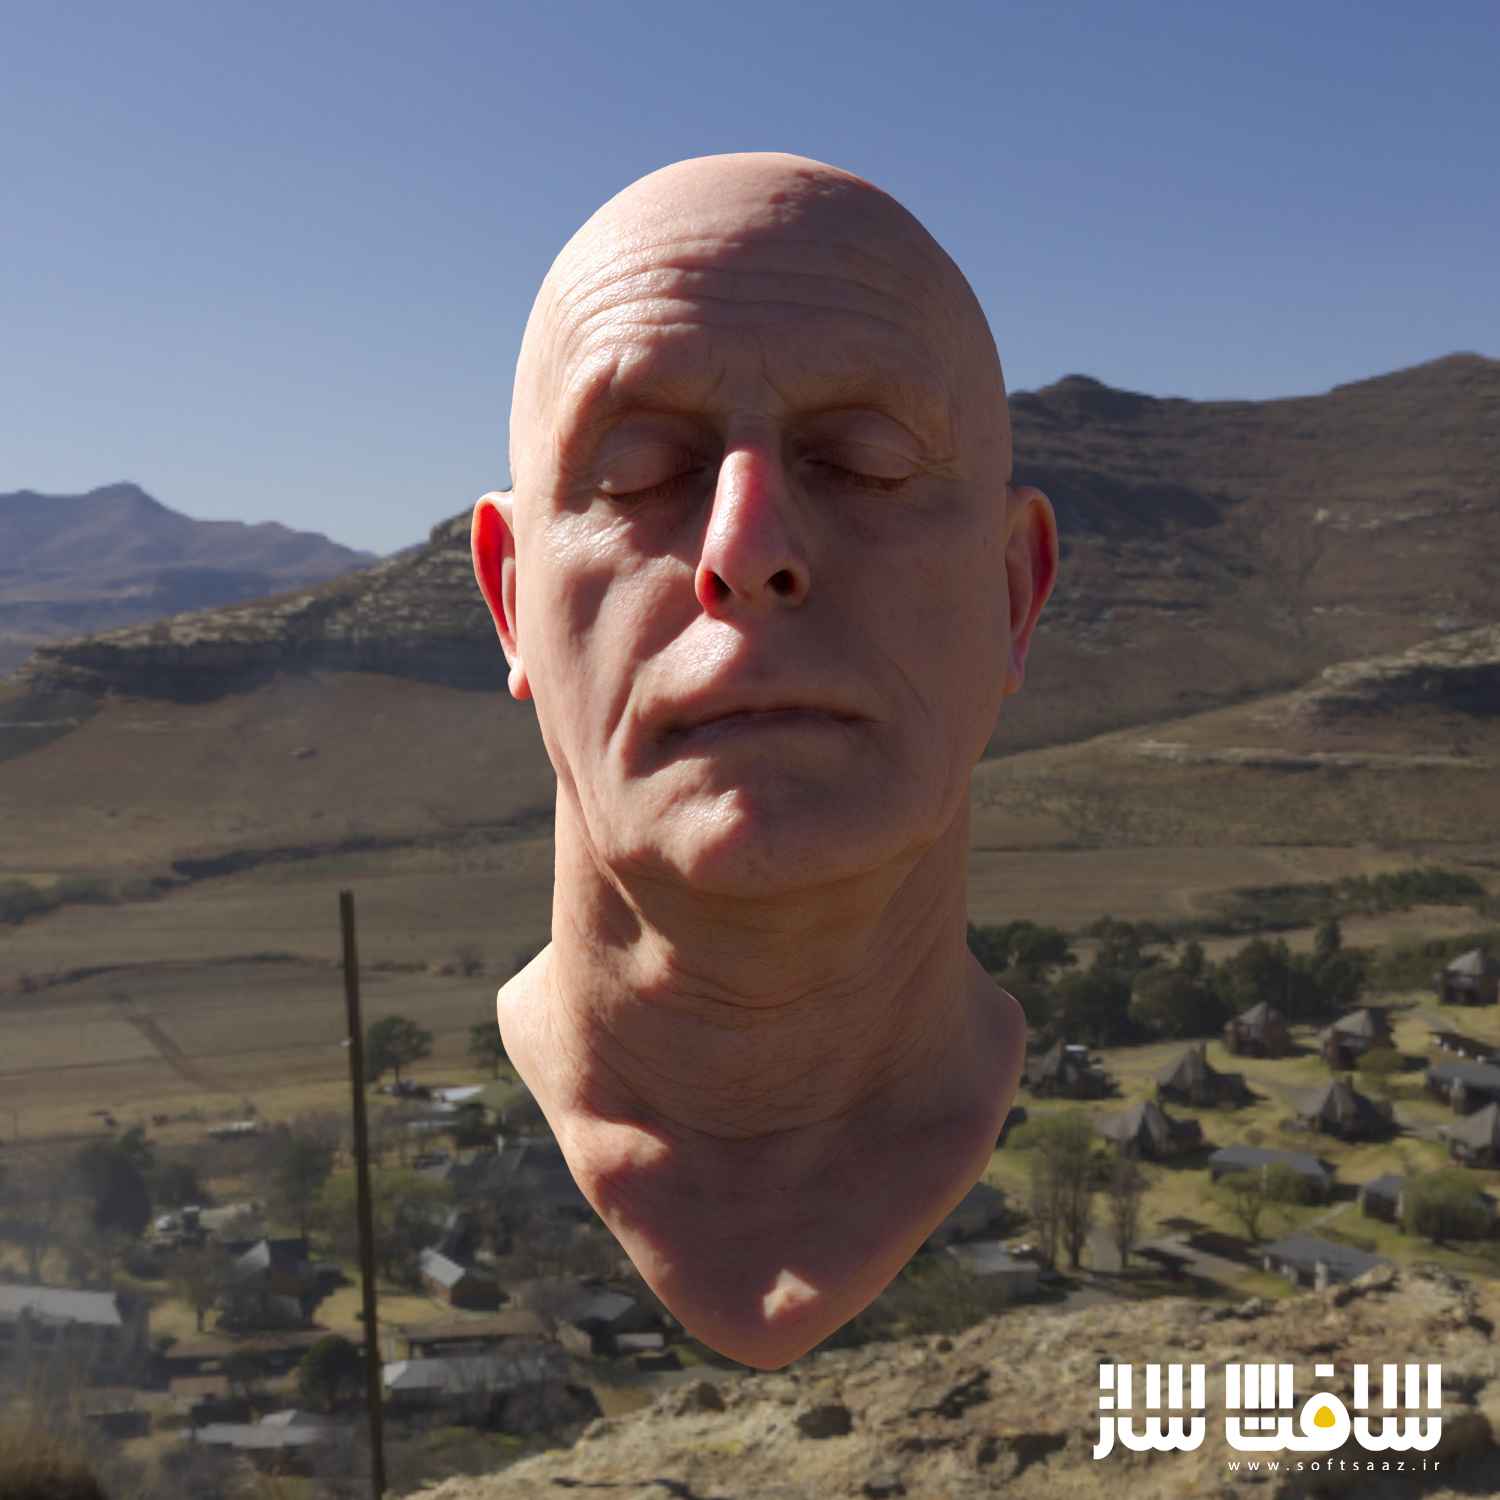
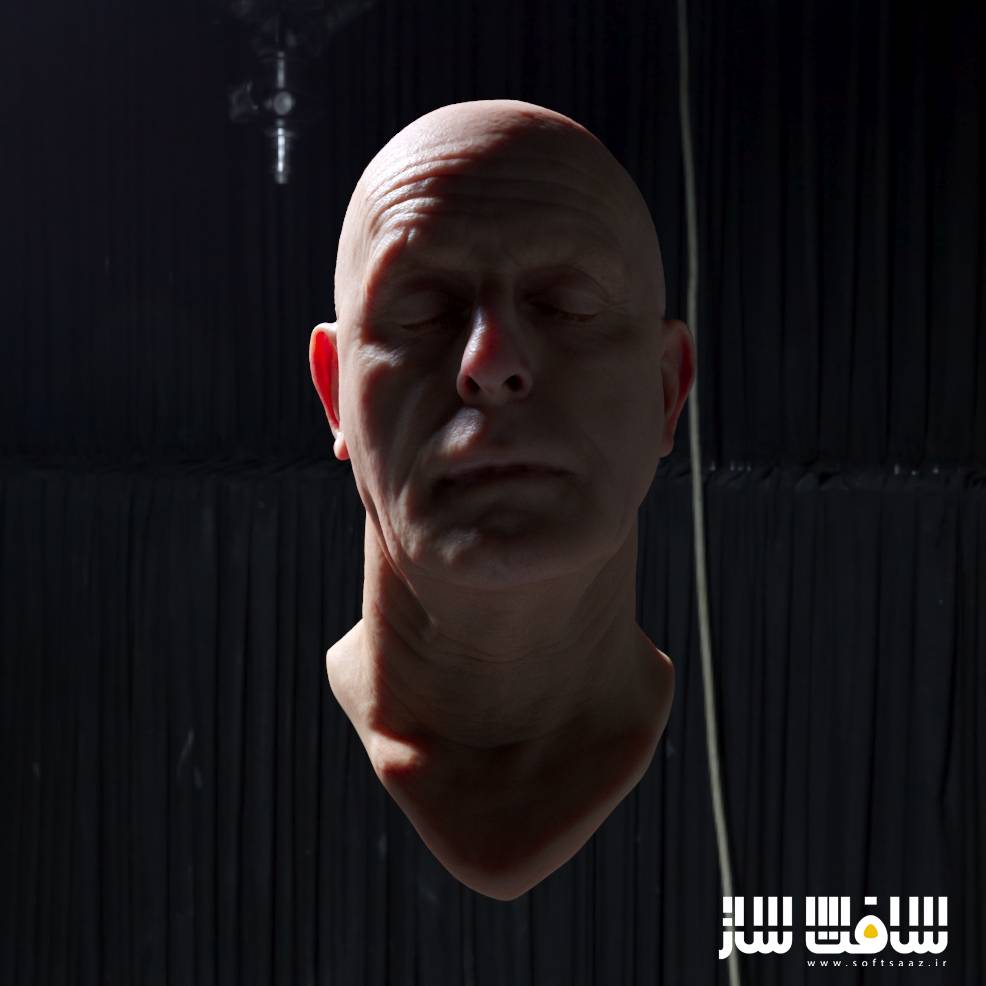
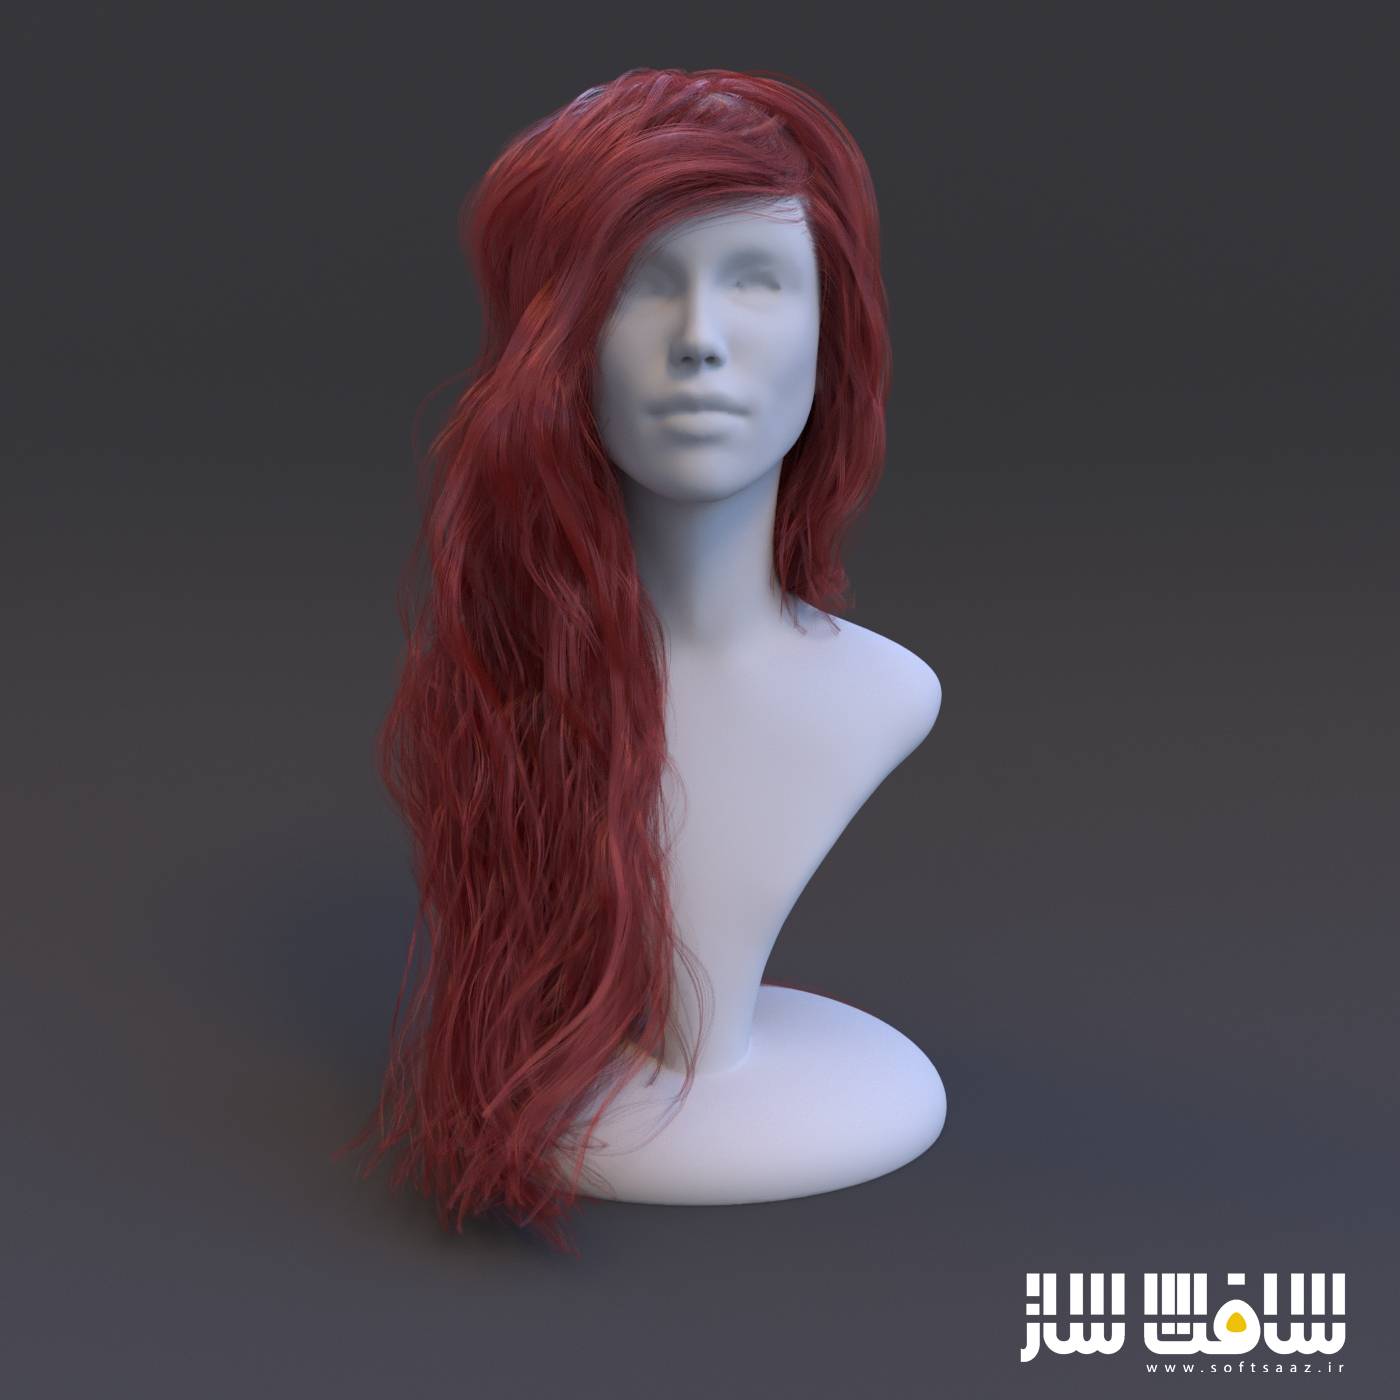
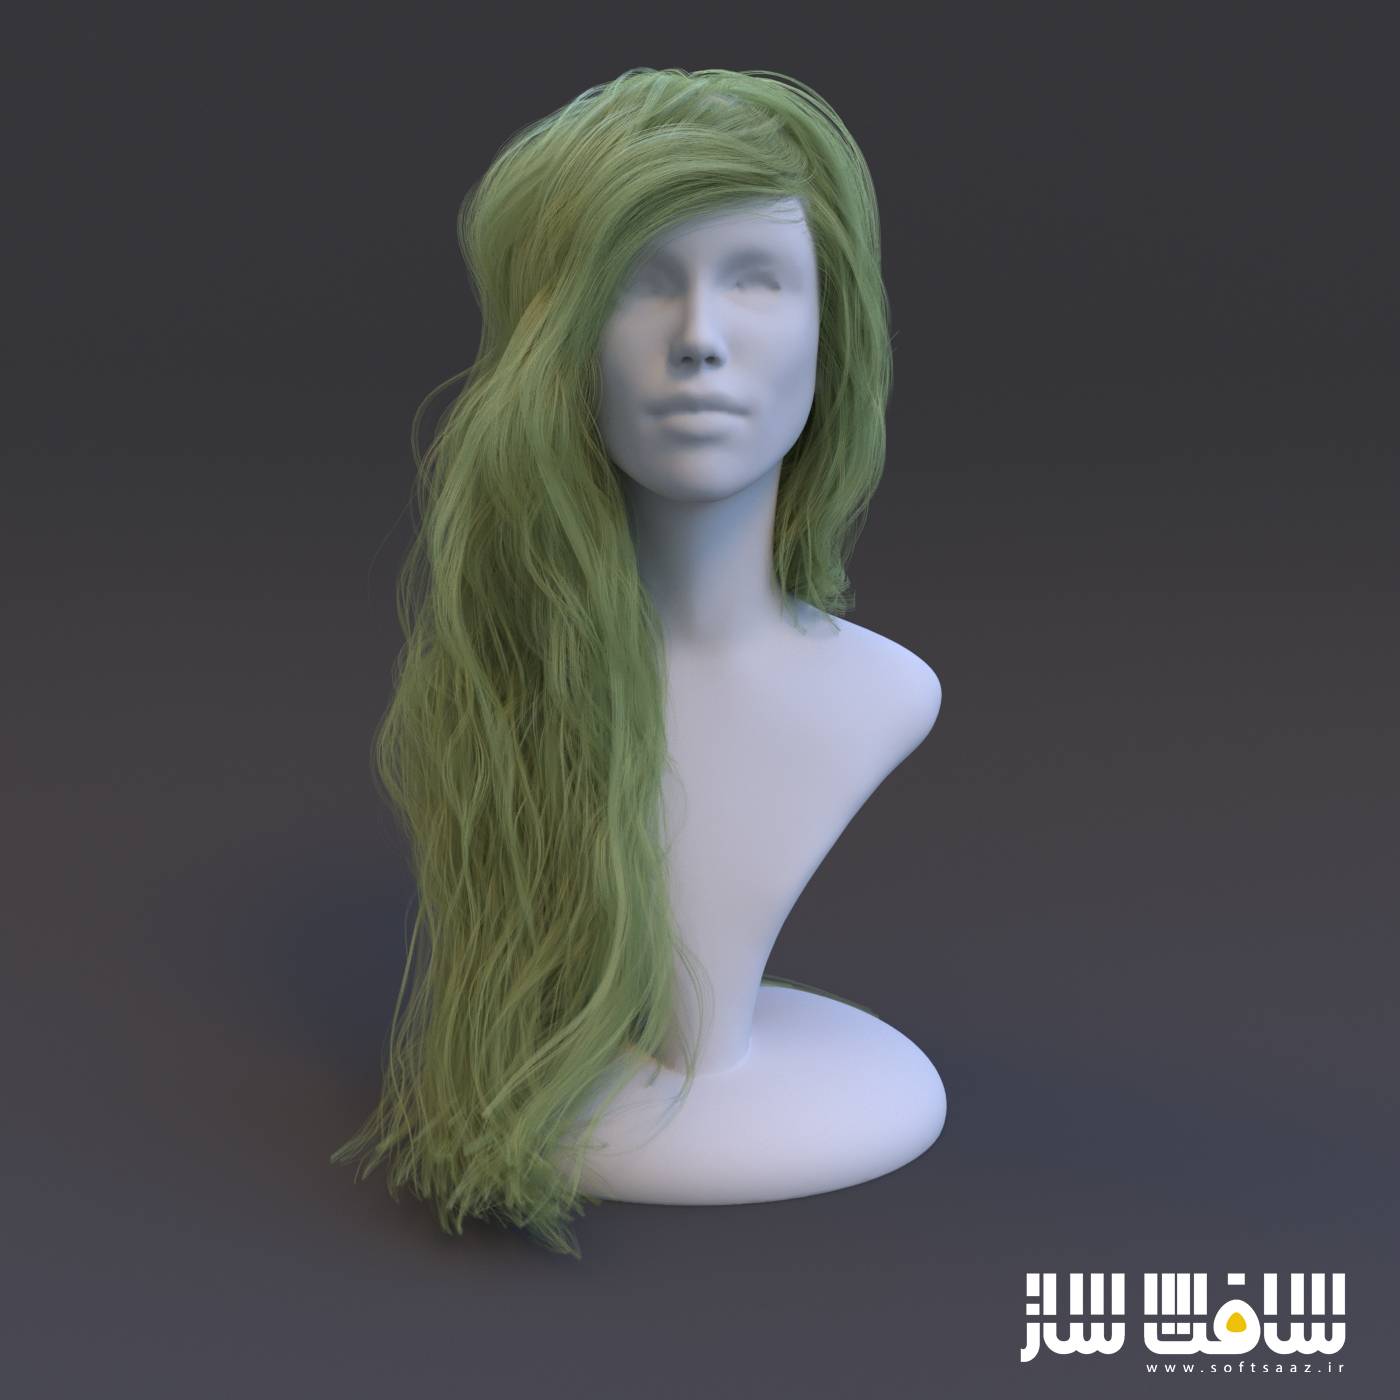
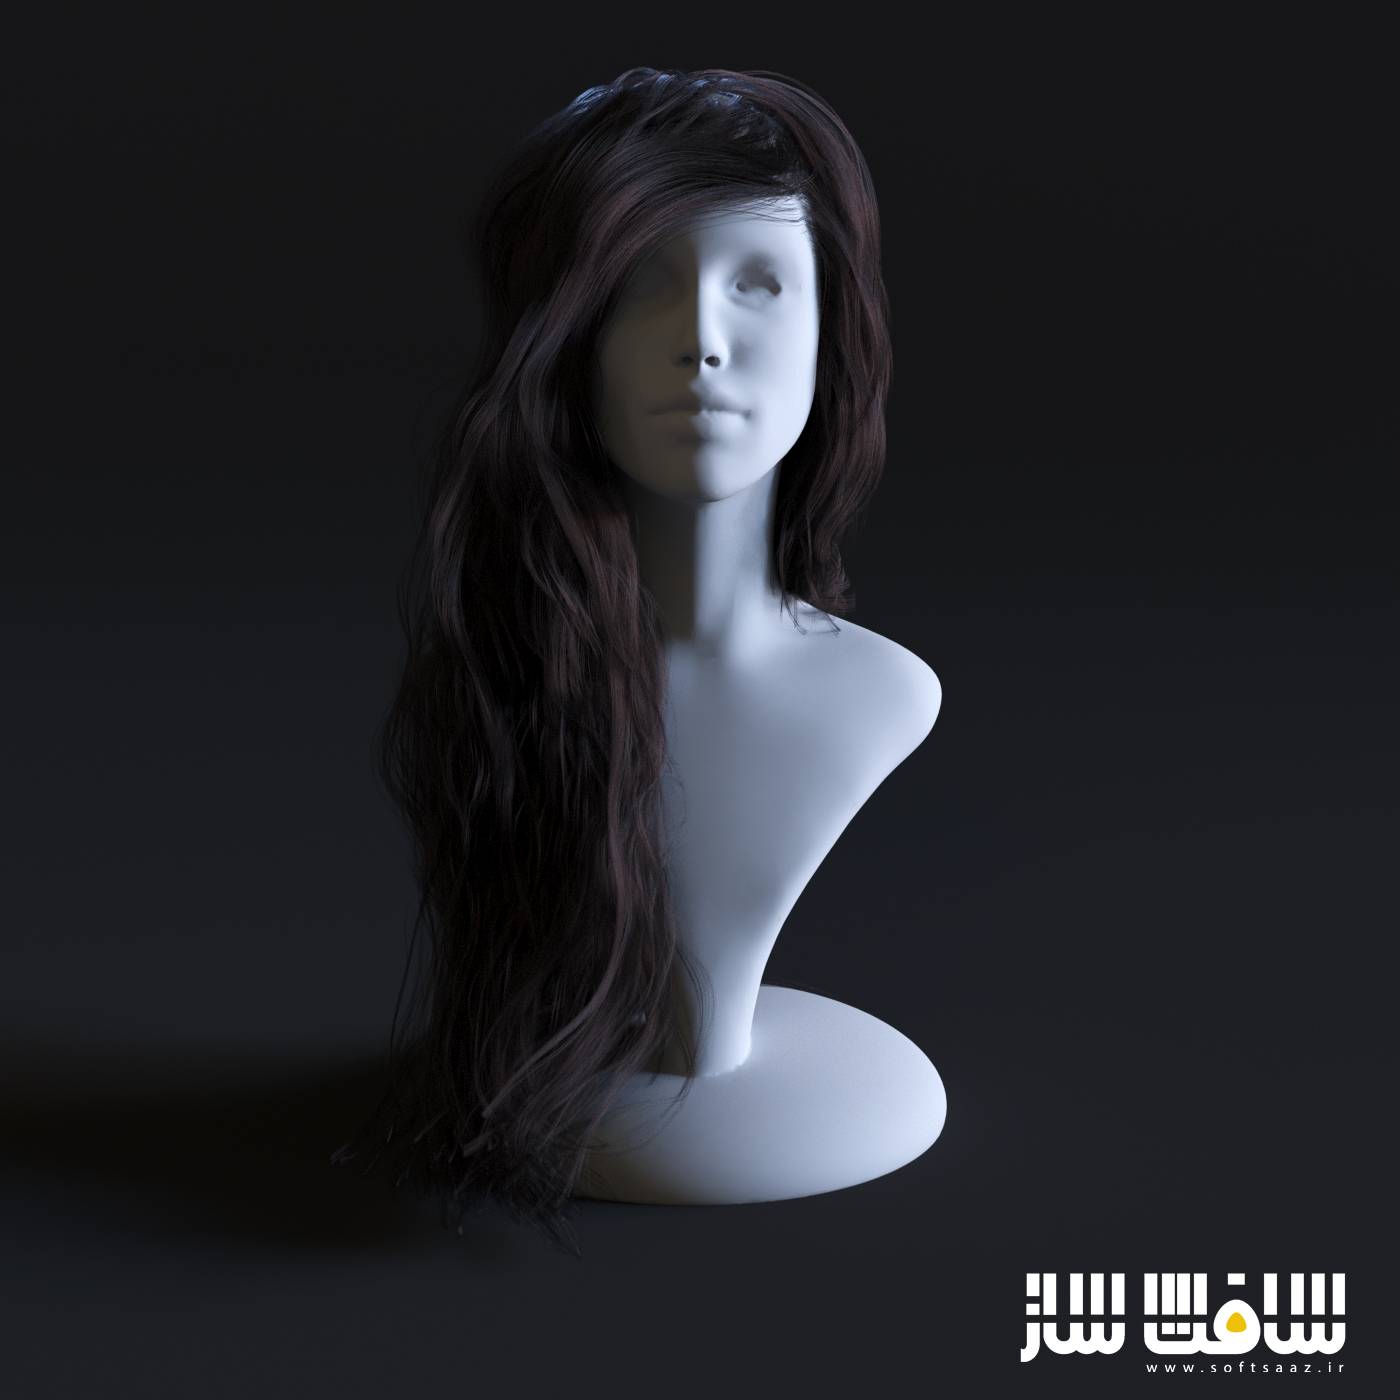
پس از یادگیری اصول روشنایی و GI ، نگاهی به Corona Sun و Sky ، نورپردازی مبتنی بر تصویر ، Corona Light Material می اندازیم ، بخش سوم به متریال و مپ های کرونا اختصاص داده شده است ، ابتدا در مورد Corona Material که متریال اصلی Corona است به صورت کامل توضیح داده می شود سپس همه چیز را در مورد متریال Corona و چگونگی ایجاد سایه های واقع بینانه با آن می آموزیم ، سپس با استفاده از متریال skin به ساخت پوست های واقع بینانه می پردازیم ، ما متریال Hair کرونا را کشف می کنیم که قادر به تولید شیدر موهای بسیار طبیعی و واقع بینانه است ،
و در آخر ، تمام متریال و مپ های باقیمانده را نیز که در Corona گنجانده شده است مرور می کنیم . در بخش بعدی که درباره دوربین Corona و جلوه های دوربین رو شرح می دهیم ، ابتدا دوربین Corona را به عمق کاوش می کنیم ، سپس می آموزیم که چگونه می توان جلوه هایی مانند عمق میدان رو تولید و تنظیم کرد ، من در مورد انواع مختلف دوربین از جمله VR در کرونا صحبت می کنم ،
در بخش بعدی ، به تنظیمات رندر کرونا نگاهی می اندازیم ، ابتدا Corona Frame Buffer و قسمت های تشکیل دهنده اون رو شرح می دهیم سپس به محدودیتهای رندر نگاهی می اندازیم ، سپس در مورد رندرهای از سرگیری و نحوه استفاده از ویژگی denising برای دستیابی به رندرهای بدون نویز می آموزیم.
سپس تنظیمات performance ، که احتمالاً مهمترین تنظیمات رندر در Corona هستند مورد بحث قرار می گیرند ، و در آخر ، در مورد عناصر Cororna Render یا passe های رندر بحث می کنیم ، همه عناصر رندر را مرور می کنیم و یاد می گیریم که چگونه عناصر رندر مختلف را تولید می کنیم و چه چیزهایی را به رندر نهایی اضافه می کند ،
در بخش پایانی ، ما نگاهی به Corona Proxy و corona compositing tag ، تنظیمات دید و در نهایت مبدل صحنه corona می اندازیم که امکان تبدیل ساده صحنه های سینمای فوردی و vray به صحنه های کرونا رو فراهم می کند. این دوره آموزشی توسط تیم ســافــت ســاز برای شما عزیزان تهیه شده است.
عناوین اصلی دوره آموزشی :
- بخش اول : مقدمه
- بخش دوم : نورپردازی و GLOBAL ILLUMINATION
- بخش سوم : متریال
- بخش چهارم : دوربین
- بخش پنجم : تنظیمات رندر
- بخش ششم : متفرقه
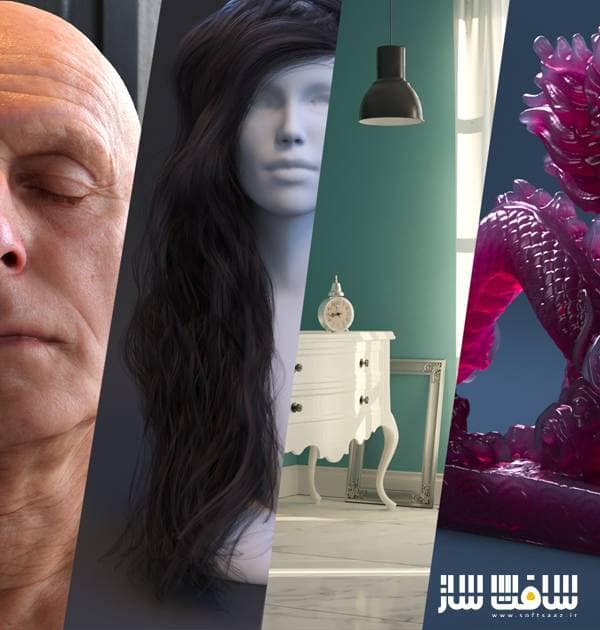
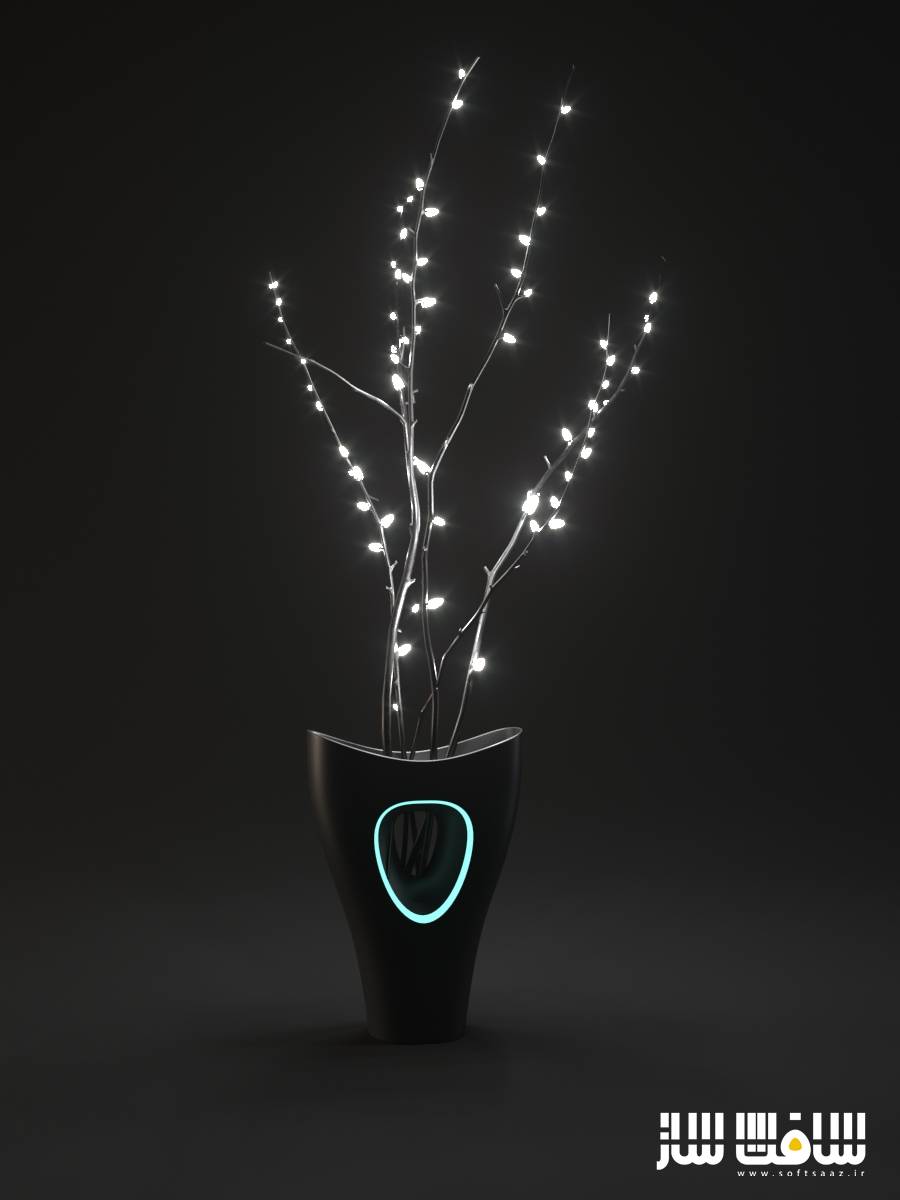
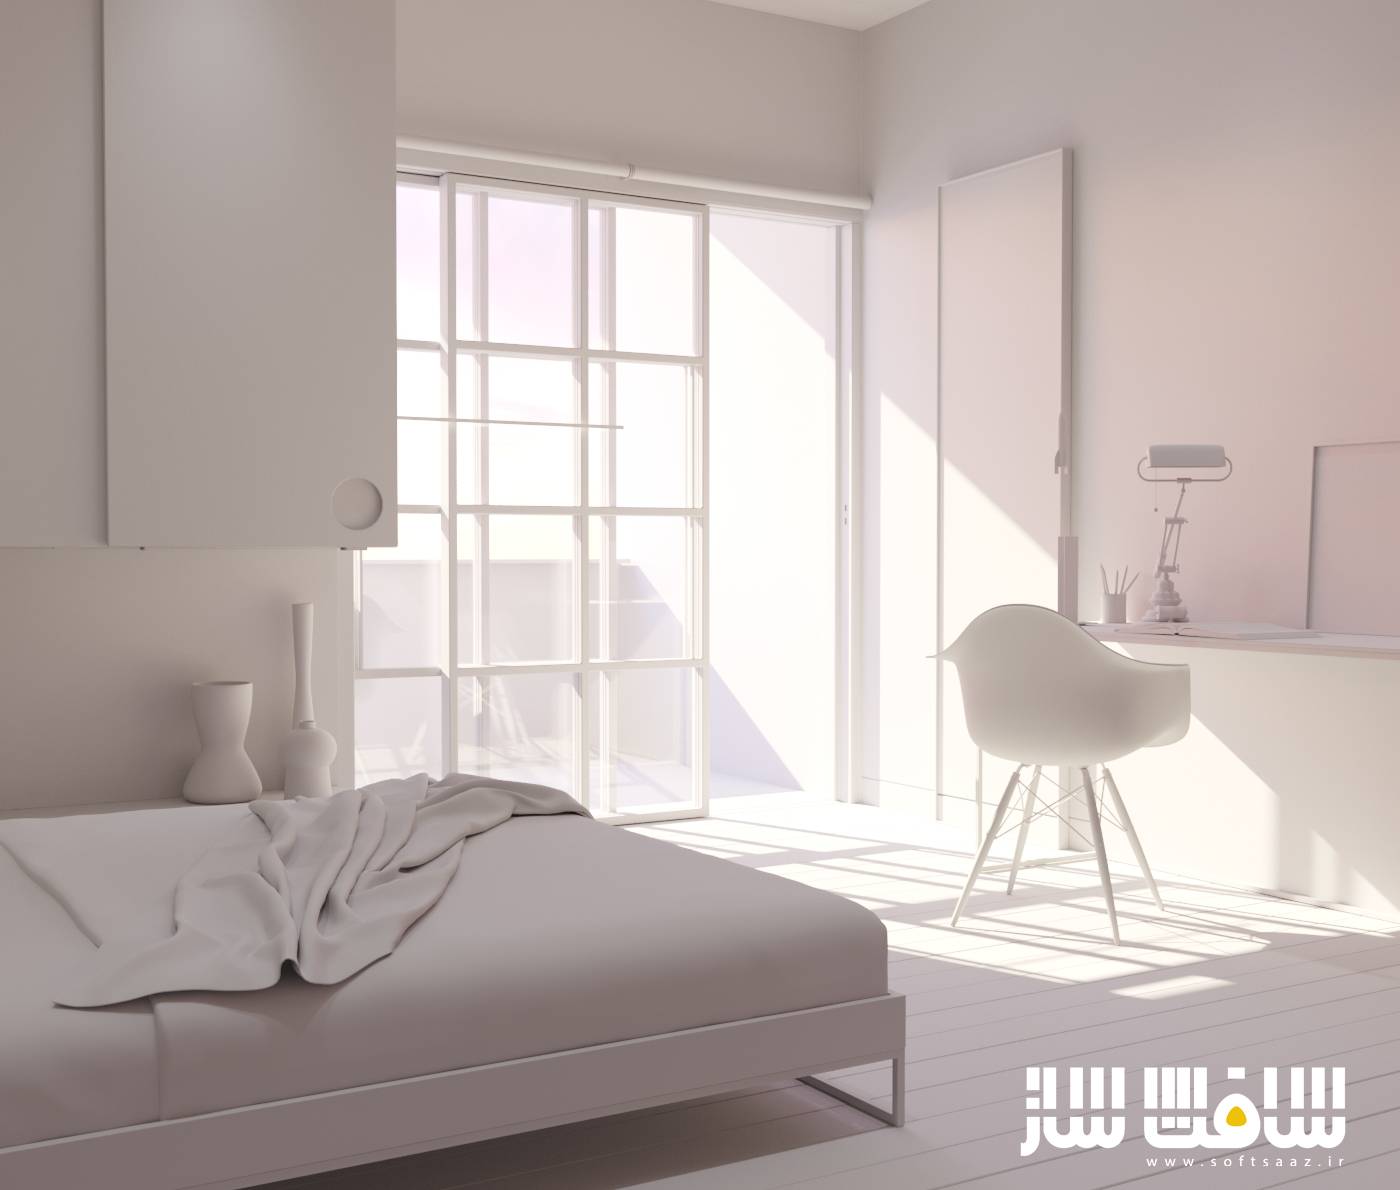
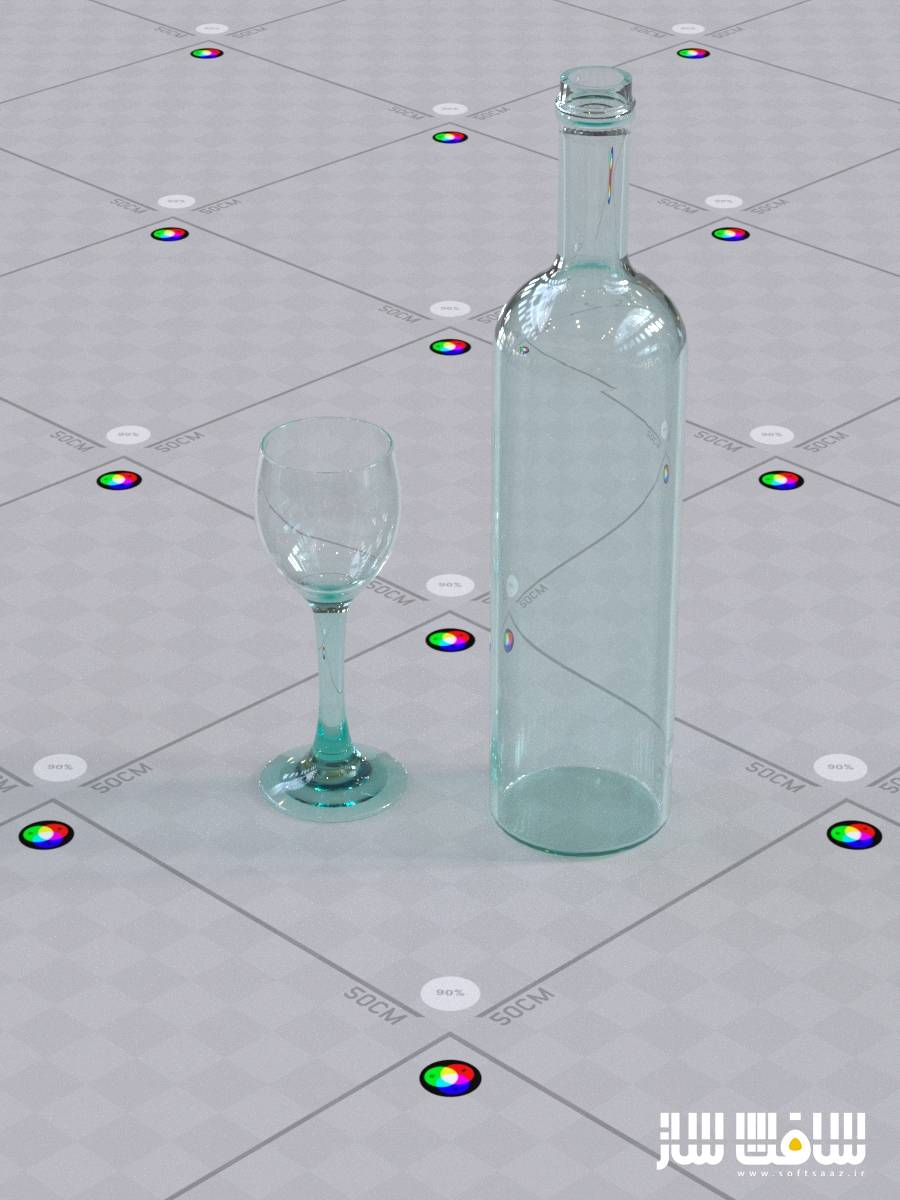
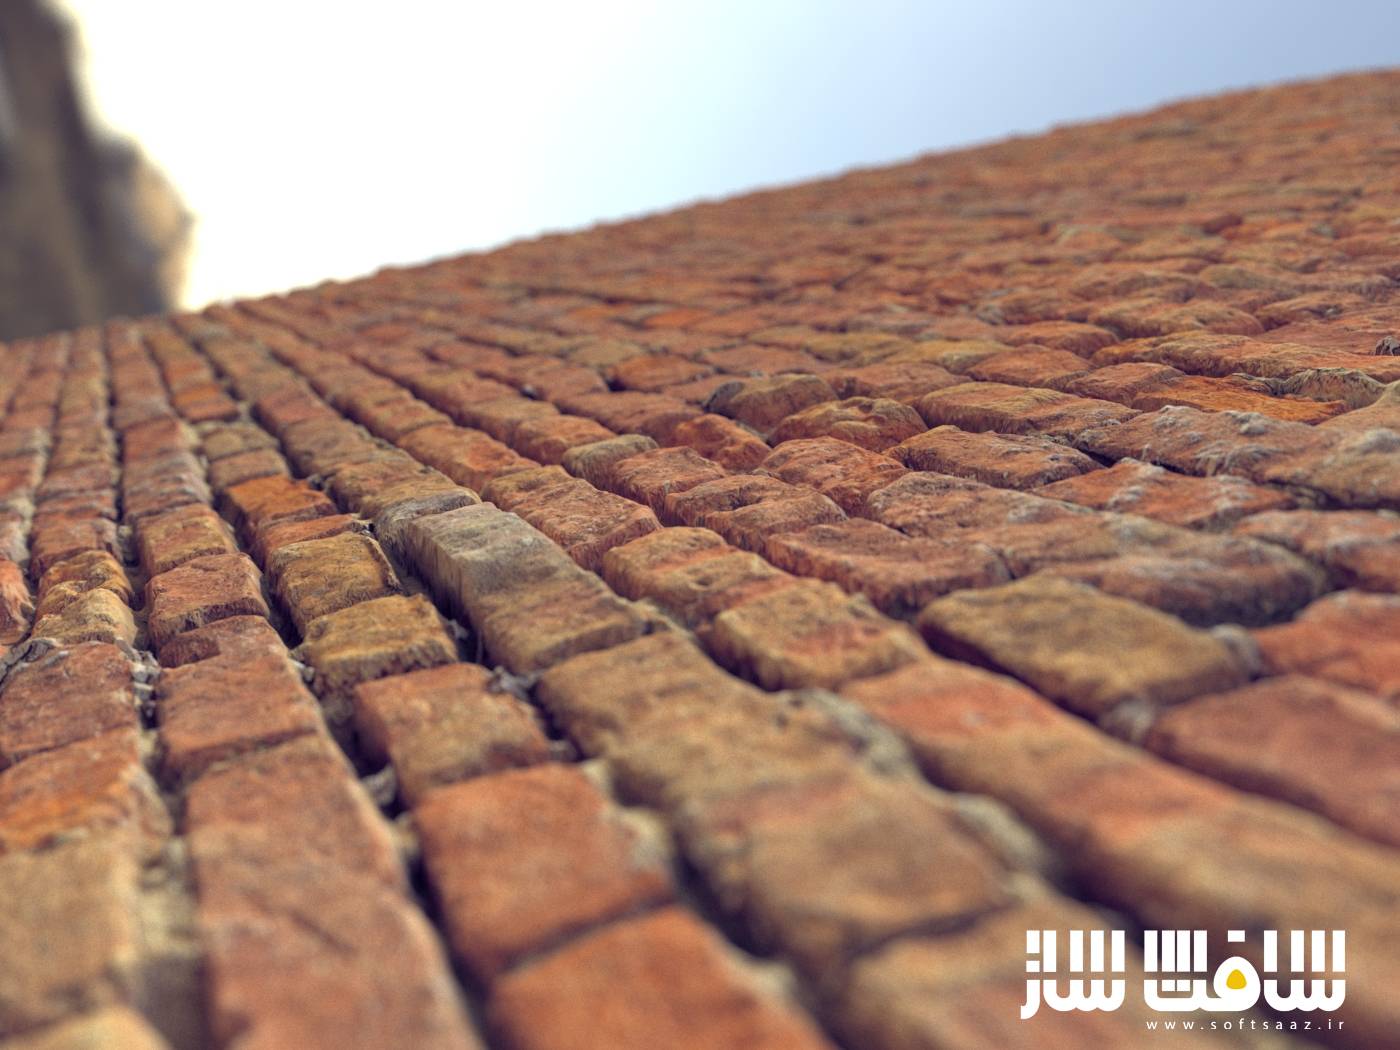
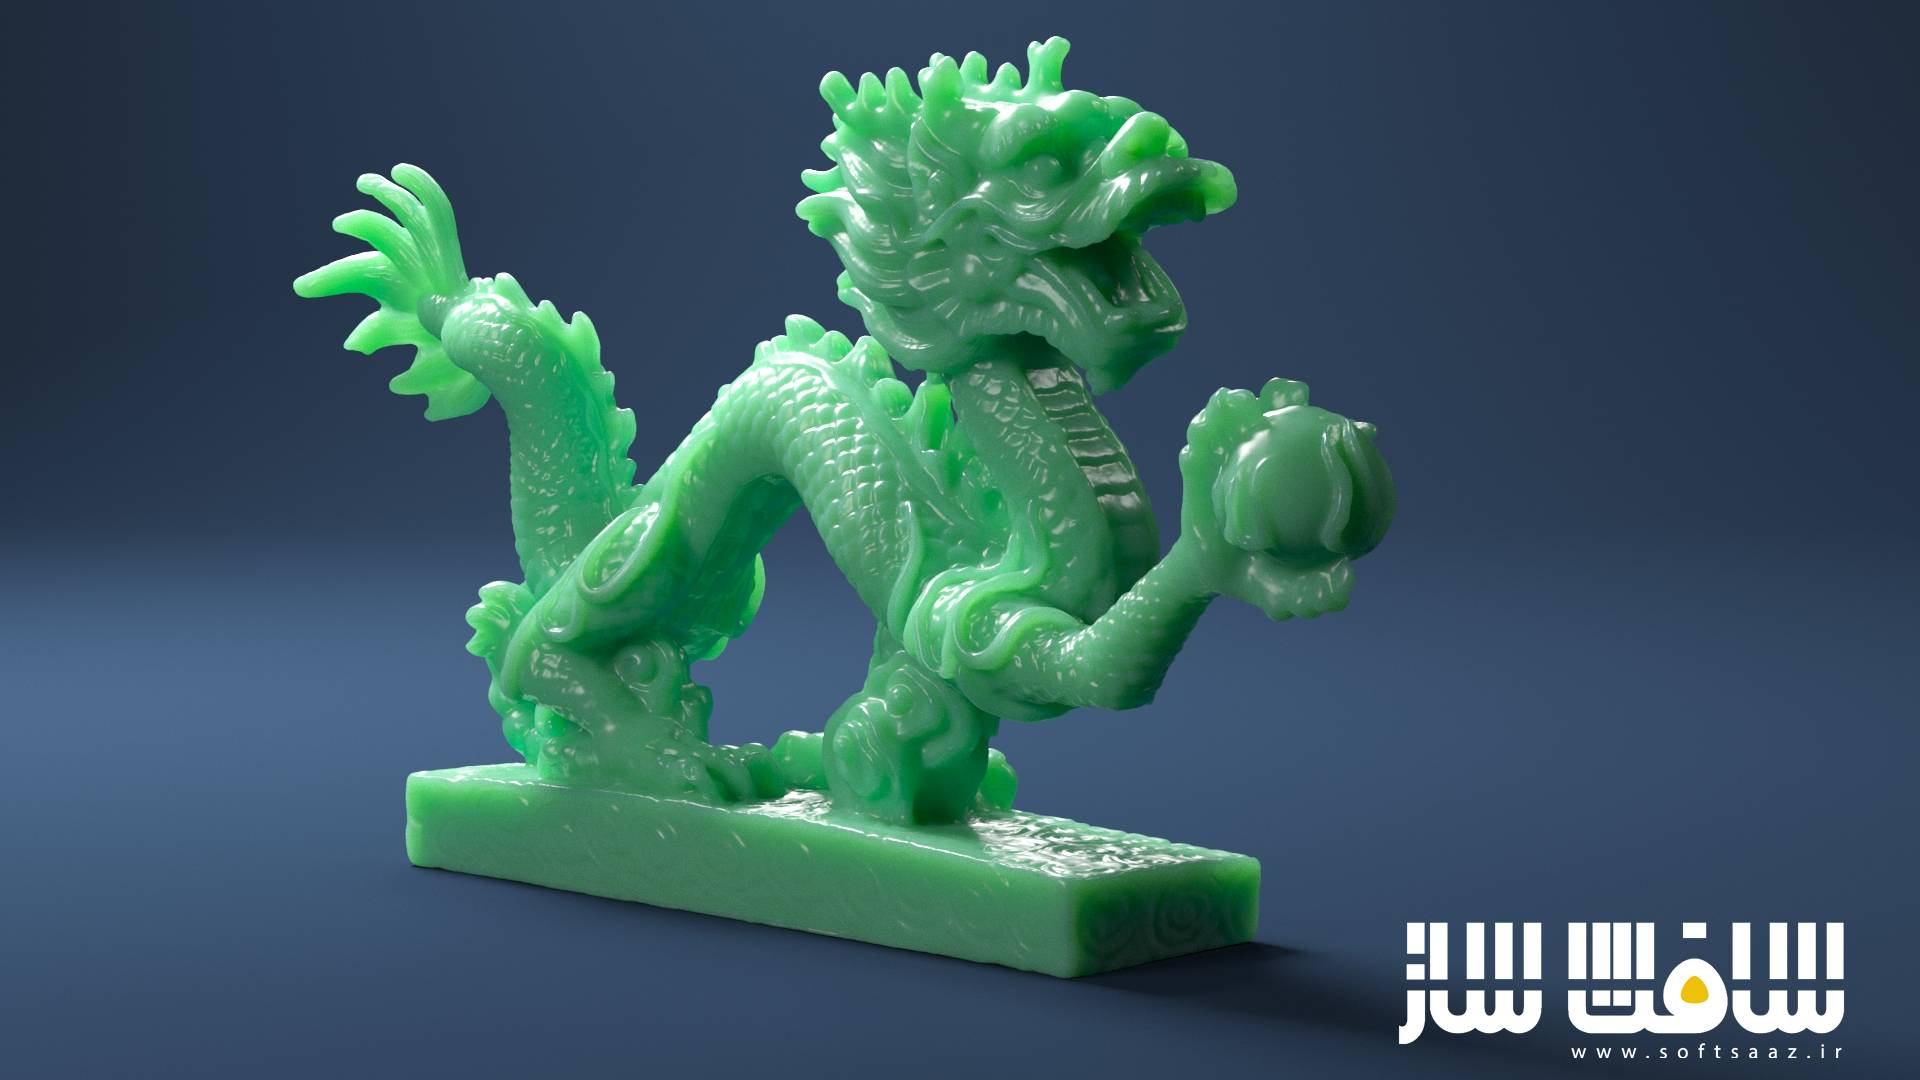
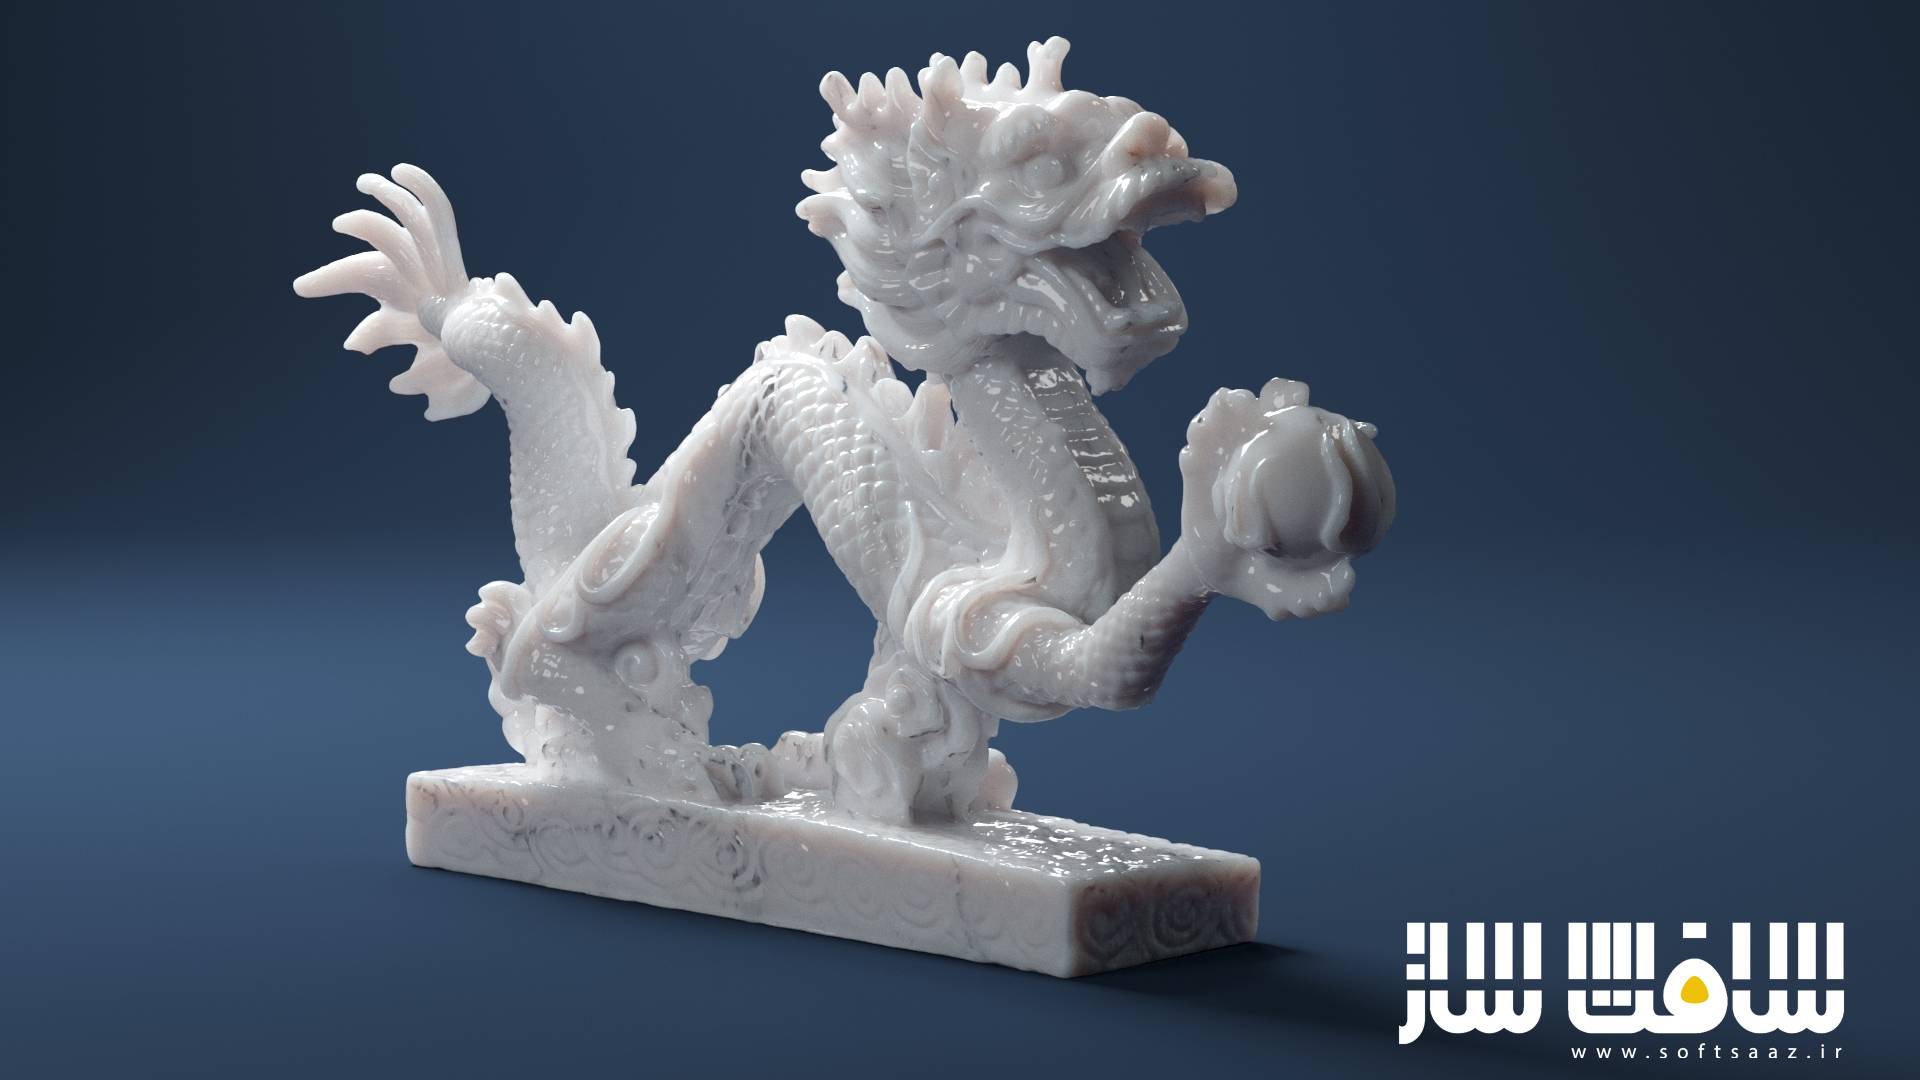
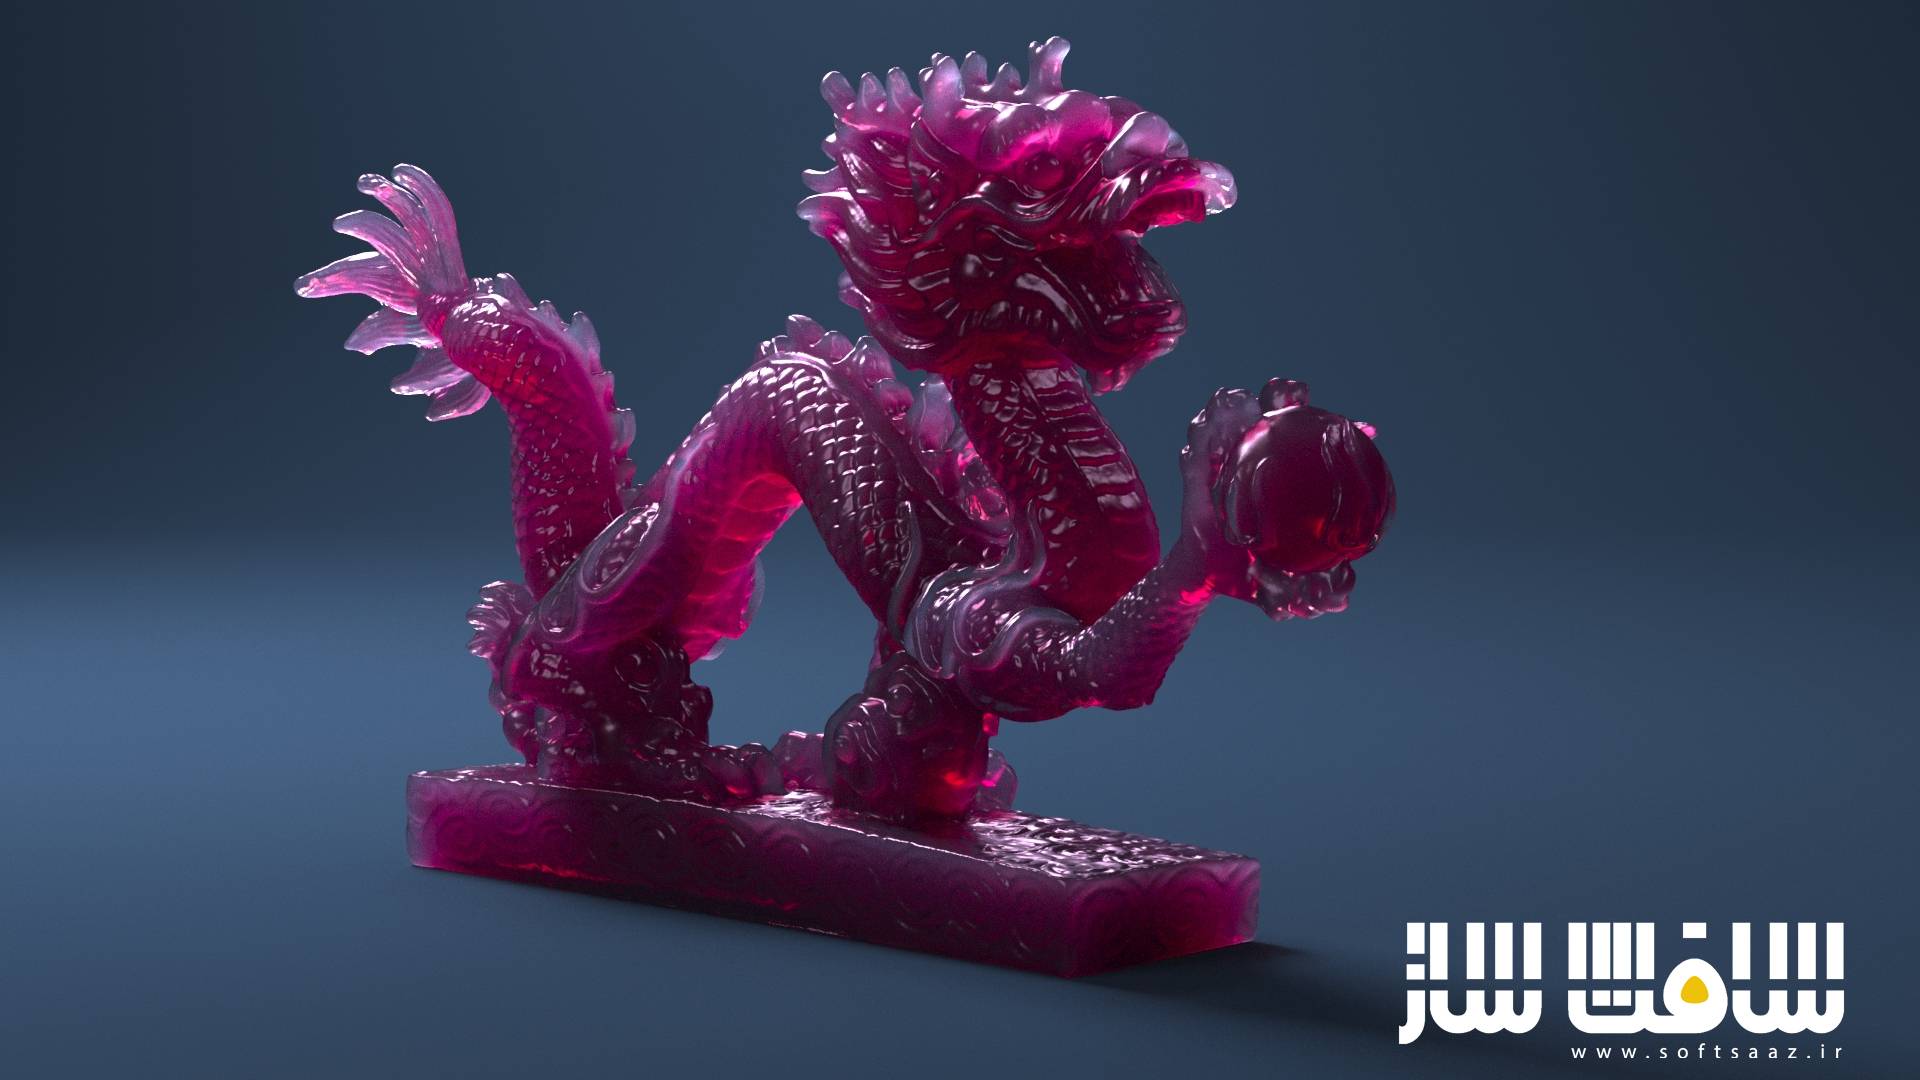
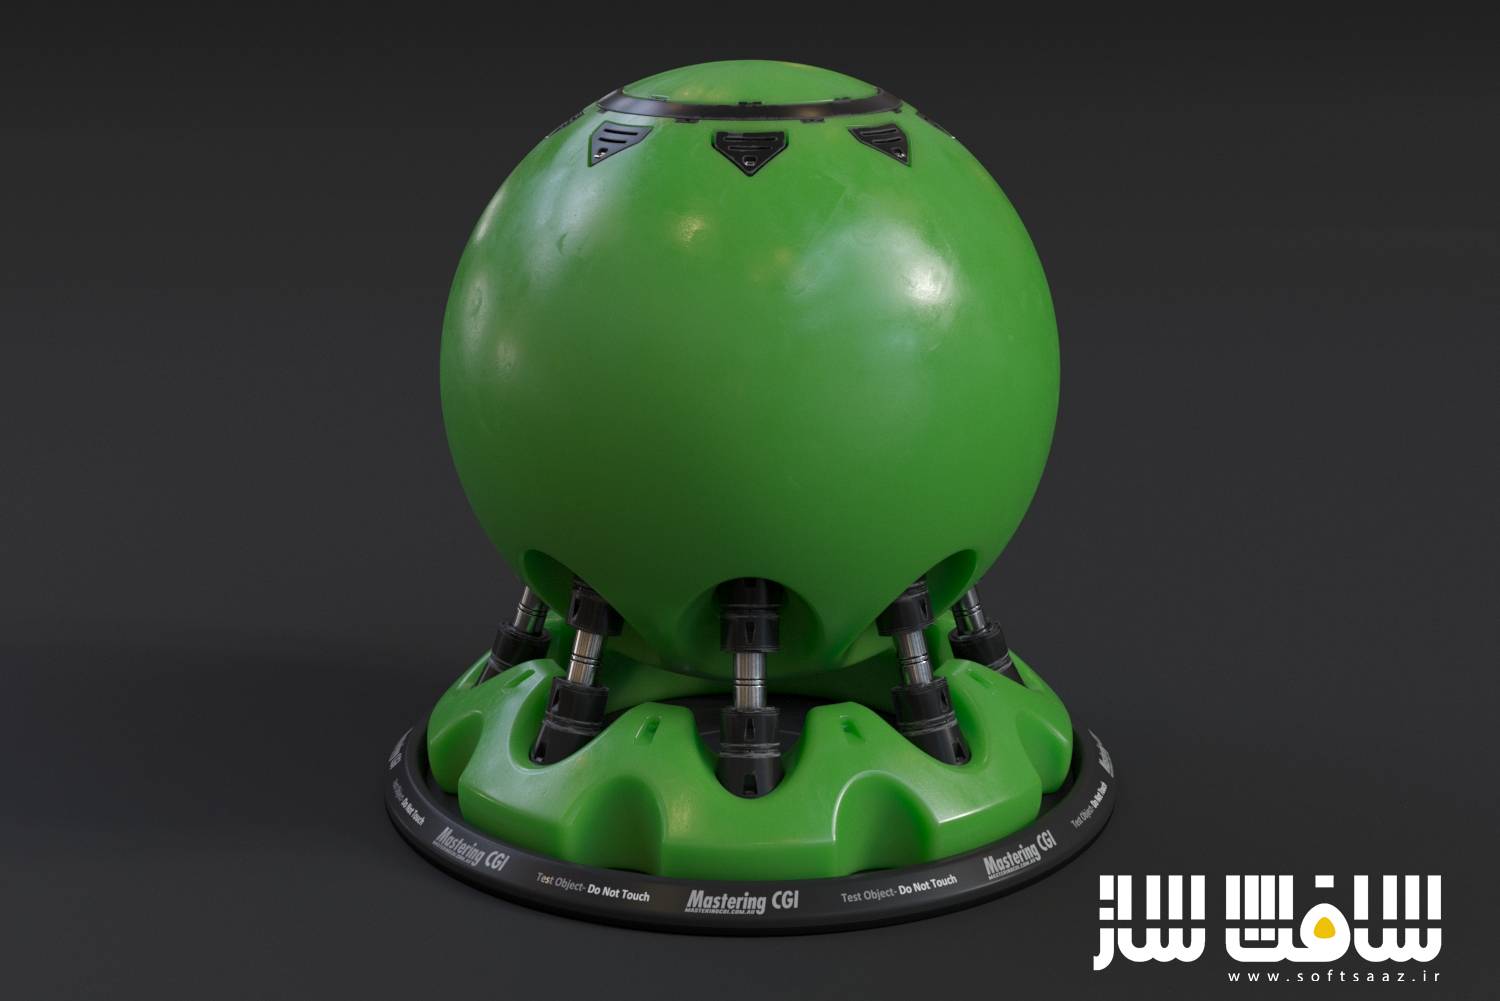
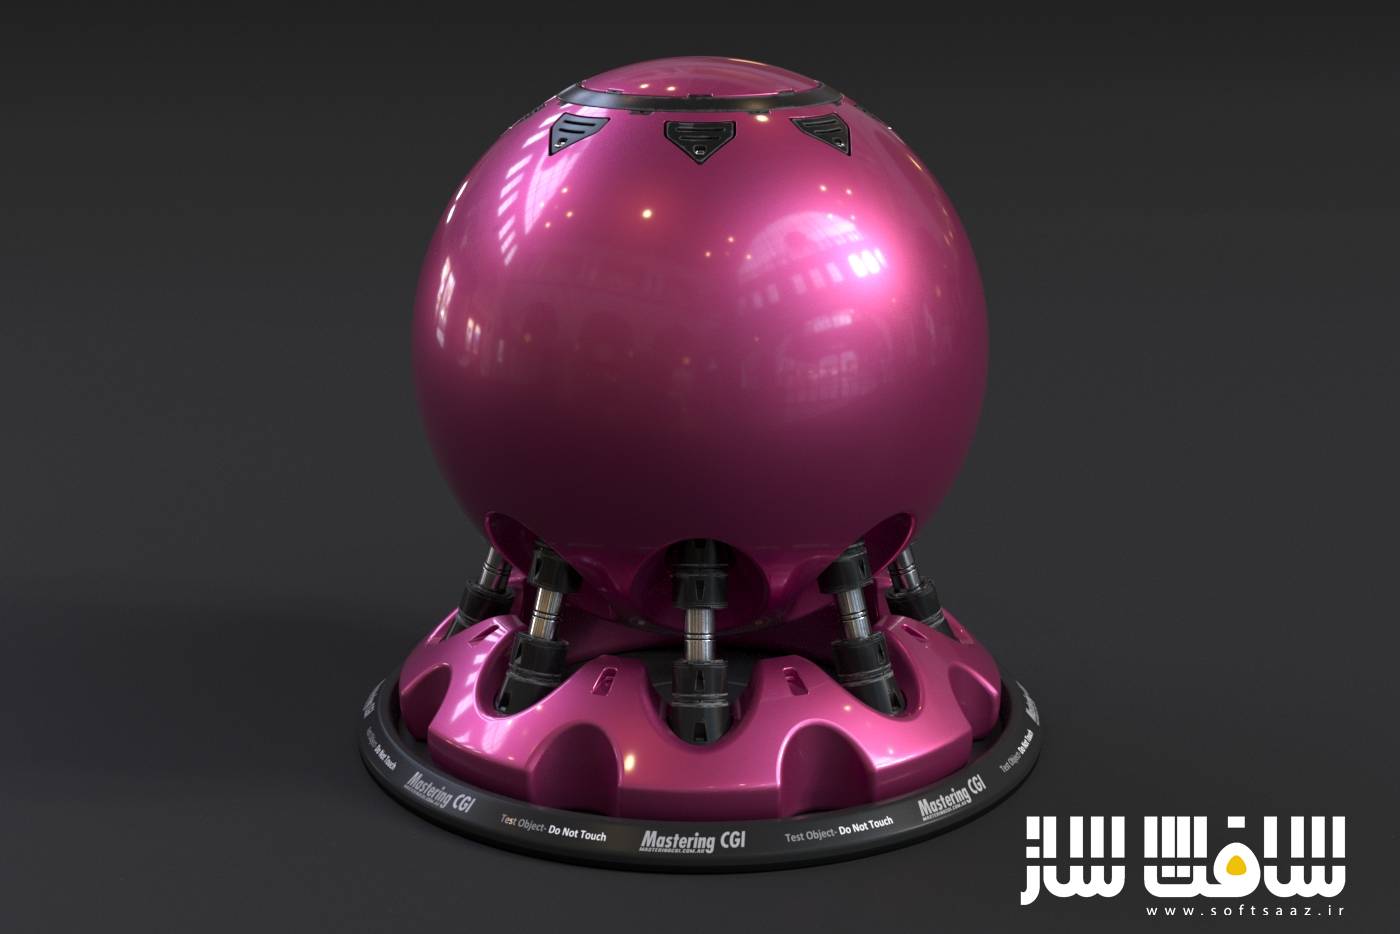
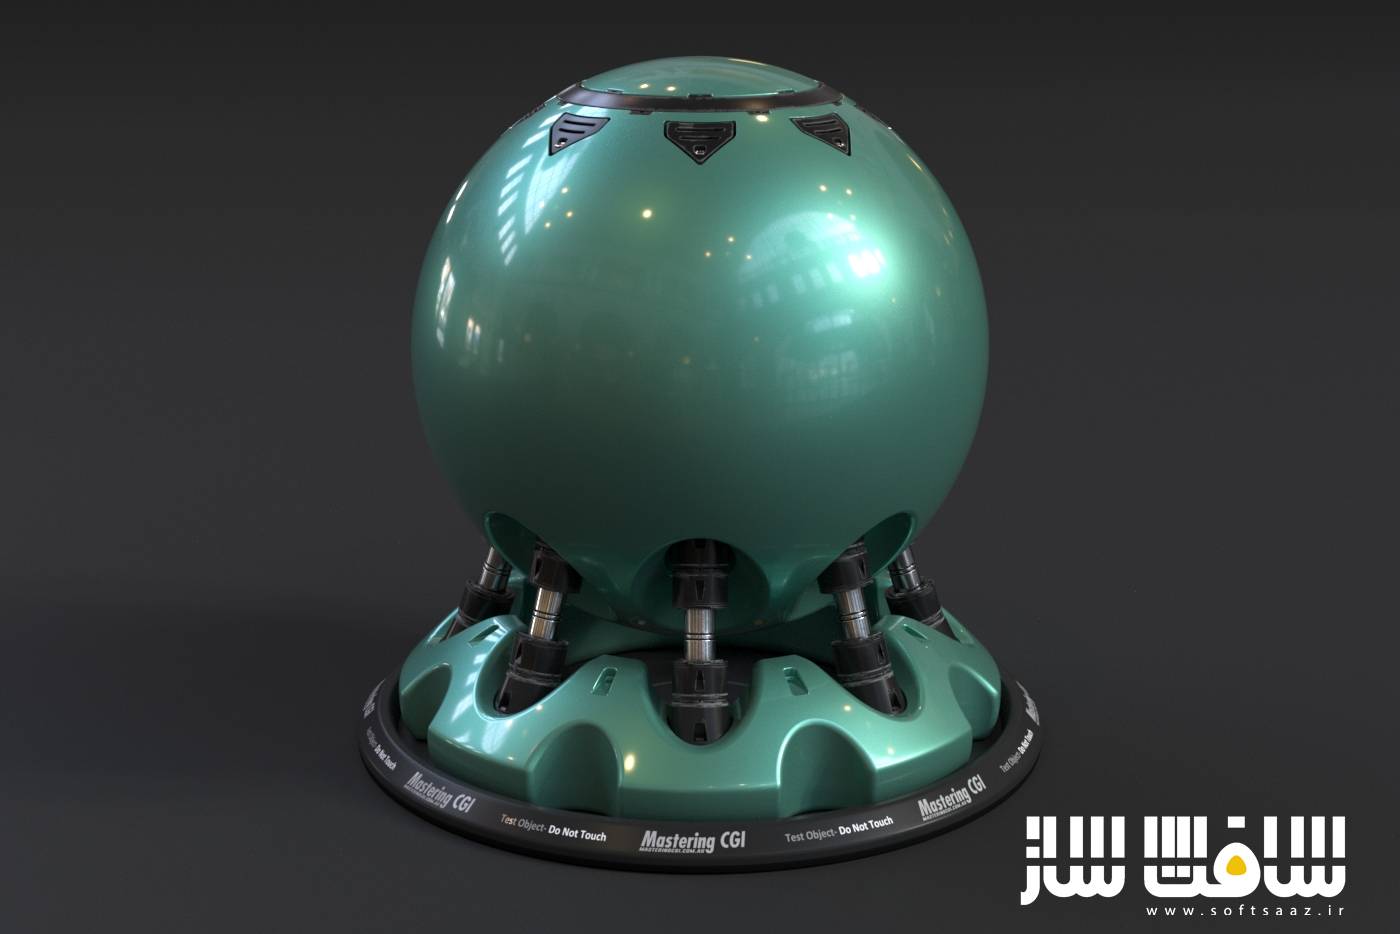
گالری این مجموعه آموزشی :


عنوان دوره : Mograph Plus – Comprehensive Introduction to Corona for Cinema 4D
سطح : متوسط
زمان کل دوره : 8 ساعت
تعداد فایل های تصویری : 43
سال آموزش : 2019
فایل تمرینی : دارد
مربی دوره : Kamel Khezri
نرم افزار : Corona – Cinema 4D
زیرنویس : ندارد
Mograph Plus – Comprehensive Introduction to Corona for Cinema 4D
In this series of premium video tutorials in more than 8 hours, that’s about 500 minutes of video tutorials, we learn how to use Corona for Cinema 4d.
This series is an academically approached, high quality course on Corona for Cinema 4d from the guys at MographPlus.com who have been teaching Render Engines including Corona, V-Ray, Arnold, and Maxwell to thousands of students from around the world for the past 5 years.
In section one, we give you a general overview of Corona’s user interface and general workflow in Cinema 4d.
Section 2 is all about Lighting and Global Illumination, first we explore corona light and all of its features, then we talk about Global illumination or indirect lighting, we learn how light rays work in real world and how Corona simulates the same behavior using global illumination …then we start learning about the two GI solvers in Corona, Path tracing and UHDcache and when and where to use each one to produce the most realistic lighting possible.
After learning about the basics of lighting and GI, we take a look at Corona Sun and Sky, Image-based Lighting, Corona Light Material, we learn how to do Interior Lighting properly and efficiently, we learn about Volumetric Effects in Corona and finally explore the amazing Light Mix feature in Corona that allows for relighting the scene during or after the render interactively.
Section three is dedicated to Corona Materials and maps, first we learn about Corona Material which is the main material in Corona, we learn everything about Corona material and how to create realistic shaders with it.
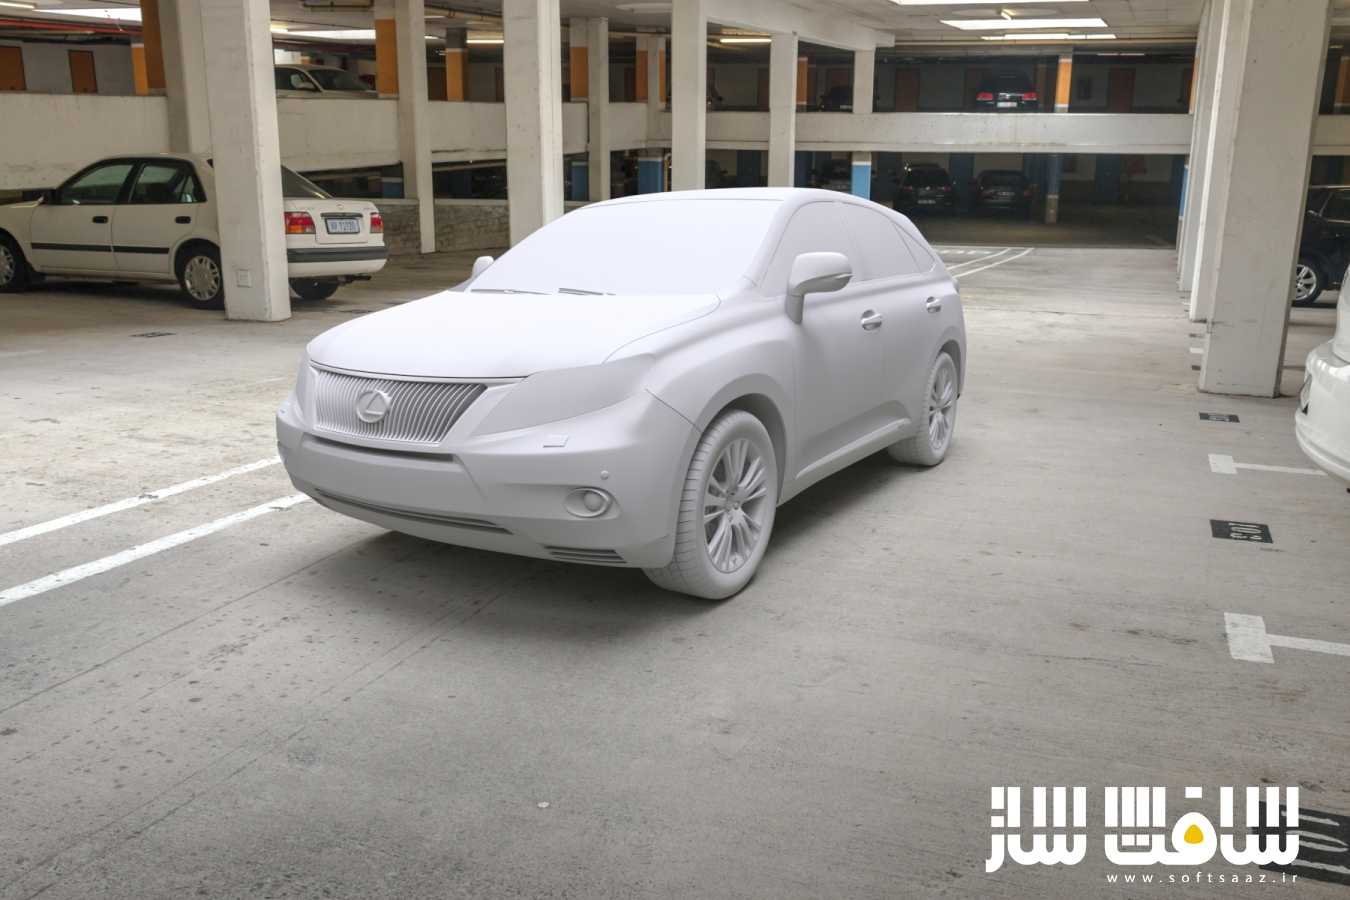
We learn about shadow catcher material and how to integrate your 3d geometries onto HDR environments or photographic backplates in Corona.
And finally go through all the remaining materials and maps that are included in Corona.In the next section we learn about Corona Camera and camera effects, first we Explore Corona camera in depth, then we learn how to produce and adjust effects like Depth of field and motion blur, I talk about different camera types including VR in corona.
In the next section we learn about Corona Camera and camera effects, first we Explore Corona camera in depth, then we learn how to produce and adjust effects like Depth of field and motion blur, I talk about different camera types including VR in corona.
Then we discuss lens effects like bloom and glare,like other topics, after watching this section, you should be a master of handling your camera in Corona, because everything has been explained in extreme details and based on academic approach.
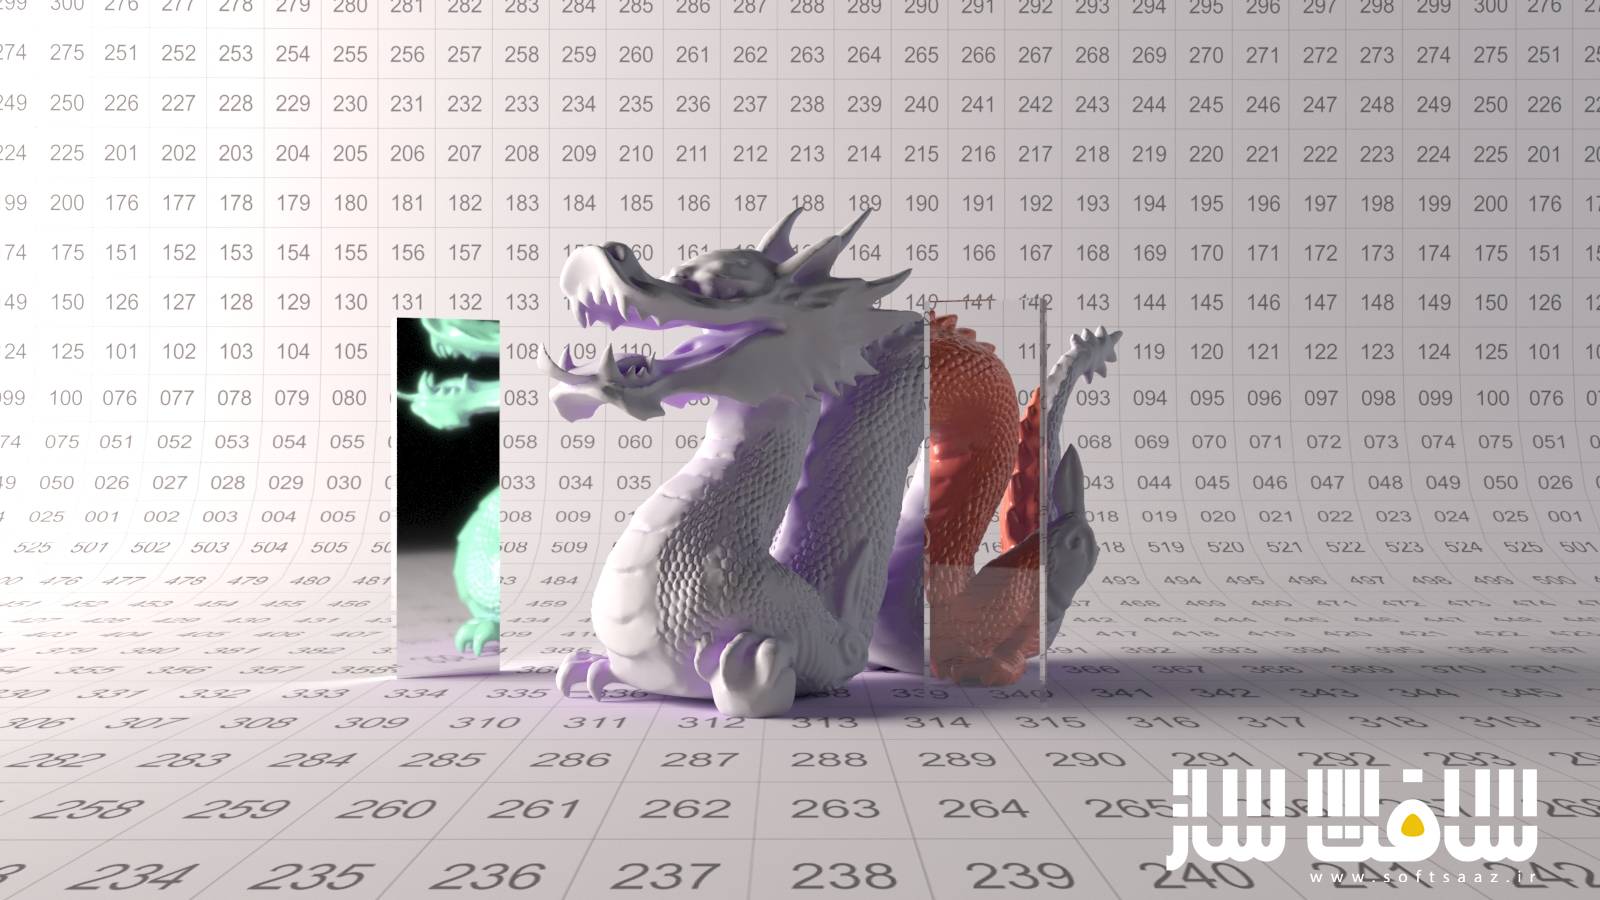
In the next section, we take a look at corona render settings, first we learn about Corona Frame Buffer, we take a look at progressive rendering limits, we learn about resumable rendering and how to use denosing feature to achieve noise-free renders.
Then performance settings, which are probably the most important render settings in Corona will be discussed, we explore GI vs AA balance, Light Sample Multiplier, Max Sample Intensity and Max Ray Depth.
And finally we discuss Cororna Render elements or render passes, we go through all the render elements and learn how to generate different render elements and what each one adds to the final render
حجم کل : 5.4 گیگابایت

برای دسترسی به کل محتویات سایت عضو ویژه سایت شوید
برای نمایش این مطلب و دسترسی به هزاران مطالب آموزشی نسبت به تهیه اکانت ویژه از لینک زیر اقدام کنید .
دریافت اشتراک ویژه
مزیت های عضویت ویژه :
- دسترسی به همه مطالب سافت ساز بدون هیچ گونه محدودیتی
- آپدیت روزانه مطالب سایت از بهترین سایت های سی جی
- بدون تبلیغ ! بله با تهیه اکانت ویژه دیگه خبری از تبلیغ نیست
- دسترسی به آموزش نصب کامل پلاگین ها و نرم افزار ها
اگر در تهیه اشتراک ویژه مشکل دارید میتونید از این لینک راهنمایی تهیه اشتراک ویژه رو مطالعه کنید . لینک راهنما
For International user, You can also stay connected with online support. email : info@softsaaz.ir telegram : @SoftSaaz
امتیاز به این مطلب :
امتیاز سافت ساز
لطفا به این مطلب امتیاز دهید :)