آموزش توسعه شیدر واقعی در Arnold برای Cinema 4D شماره 2
Developing realistic shaders in Arnold for Cinema 4d , Vol. 02
آموزش شیدر واقعی
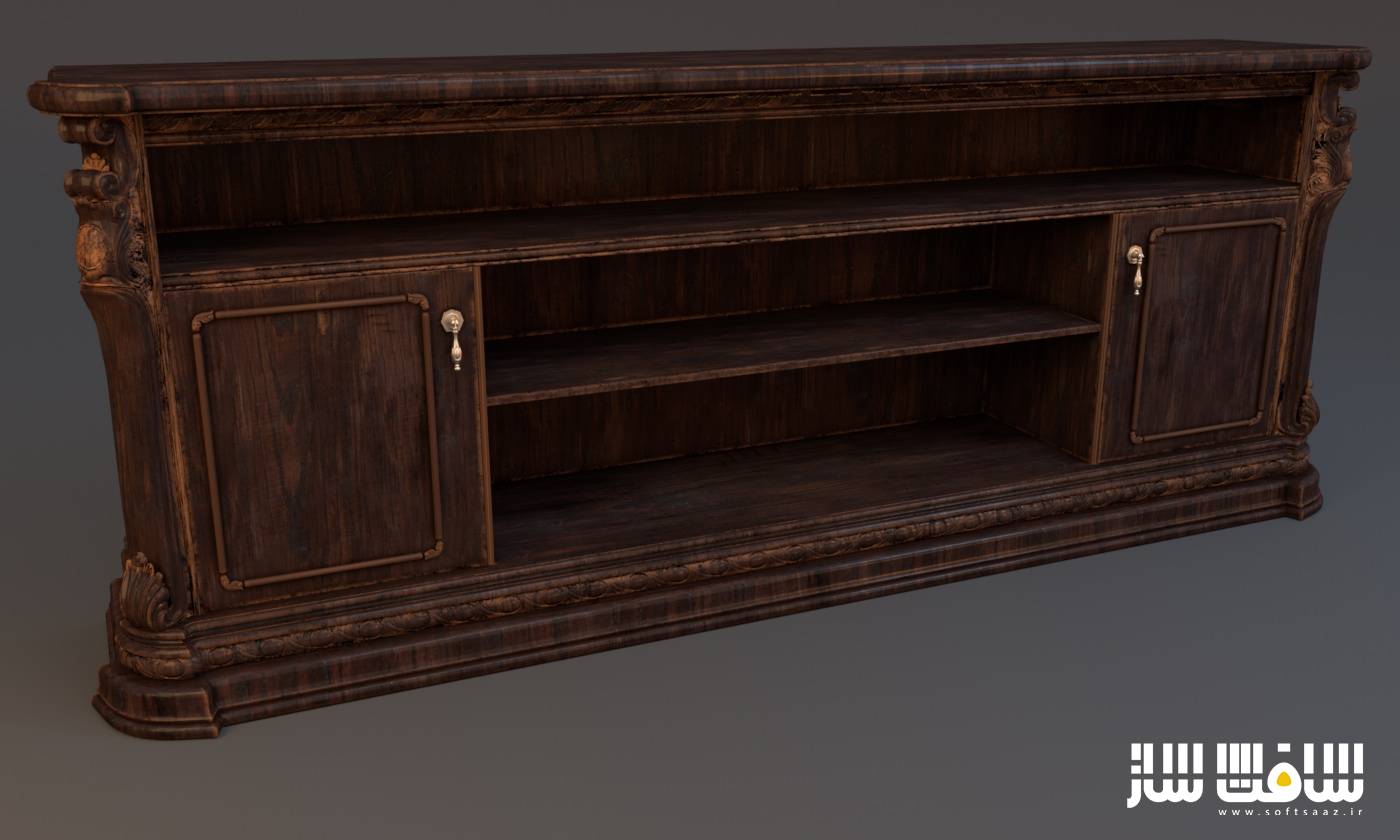
در این آموزش شیدر واقعی فوق حرفه ای بیش از 9 ساعت به حرفه ای ترین مباحث و نکات موتور رندر آرنولد میپردازیم. در اولین جلسه این آموزش بعد از فهم ویژگی های فیزیکیِ متریال چوب ،سعی میکنیم مثال های متعددی از چوب را در دنیای سه بعدی بازسازی کنیم و به شما یاد دهیم چگونه میتوان آنها را با سلسله تنظیمات پیشرفته از یک کار پیش پا افتاده متمایز کرد
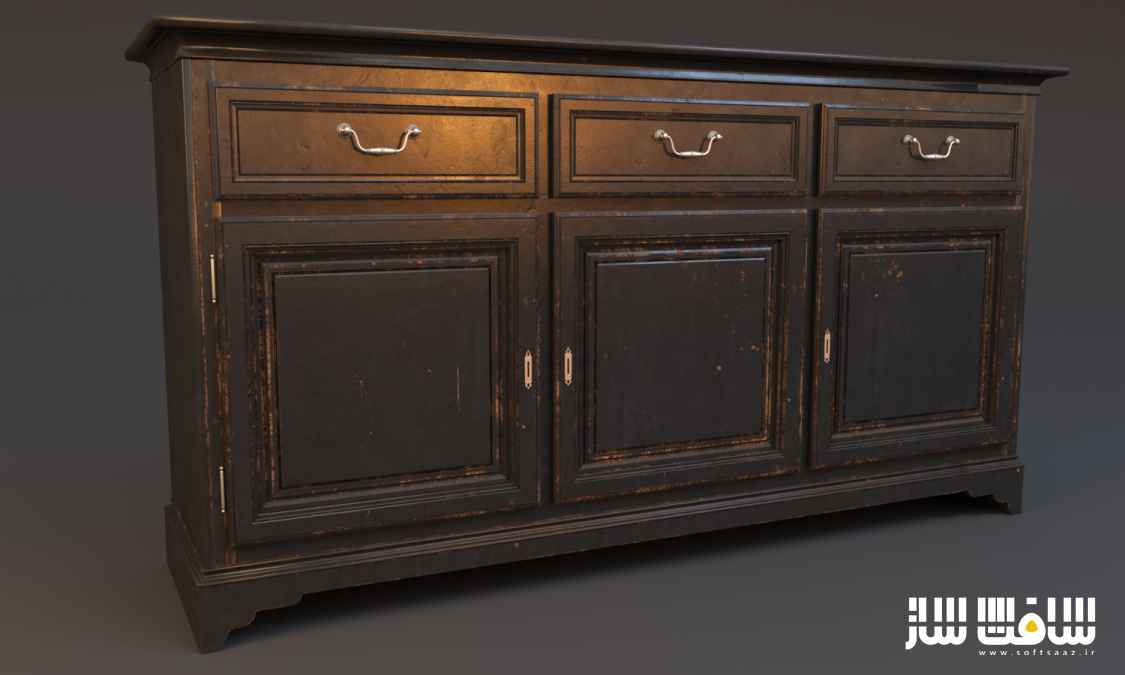
درس دوم مزین به تدریس چشم نوازترین متریال های چوب در موتور رندر آرنولد شده است. در درس سوم نحوه نورپردازی یک فضای داخلی را به شما یاد میدهیم .
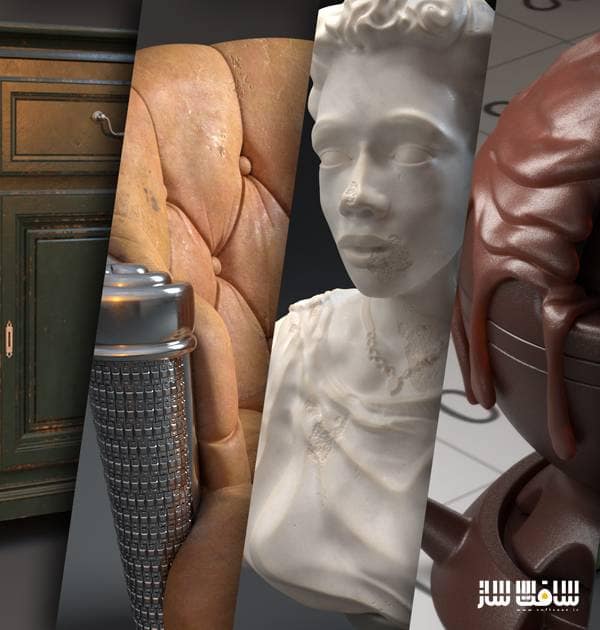
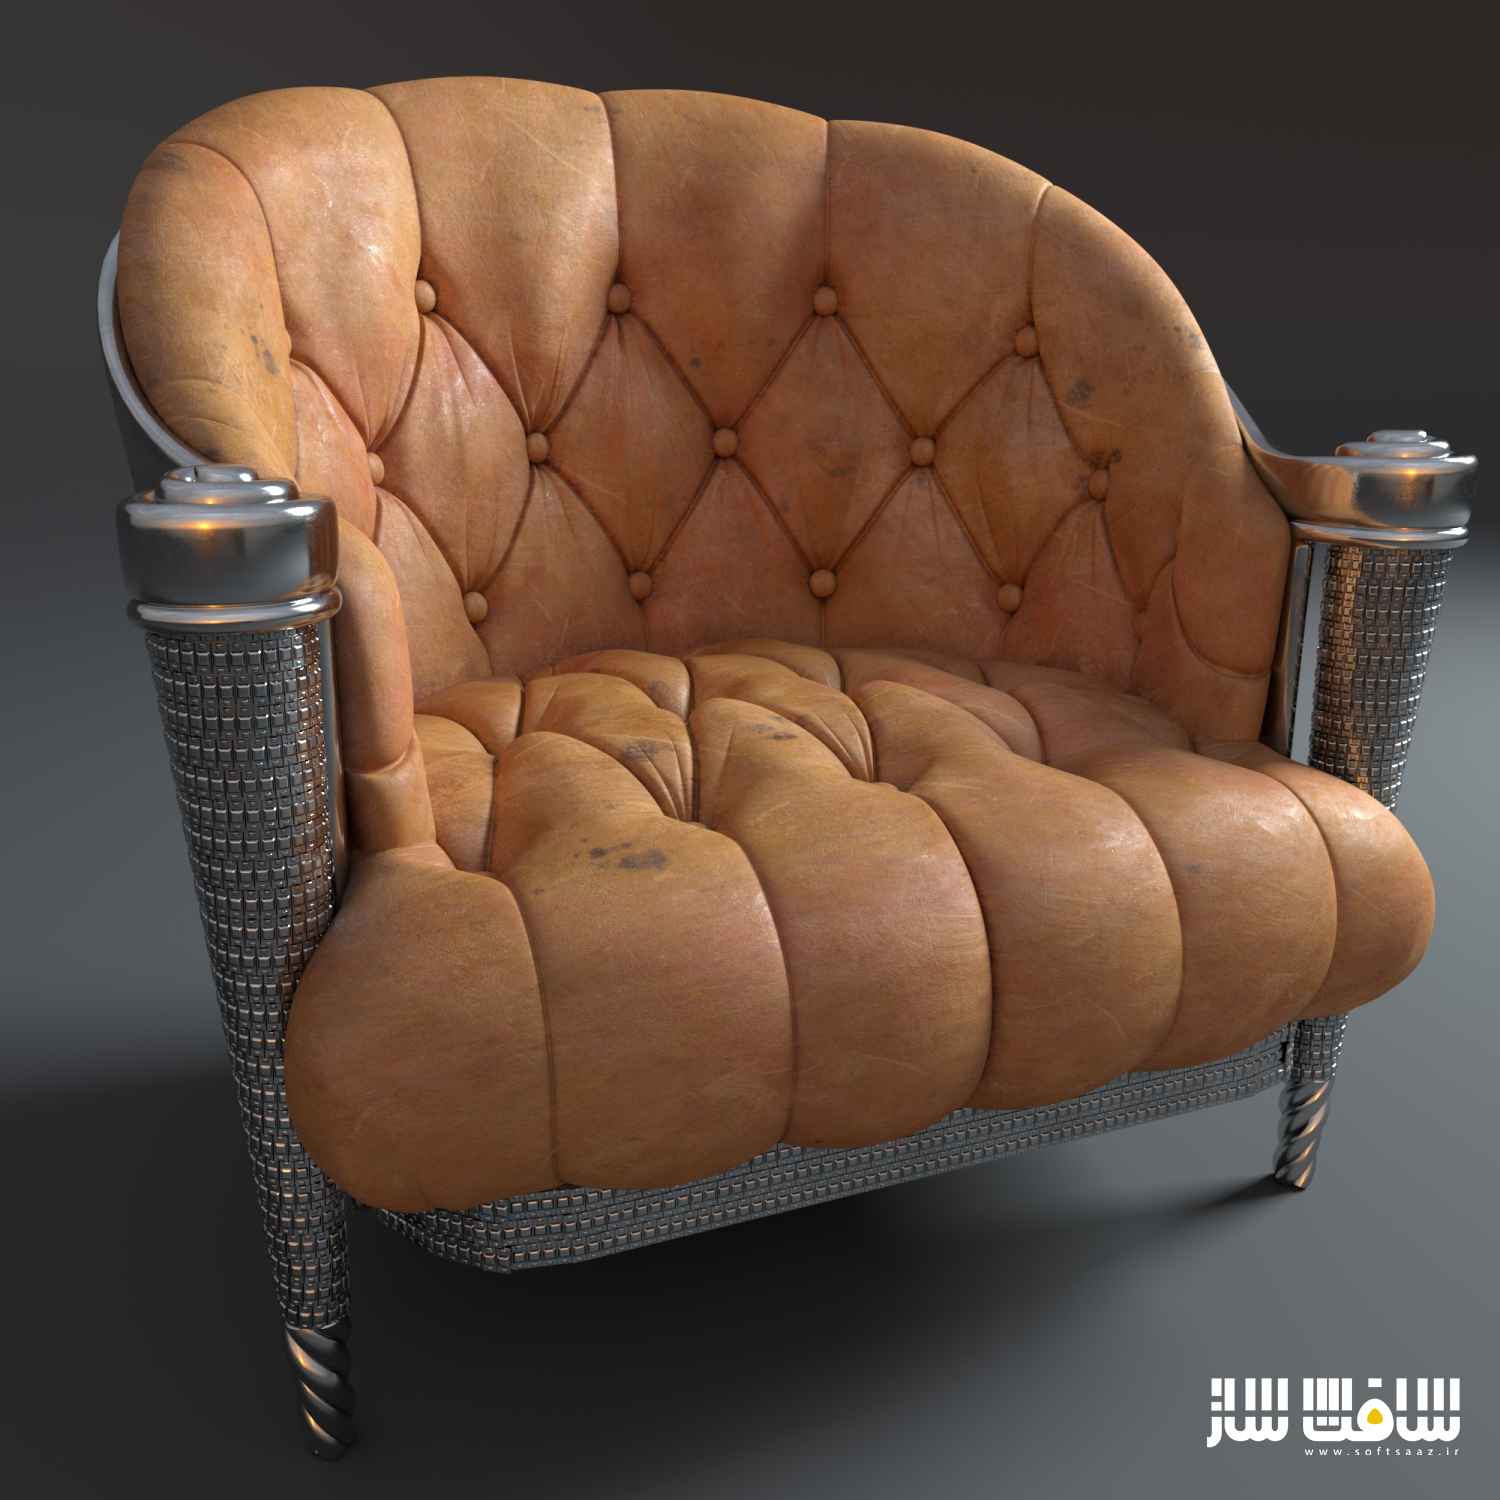
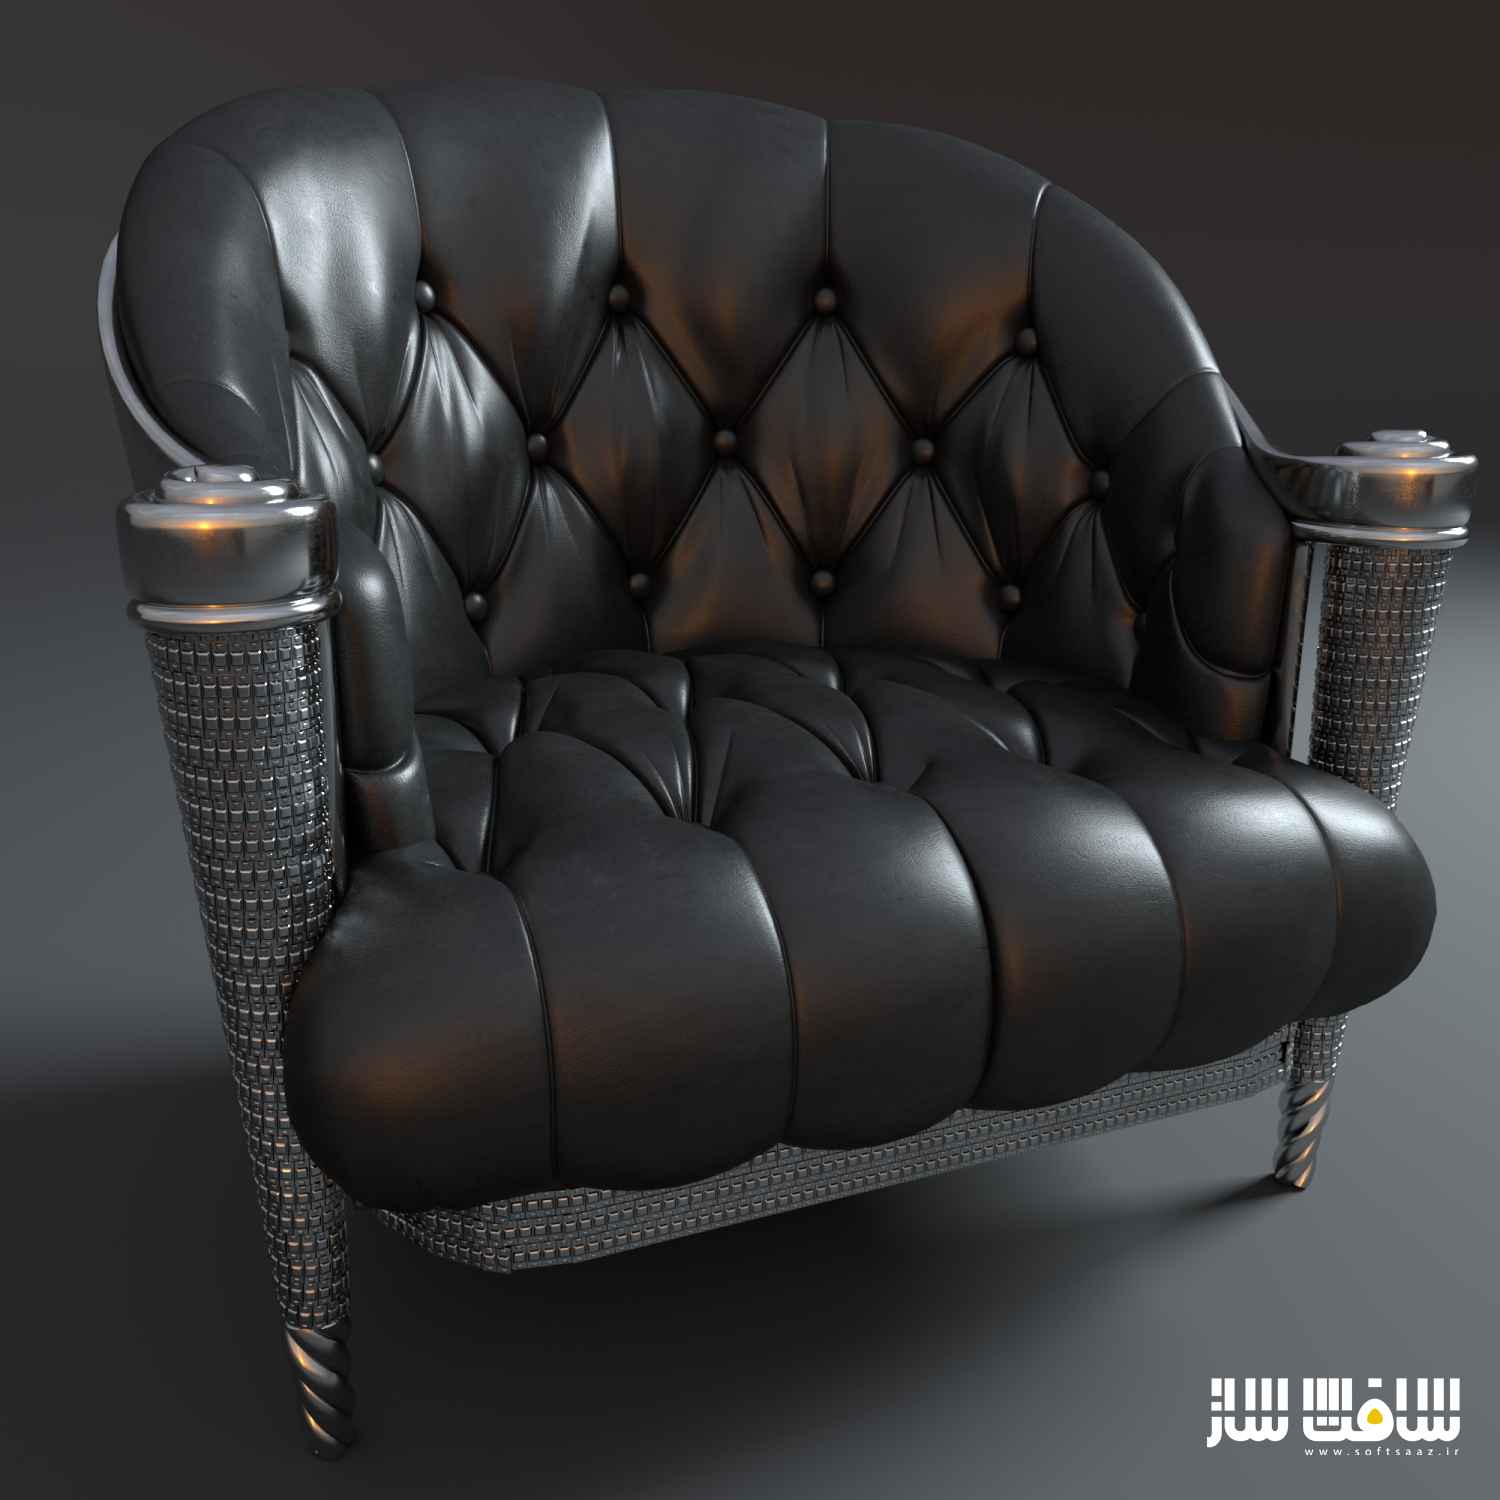
درس چهارم به بررسی صفات چرم و خاصیت پذیری آن در دنیای واقعی میپردازیم سپس اندوخته های علمی خود را به دنیای سه بعدی تعمیم میدهیم تا در ساخت انواع متریال های چرمی توانمند باشیم.
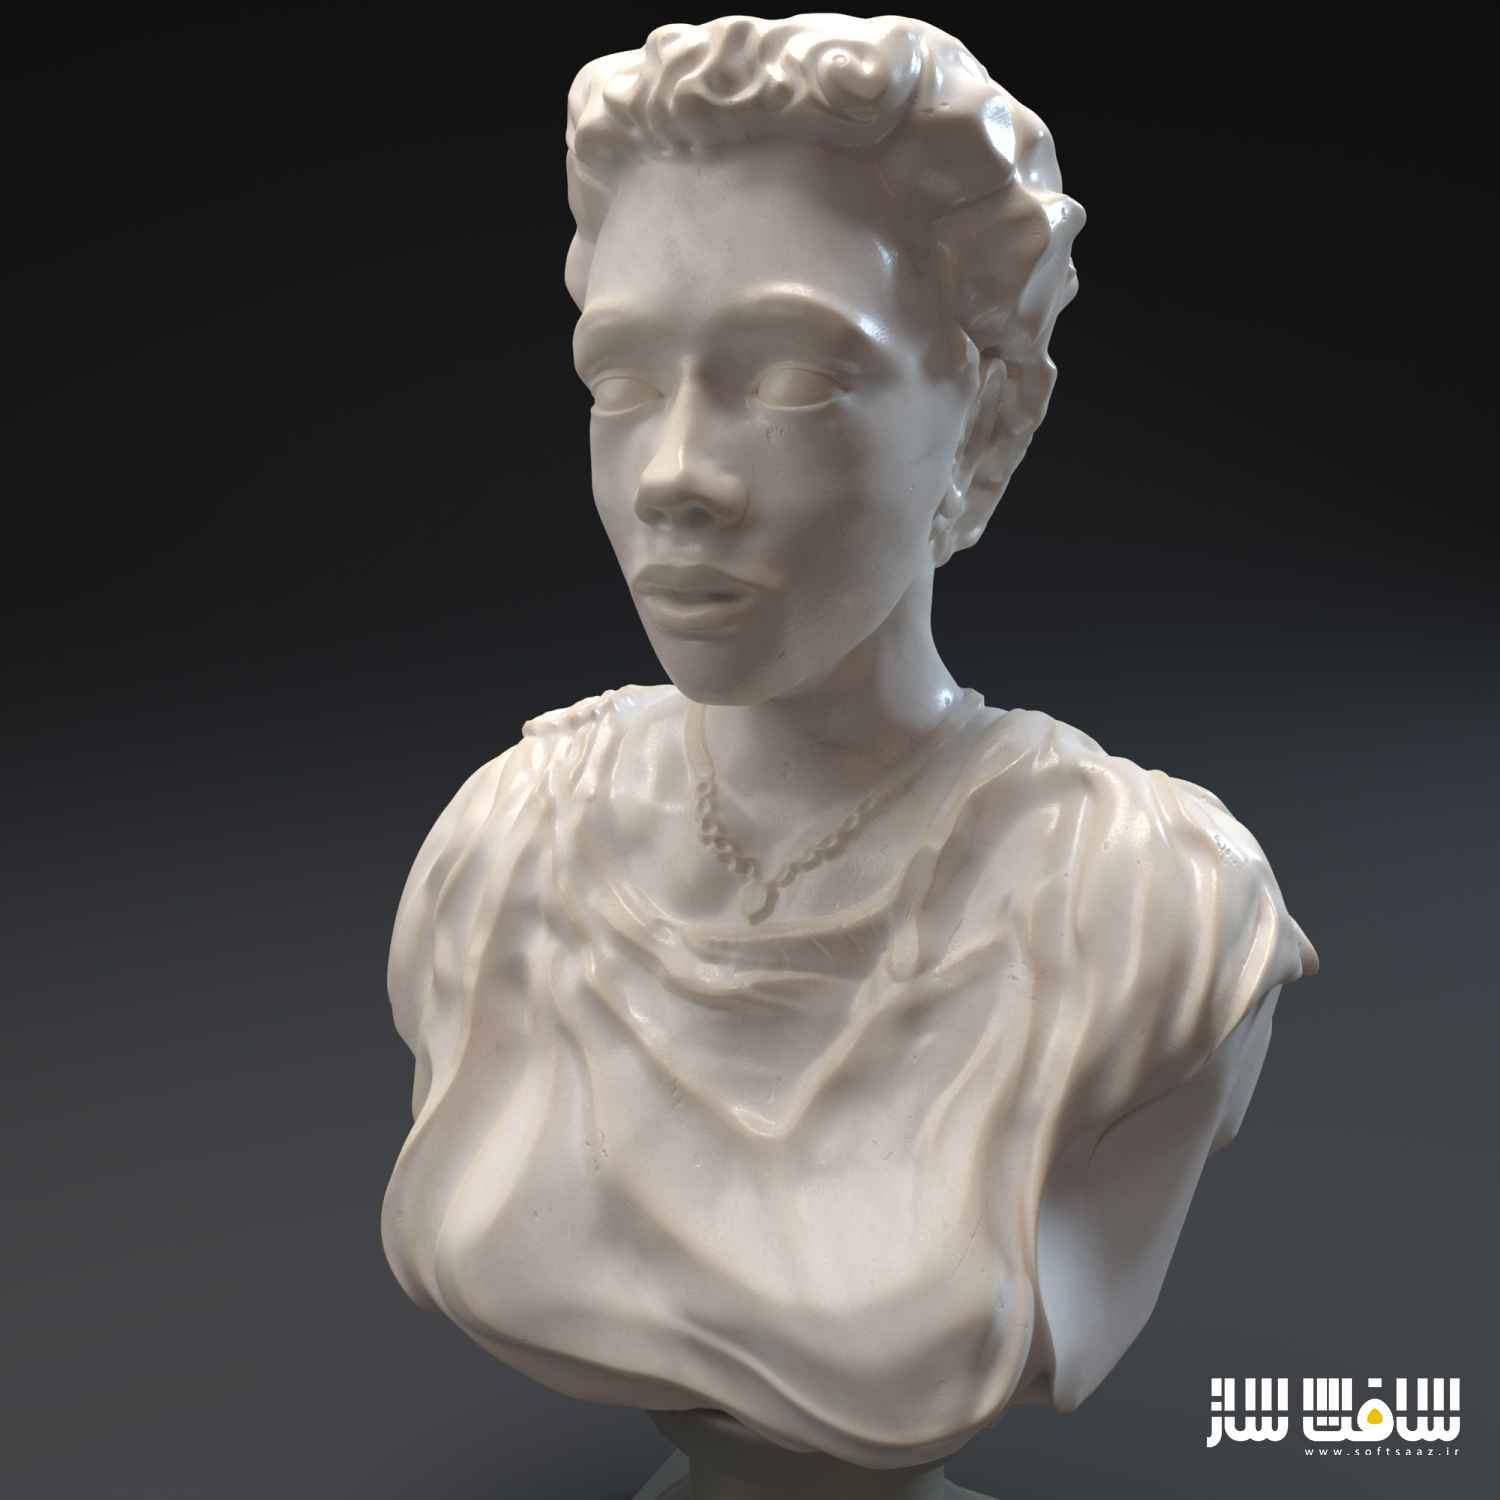
درس بعدی را با یک مجسمه مرمری شفاف شروع میکنیم و پس از درک ویژگیهای فیزیکی همانند سایه براساس رفرنس کارمان را ادامه میدهیم و در نهایت متریال های شگفت انگیزی را میبینیم که بسیار واقعی بنظر میرسند.
در درس نهایی ما شما رو به یک چالش بسیار جدی فرامی خوانیم یعنی شما را دعوت به تماشای آموزش ساخت متریال شکلات میکنیم. این دوره آموزشی توسط تیم ســافــت ســاز برای شما کاربران عزیز، تهیه و آماده دانلود شده است.

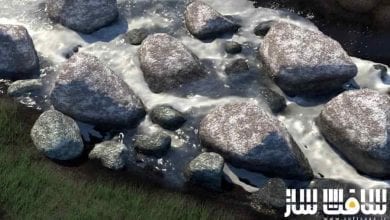
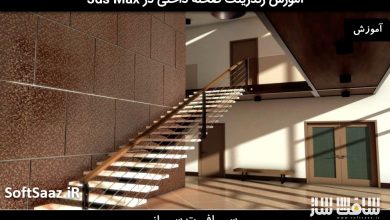
تصاویری از آموزش شیدر واقعی :


عنوان دوره : Mographplus – Developing realistic shaders in Arnold for Cinema 4d , Vol. 02
سطح : متوسط
زمان کل دوره : 9 ساعت
تعداد فایل های تصویری : –
سال آموزش : 2018
فایل تمرینی : دارد
مربی دوره : Kamel Khezri
نرم افزار : Cinema 4D ، Arnold
زیرنویس : ندارد
Mographplus – Developing realistic shaders in Arnold for Cinema 4d , Vol. 02
My name is Kamel Khezri and I’ll be your host in this course.
This is the Second volume of a series of courses created at mographplus.com intended to introduce the tools and workflows for creating complex and realistic shaders, utilizing Solid angle’s Arnold renderer in Cinema 4d.
Our goal in this course is not only how to create realistic shaders but before that how to train your eyes to see real world surfaces and analyze their features, and then recreate those surfaces and shaders in Arnold.
In the second volume will be covering three major shader categories, wood, leather and translucent shaders.
For each category, first we try to familiarize you with the features of that shader type in real world and then show you how to recreate those features using Arnold shaders and nodes.
In the first lesson of this section, after understanding physical features of wood, we try to create a few examples of real world wood shaders and show you how to add different features to make your shaders as realistic as possible.
In the second lesson we create a few painted wood examples and show you everything you need to know to make them very detailed and eye-catching.
In the third lesson first you learn how to approach interior lighting in C4DtoA and after we finished lighting the room we start to create different types of parquet shaders and hardwood flooring.
In the first lesson of this section, first we figure out how leather appears in real world and then we show you the basic approach to create different types of leather shaders.
In the second lesson we create a detailed vintage leather Shader and show you how to replicate every little detail in the reference photo.
We start with a translucent marble sculpture and after understanding the physical features of such shaders we start working based on our reference photo and at the end we are going to have a few amazing shaders that are going to look extremely realistic.
In the next lesson we work on a realistic jade shader and I guess it should be really fun.
And in the final lesson we work on a very difficult assignment, we try to create a realistic chocolate shader and as we will be using alsurface shader from alshaders, first we go through this particular shader and show you how it works, after that we focus on creating a few types of chocolate shaders using alsurface shader
In the next lesson which is an update for “ Developing realistic shaders in Arnold for Cinema 4d Vol.02 course , in 75 minutes we learn how to create the two main shaders from the Iron Man suite in Arnold for Cinema 4d. this is a free update for the course .
If you already bought this course, please go to the download area after logging in and download the update .
this lesson and its project files will be included with new purchases.
For the majority of the course , we’ll be taking a reference photo and use Arnold for Cinema 4d to recreate that shader , but to be as informative as possible we might change that rule sometimes .
Also this is a live course, and if there is a request for a specific shader, I’ll be updating the course with more video so you can get the most out of this course.
This is the last volume of developing realistic shaders in Arnold for Cinema 4d and we will be updating these two volume with new video tutorials on a monthly basis.
there is a lot to learn in this course and if you are trying to take your Arnold knowledge to the next level and learn how to build complex shader networks in Arnold, you are in the right place.
حجم کل : 4 گیگابایت

برای دسترسی به کل محتویات سایت عضو ویژه سایت شوید
برای نمایش این مطلب و دسترسی به هزاران مطالب آموزشی نسبت به تهیه اکانت ویژه از لینک زیر اقدام کنید .
دریافت اشتراک ویژه
مزیت های عضویت ویژه :
- دسترسی به همه مطالب سافت ساز بدون هیچ گونه محدودیتی
- آپدیت روزانه مطالب سایت از بهترین سایت های سی جی
- بدون تبلیغ ! بله با تهیه اکانت ویژه دیگه خبری از تبلیغ نیست
- دسترسی به آموزش نصب کامل پلاگین ها و نرم افزار ها
اگر در تهیه اشتراک ویژه مشکل دارید میتونید از این لینک راهنمایی تهیه اشتراک ویژه رو مطالعه کنید . لینک راهنما
For International user, You can also stay connected with online support. email : info@softsaaz.ir telegram : @SoftSaaz
امتیاز به این مطلب :
امتیاز سافت ساز
لطفا به این مطلب امتیاز دهید :)