دانلود آموزش حرکت سریع کاراکترهای دودی در Maya و NUKE
Simulating Fast Moving Smoke Characters in Maya and NUKE
حرکت سریع کاراکترهای دودی در Maya و NUKE
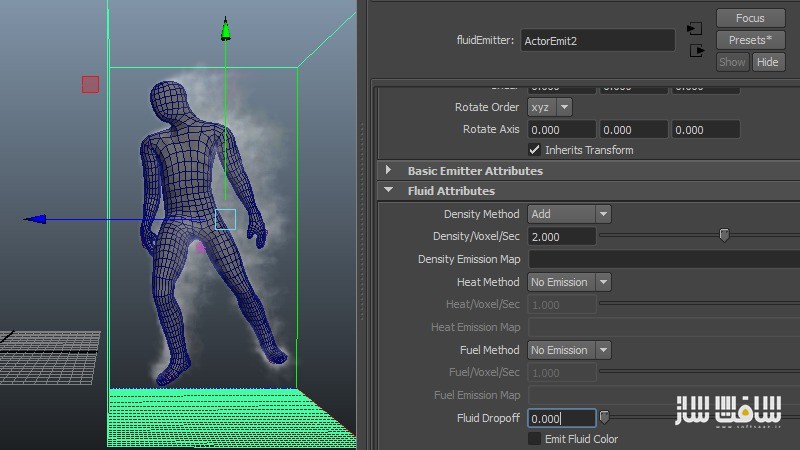
در این آموزش از سایت pluralsight در نرم افزار های Maya و NUKE ، مربی دوره ، یک کاراکتر ساخته شده از دود و انرژی را با اسفاده از سبالات مایا ایجاد می کند.در پایان آموزش شما دانش لازم برای کار با حرکت سریع سیالات و توانایی ایجاد یک pipeline ترکیبی انعطاف پذیر برای سیالات را در داخل Nuke خواهید داشت با سافت ساز همراه باشید.
عناوین اصلی این دوره آموزشی:
- کار با کامپوزیت
- تنظیمات سایه و نورپردازی
- تنظیمات رندر
- و …
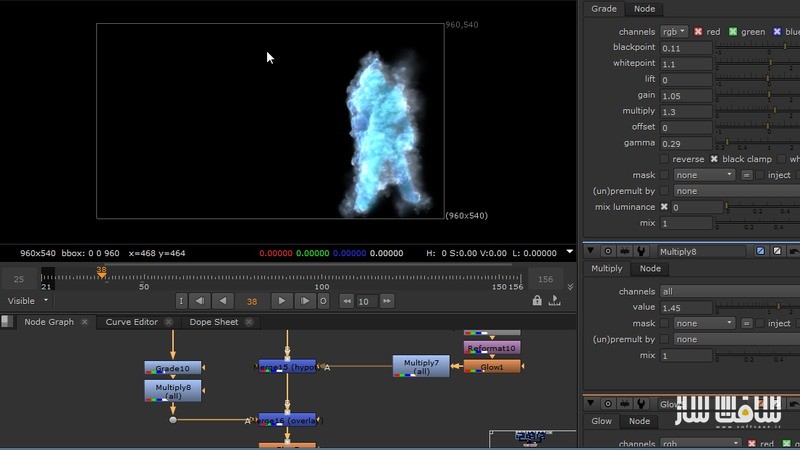
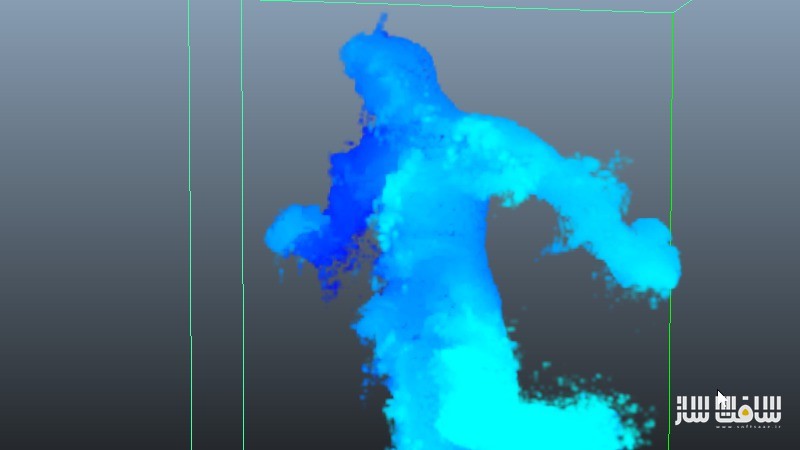
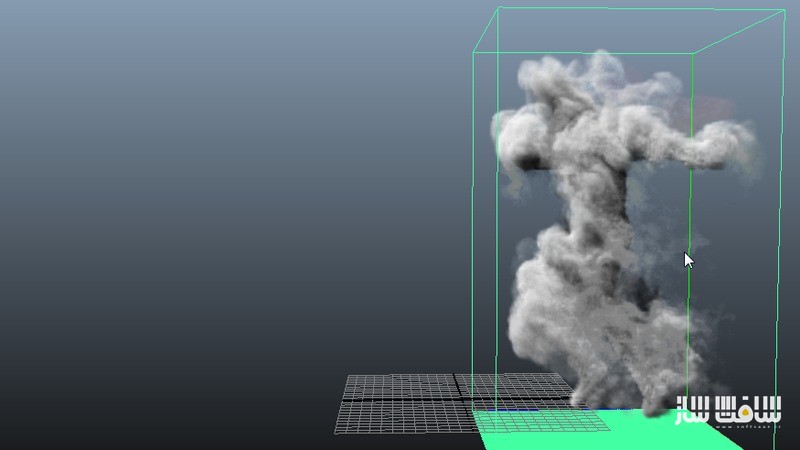
تصاویری از این آموزش رو مشاهده کنید :


لطفا قبل از دانلود پیش نمایش دوره را مشاهده فرمایید:
عنوان دوره : Digital Tutors – Simulating Fast Moving Smoke Characters in Maya and NUKE
سطح : پیشرفته
زمان کل دوره : 2 ساعت و 56 دقیقه
تعداد فایل های تصویری : 20
سال آموزش : 2015
فایل تمرینی : دارد
مربی دوره : Peter Gend
نرم افزار : Maya 2015, NUKE 9
زیرنویس : ندارد
Digital Tutors – Simulating Fast Moving Smoke Characters in Maya and NUKE
In this Maya and NUKE tutorial, we’ll create a character made out of smoke and energy using Maya Fluids. We’ll begin by covering the fundamentals of working with fast-moving fluids and move on to creating several fluid passes of our motion-captured character. We’ll then set up unique render passes, which will be used inside of NUKE to create numerous final composites, including versions that have thick, viscous smoke as well as wispy smoke, with light and energy emanating from them. By the end of this Maya and NUKE training, you’ll have the knowledge to work with fast-moving fluids and the ability to create a very flexible compositing pipeline for fluids inside of NUKE.
1 Introduction and project overview
2 Beginning the NUKE pipeline setup
3 Completing the NUKE pipeline setup
4 Working on the final composites
5 Finishing the final composites
6 Reviewing the final renders
7 Creating the second fluid pass
8 Completing setup of the second fluid pass
9 Creating the third fluid pass
10 Completing setup of the third fluid pass
11 Setting up the shading and lighting
12 Continuing with shading and lighting
13 Setting up the fluid render passes
14 Creating the core incandescent pass
15 Setting up our render settings
16 Beginning the NUKE pipeline setup
17 Completing the NUKE pipeline setup
18 Working on the final composites
19 Finishing the final composites
20 Reviewing the final renders
حجم کل :

برای دسترسی به کل محتویات سایت عضو ویژه سایت شوید
برای نمایش این مطلب و دسترسی به هزاران مطالب آموزشی نسبت به تهیه اکانت ویژه از لینک زیر اقدام کنید .
دریافت اشتراک ویژه
مزیت های عضویت ویژه :
- دسترسی به همه مطالب سافت ساز بدون هیچ گونه محدودیتی
- آپدیت روزانه مطالب سایت از بهترین سایت های سی جی
- بدون تبلیغ ! بله با تهیه اکانت ویژه دیگه خبری از تبلیغ نیست
- دسترسی به آموزش نصب کامل پلاگین ها و نرم افزار ها
اگر در تهیه اشتراک ویژه مشکل دارید میتونید از این لینک راهنمایی تهیه اشتراک ویژه رو مطالعه کنید . لینک راهنما
For International user, You can also stay connected with online support. email : info@softsaaz.ir telegram : @SoftSaaz
امتیاز
جمع امتیاز
لطفا به این آموزش امتیاز بدهید