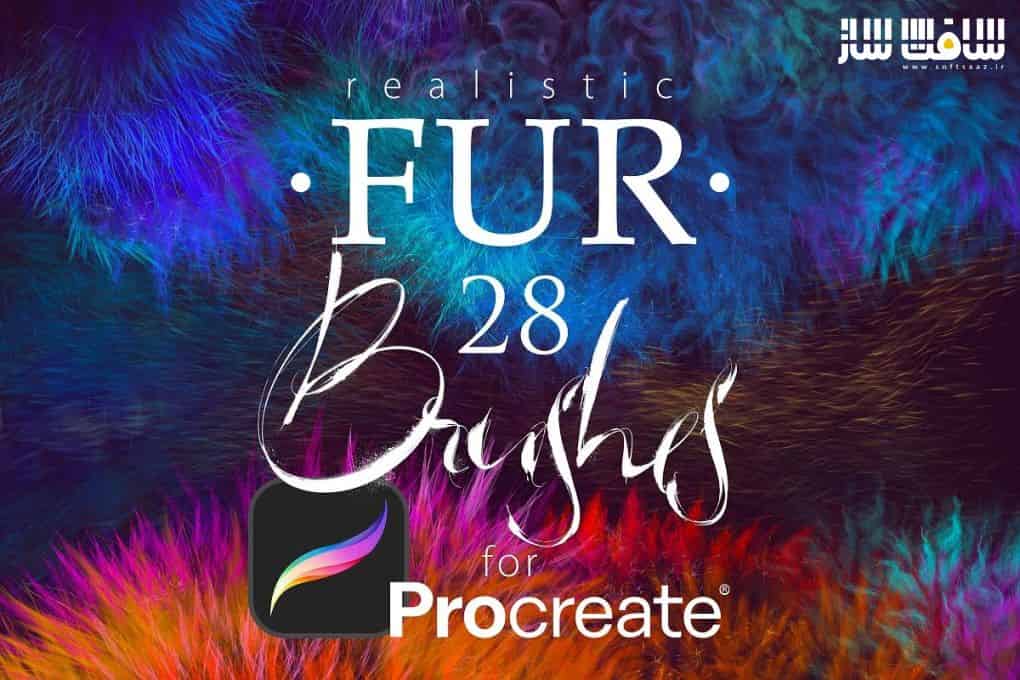
دانلود 28 براش واقعی خز و مو برای Procreate
CreativeMarket - 28 Realistic FUR Procreate Brushes
دانلود 28 براش واقعی خز و مو برای Procreate
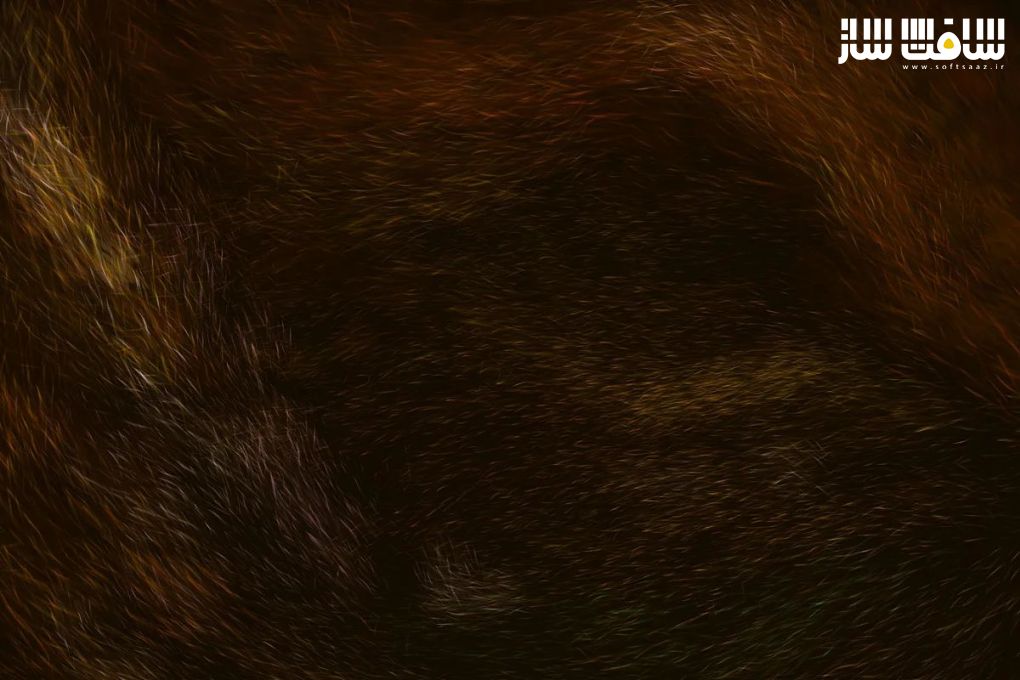
دانلود 28 براش واقعی خز و مو برای Procreate : در این پک از Eldar Zakirov’s ، بیش از 20 براش بازسازی شده از مجموعه براش های FUR خز و مو برای فتوشاپ و Clip Studio Paint + 8 را دریافت خواهید کرد. این مجموعه براش ، توسط تیم ســافــت ســاز برای شما کاربران عزیز، تهیه و آماده دانلود شده است.
گالری مجموعه :

عنوان : CreativeMarket – CreativeMarket – 28 Realistic FUR Procreate Brushes
فرمت : brushset
کاتالوگ : ندارد
موضوع : براش و آلفا
شرکت سازنده : CreativeMarket
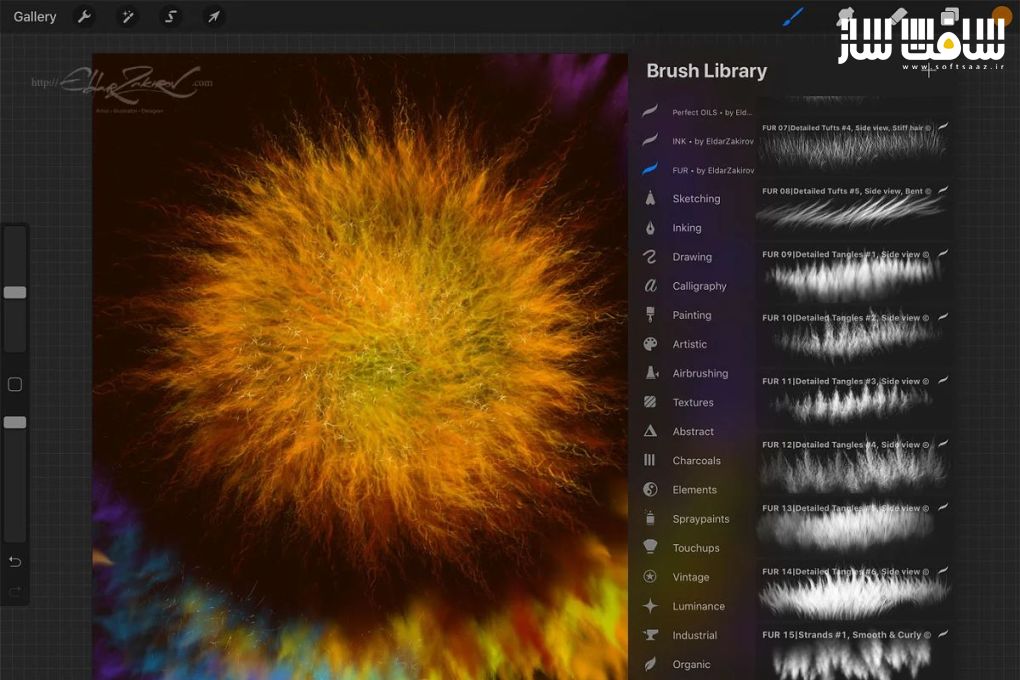
CreativeMarket – 28 Realistic FUR Procreate Brushes
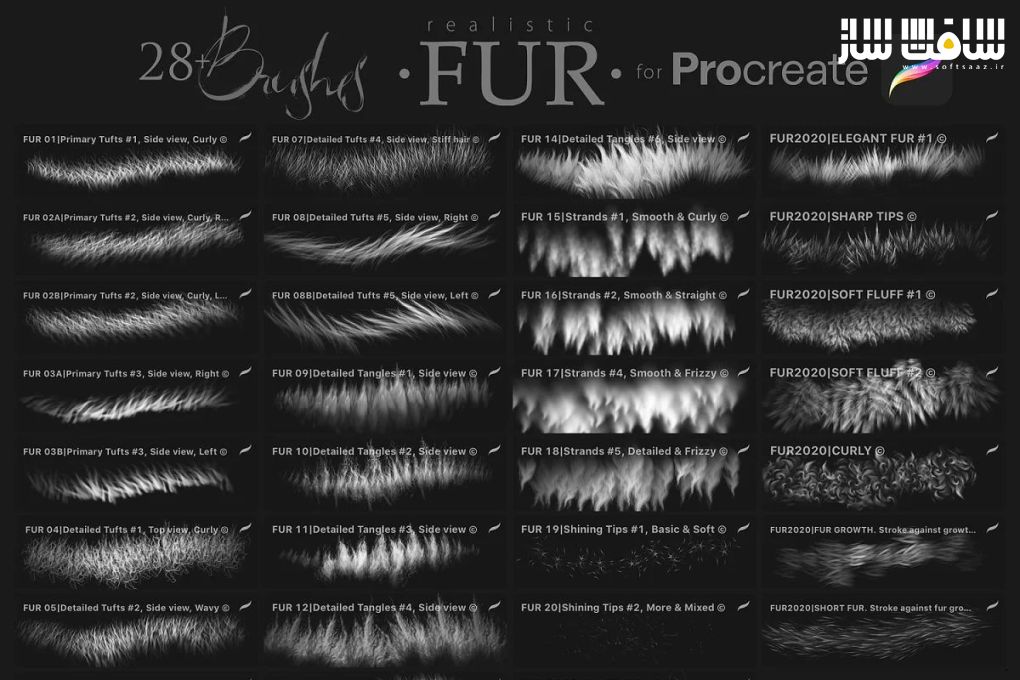
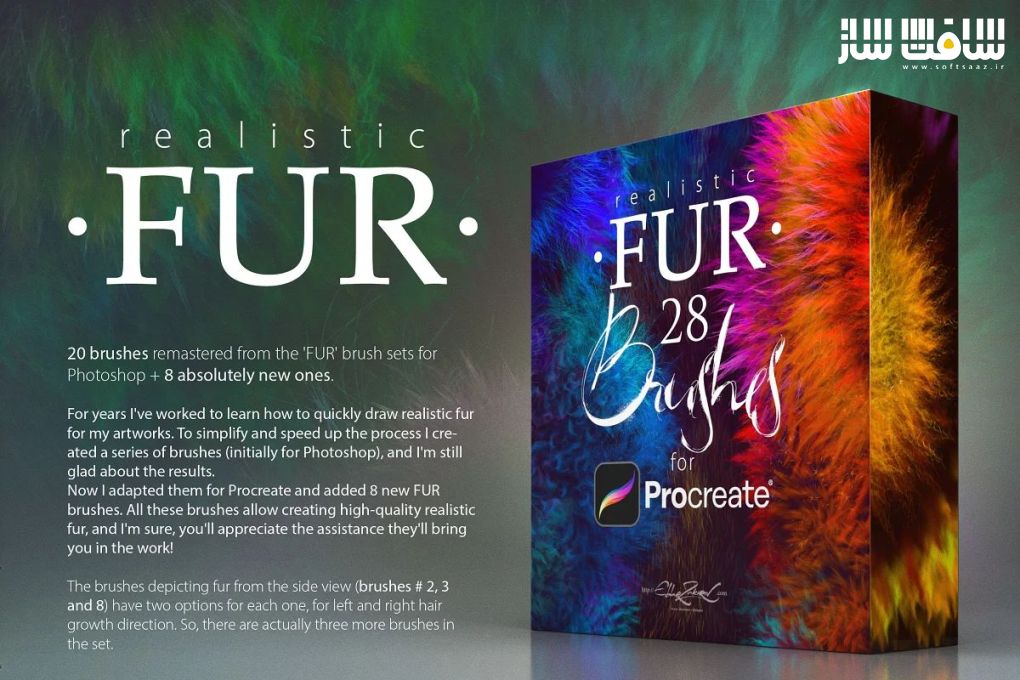
20 brushes remastered from FUR brush sets for Photoshop and Clip Studio Paint + 8 absolutely new ones.
• Also, the brushes depicting fur from the side view (brushes # 2,3, and 8) have two options for each one, for left and right hair growth direction. Therefore, there are actually three more brushes in the set.
• You receive in the ZIP archive (40.9 Mb):
• FUR_•_by_EldarZakirov.brushset — the file containing the FUR brushes for Procreate;
• Realistic FUR for Procreate — some tips and notes.pdf — the PDF file containing some tips you see below just to have them on hand;
• Some useful tips and notes:
• How I’d advise painting furry volumes. As you know, there’s a number of basic shading technics in painting and drawing, and I like this one as the most appropriate for me — I find it one of the most rational by painting the fur — to start coloring with a neutral, halftone local color, then shade it according to the volume and lighting, then add layers of the fur with colors a bit lighter than underlying shading.
• You can try at first to place basic shading with a simple brush, hard or soft (as you can see in the video with demonstration), and then put the fur strands above, according to the form and lighting.
• After, as usual, it’s needed to make some areas deeper (darker) — for example, shaded areas deeply among strands near their roots — or set some light and highlight accents in the lights.
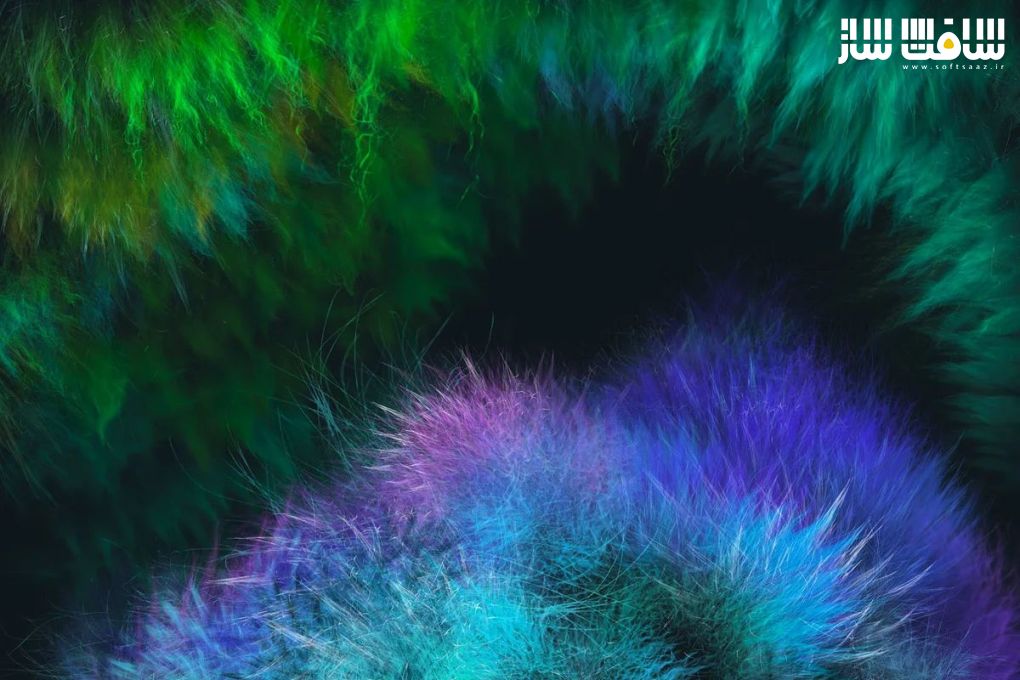
• You can experiment also with layer’ and brush blending modes, such as Soft Light, Screen, Multiply, etc.
• As in painting or drawing at all, I’d recommend proceeding from common, main shapes to partial ones and details: firstly, specify the main big volume, lights and darks, then put non-detailed fur strands using matching brushes, and then make the detailing with detailed fur brushes.
• In the end, I’d add some of the sharpest strands or hairs, maybe blur or darken some of the underlying strands, light up some of the most visible, highlighted. Try to make some of them softer or sharper, darker or lighter in the finish or work, kind of post-processing. Add some highlights, specular.
حجم کل : 0.1 گیگابایت

برای دسترسی به کل محتویات سایت عضو ویژه سایت شوید
برای نمایش این مطلب و دسترسی به هزاران مطالب آموزشی نسبت به تهیه اکانت ویژه از لینک زیر اقدام کنید .
دریافت اشتراک ویژه
مزیت های عضویت ویژه :
- دسترسی به همه مطالب سافت ساز بدون هیچ گونه محدودیتی
- آپدیت روزانه مطالب سایت از بهترین سایت های سی جی
- بدون تبلیغ ! بله با تهیه اکانت ویژه دیگه خبری از تبلیغ نیست
- دسترسی به آموزش نصب کامل پلاگین ها و نرم افزار ها
اگر در تهیه اشتراک ویژه مشکل دارید میتونید از این لینک راهنمایی تهیه اشتراک ویژه رو مطالعه کنید . لینک راهنما
For International user, You can also stay connected with online support. email : info@softsaaz.ir telegram : @SoftSaaz
امتیاز به این مطلب :
امتیاز سافت ساز
لطفا به این مطلب امتیاز بدید