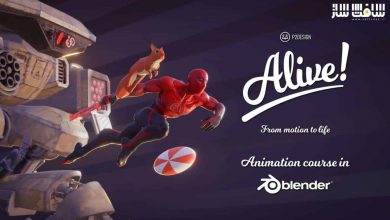
آموزش ریگبندی صورت در نرم افزار Blender
FlippedNormals – Face Rigging in Blender Tutorial
آموزش ریگبندی صورت
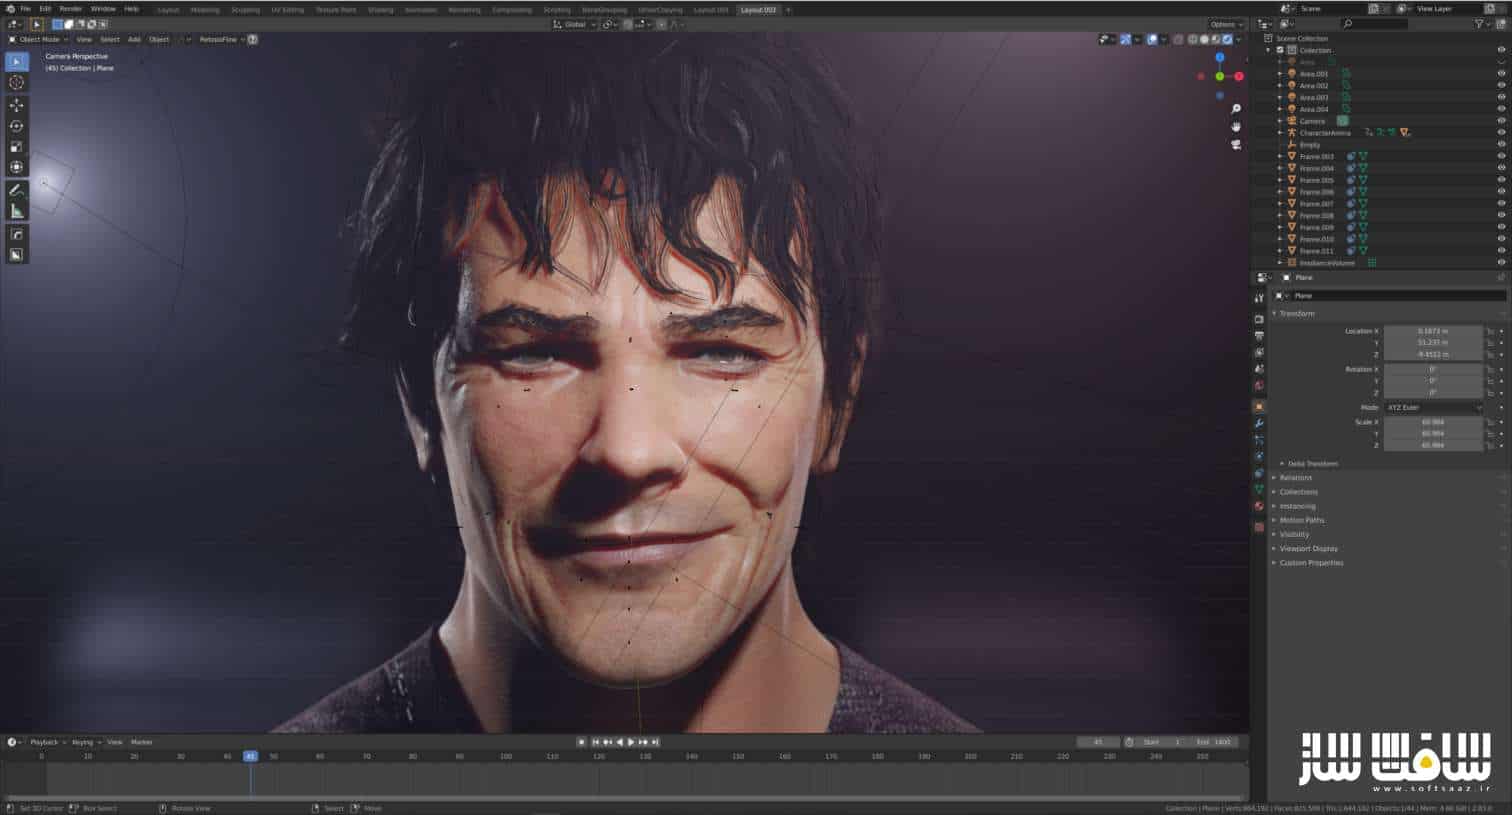
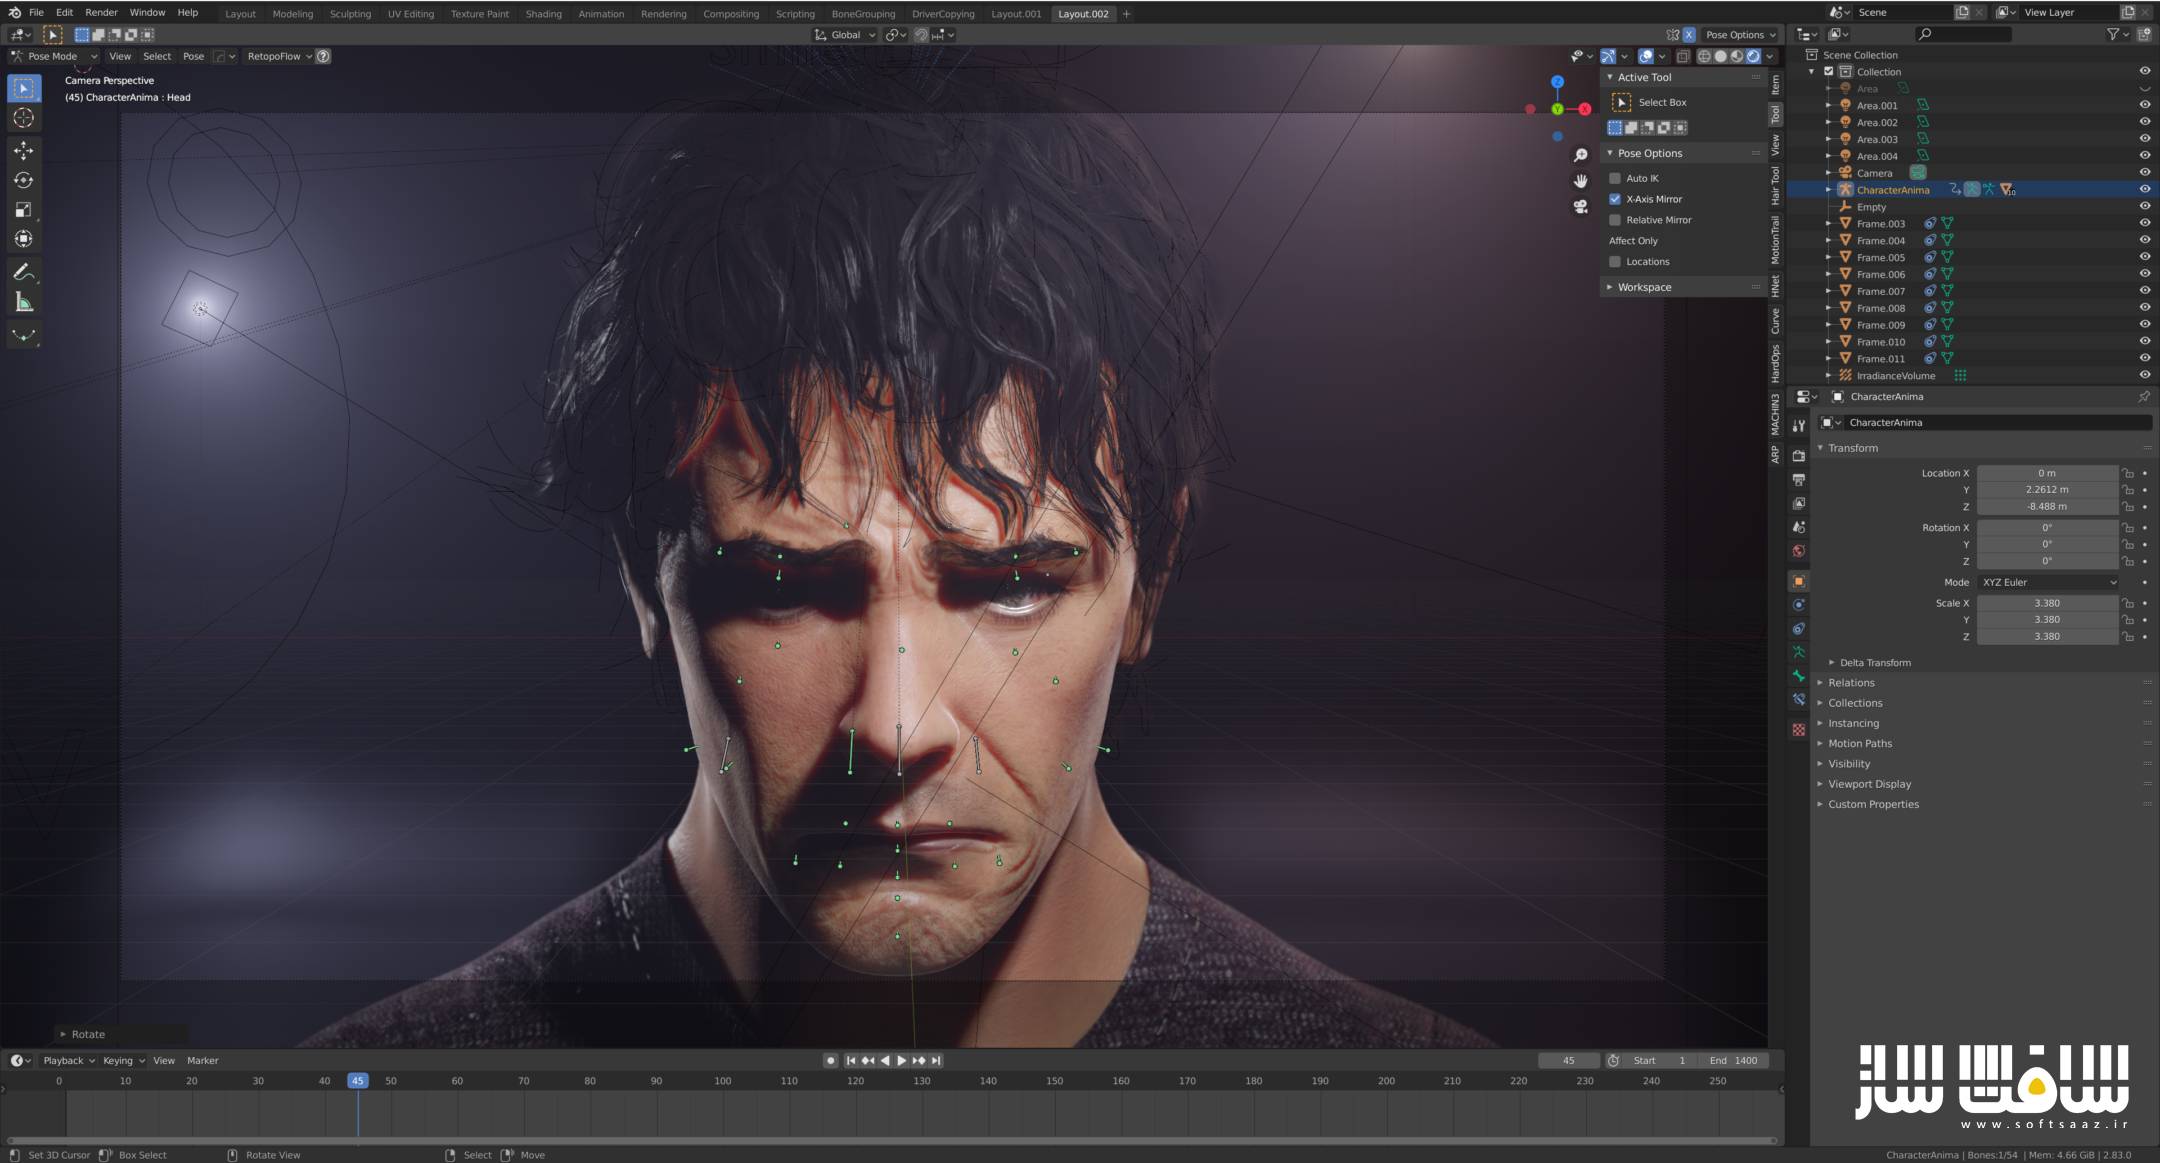
در این آموزش ریگبندی صورت از سایت FlippedNormals ، هنرمند Konrad، فرآیند کاری خودش را جهت ایجاد یک ریگ صورت بسیار واقعی با کلیدهای شکلی به اشتراک خواهد گذاشت. در ابتدا مقدمه ایی بر سیستم کدینگ اکشن صورت و برخی از توصیه ها جهت سازماندهی کار و فرآیند حجاری کردن اکسپرژن های ضروری را خواهیم داشت.
در ادامه ، نحوه استفاده از رفرنس ها و نکات و ترفندهایی جهت فرم دهی صورت،کنترل کشش و حجاری چین و چروک های ضروری را یاد خواهیم گرفت. برای اسکالپ و حجاری از ZBRUSH استفاده میکنیم اما برخی از تنظیمات جزیی را در همان بلندر انجام می دهیم.
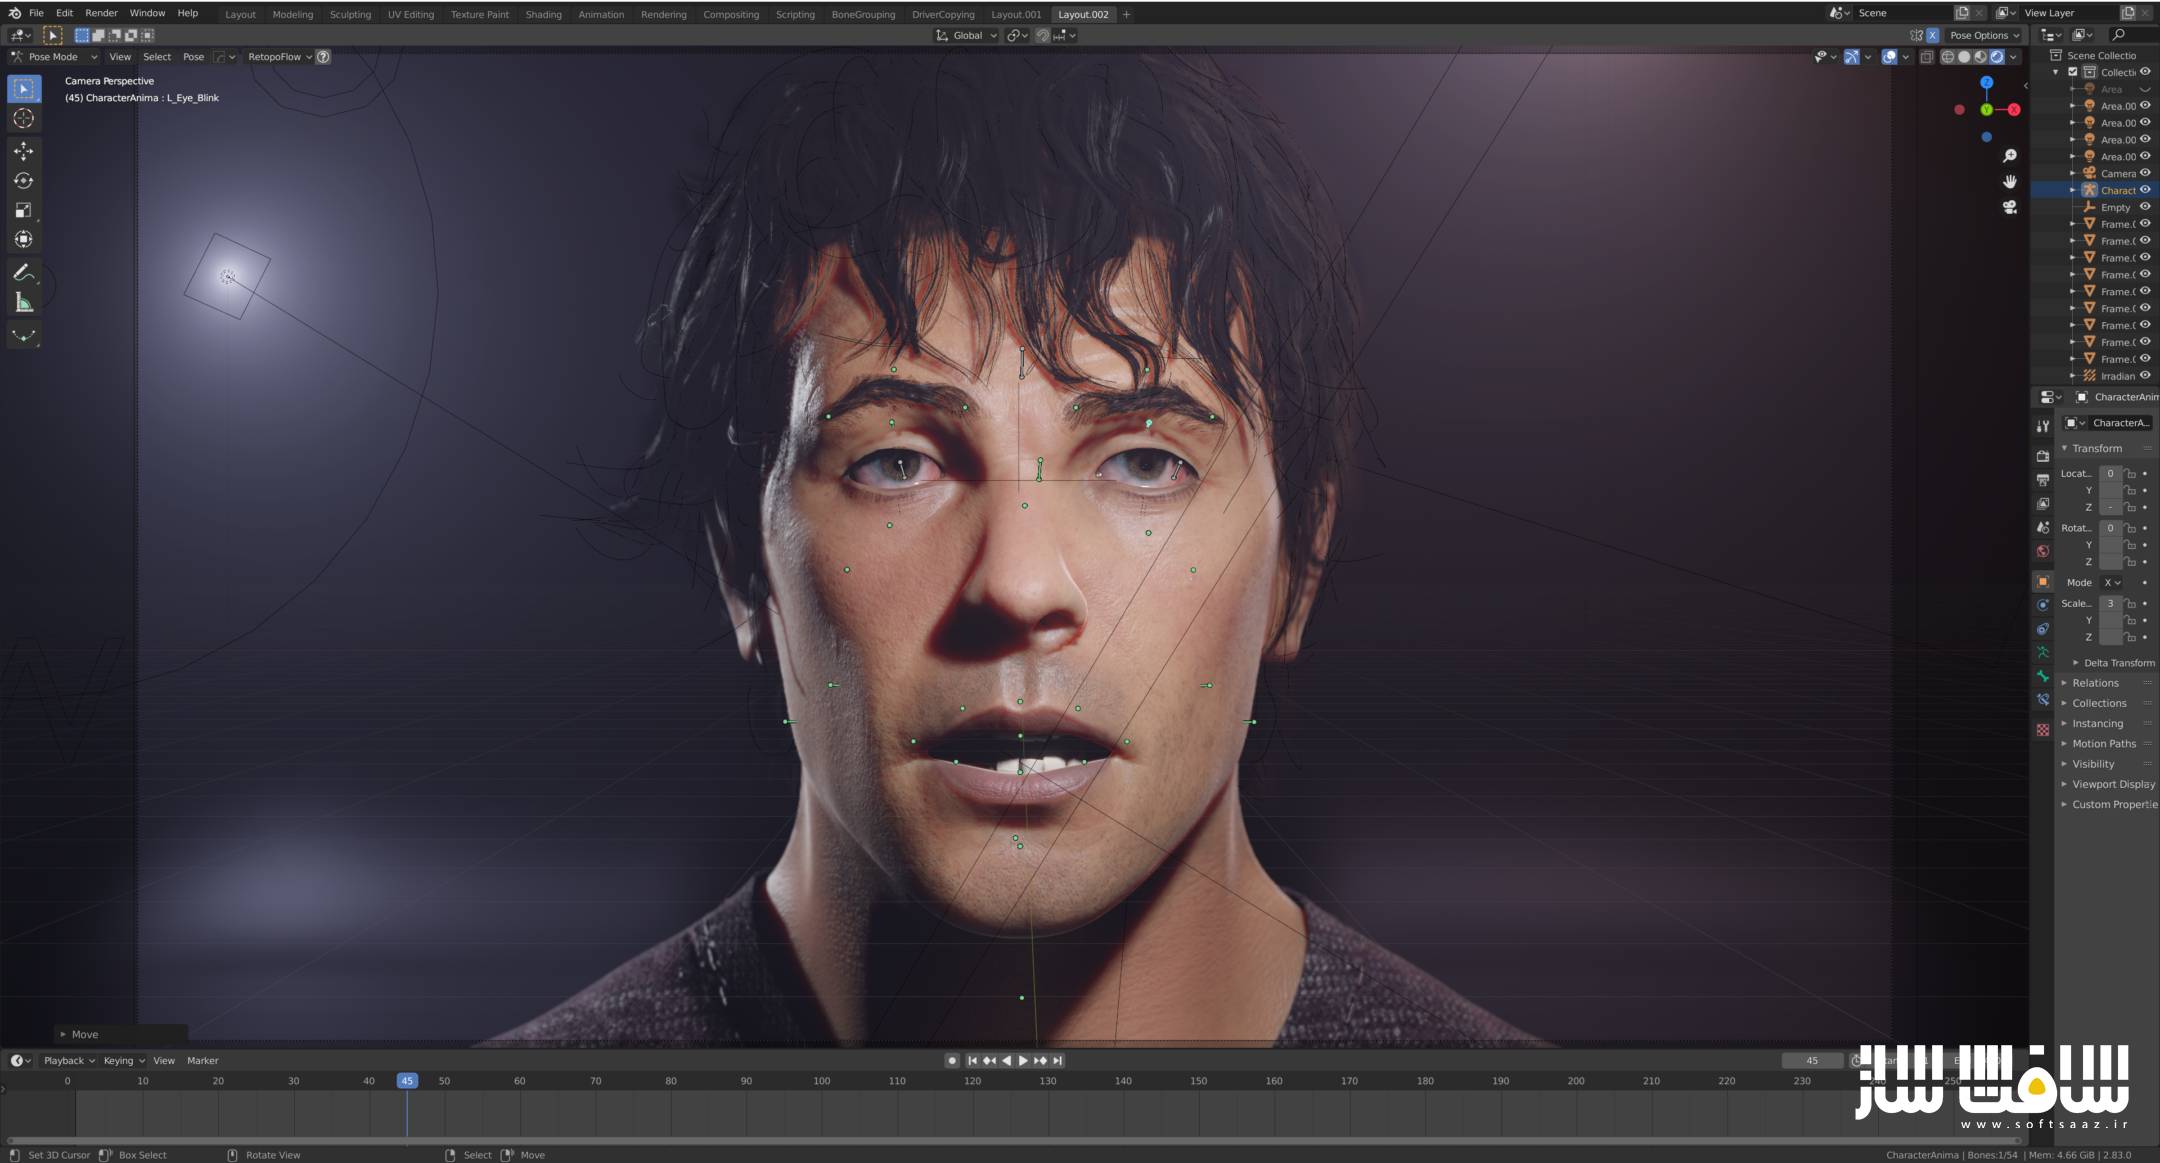
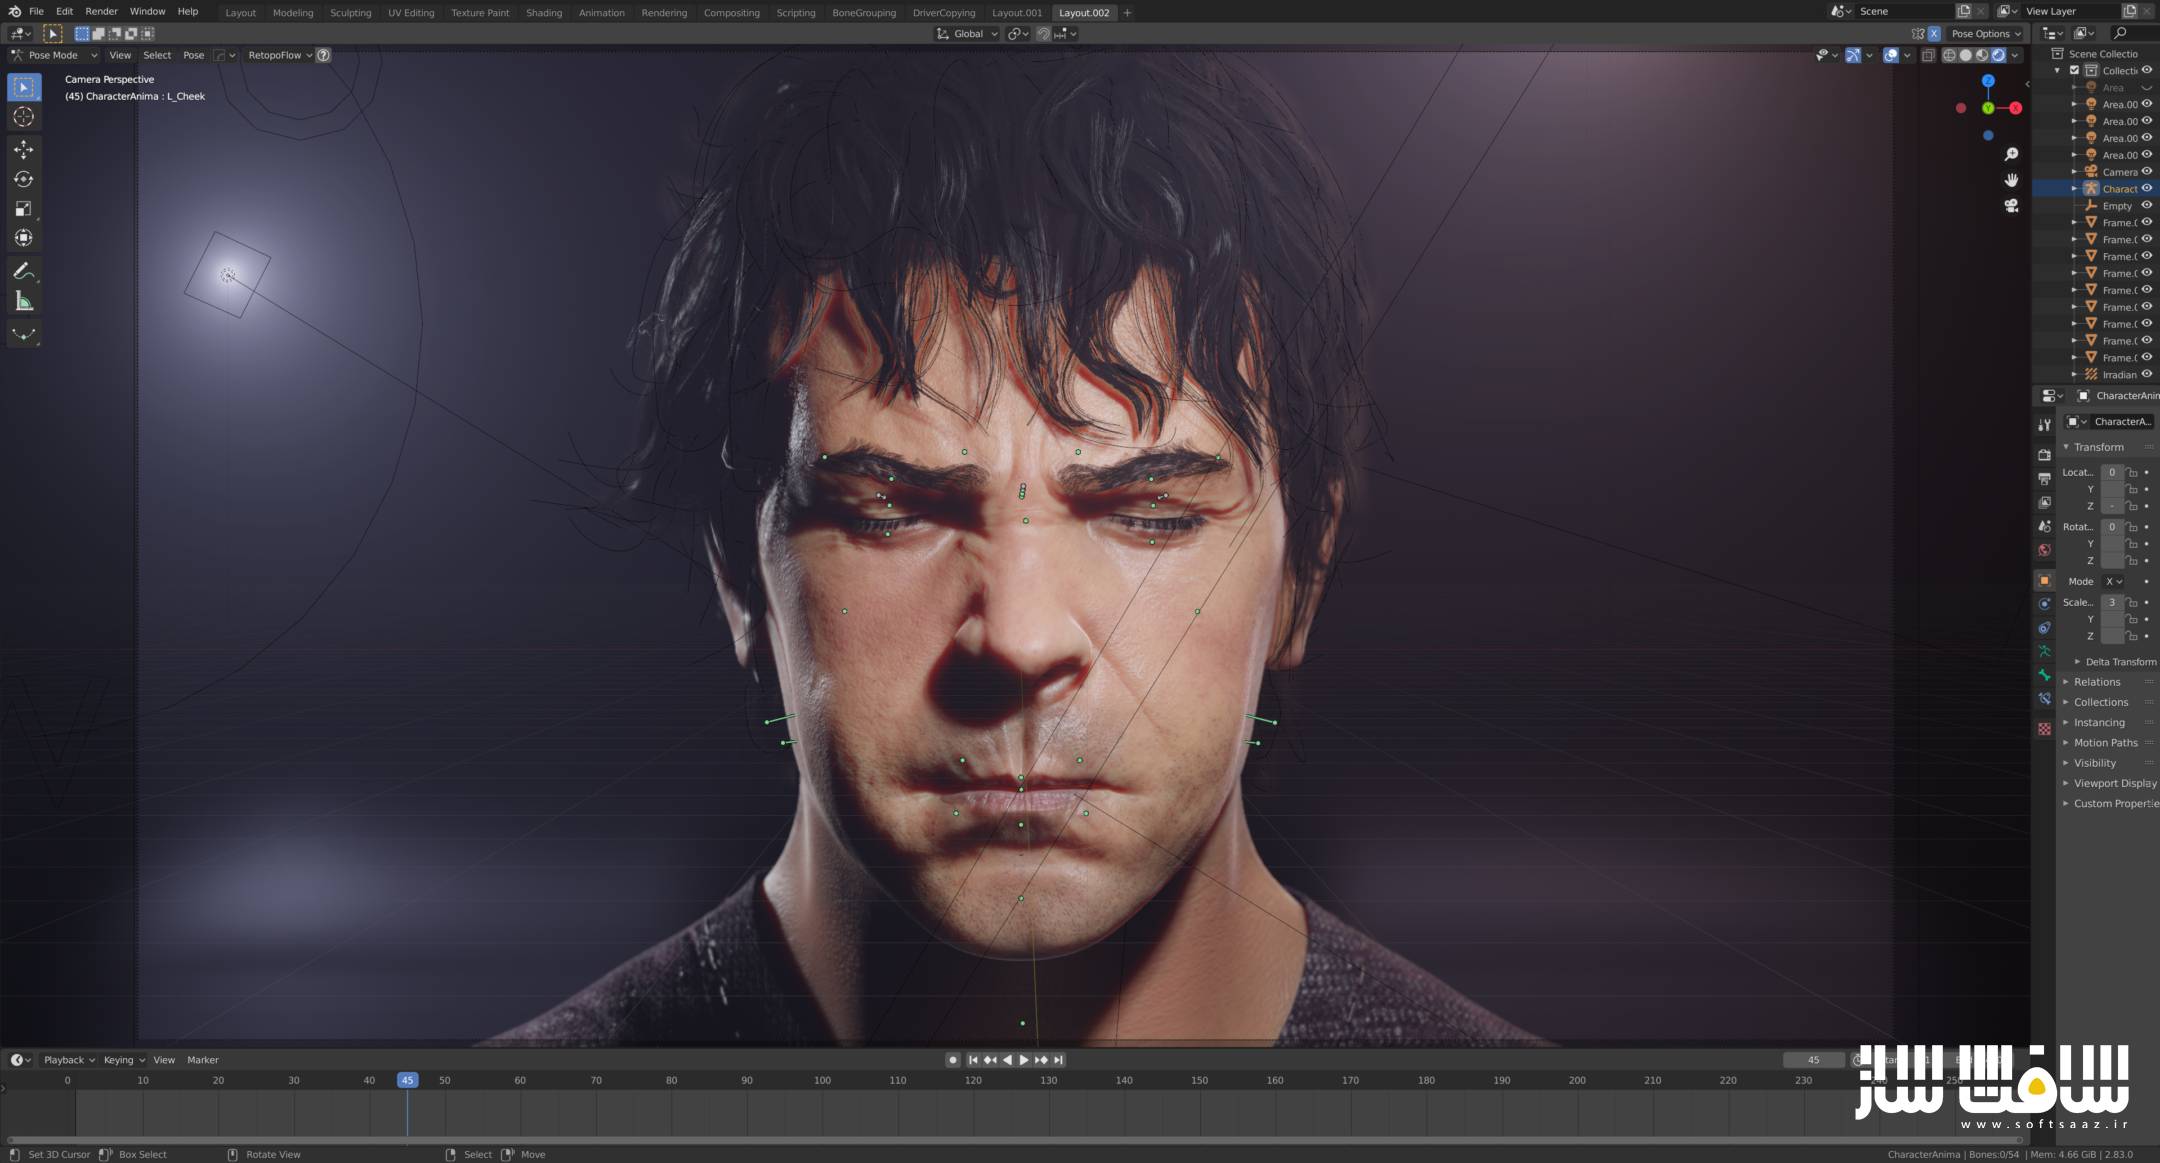
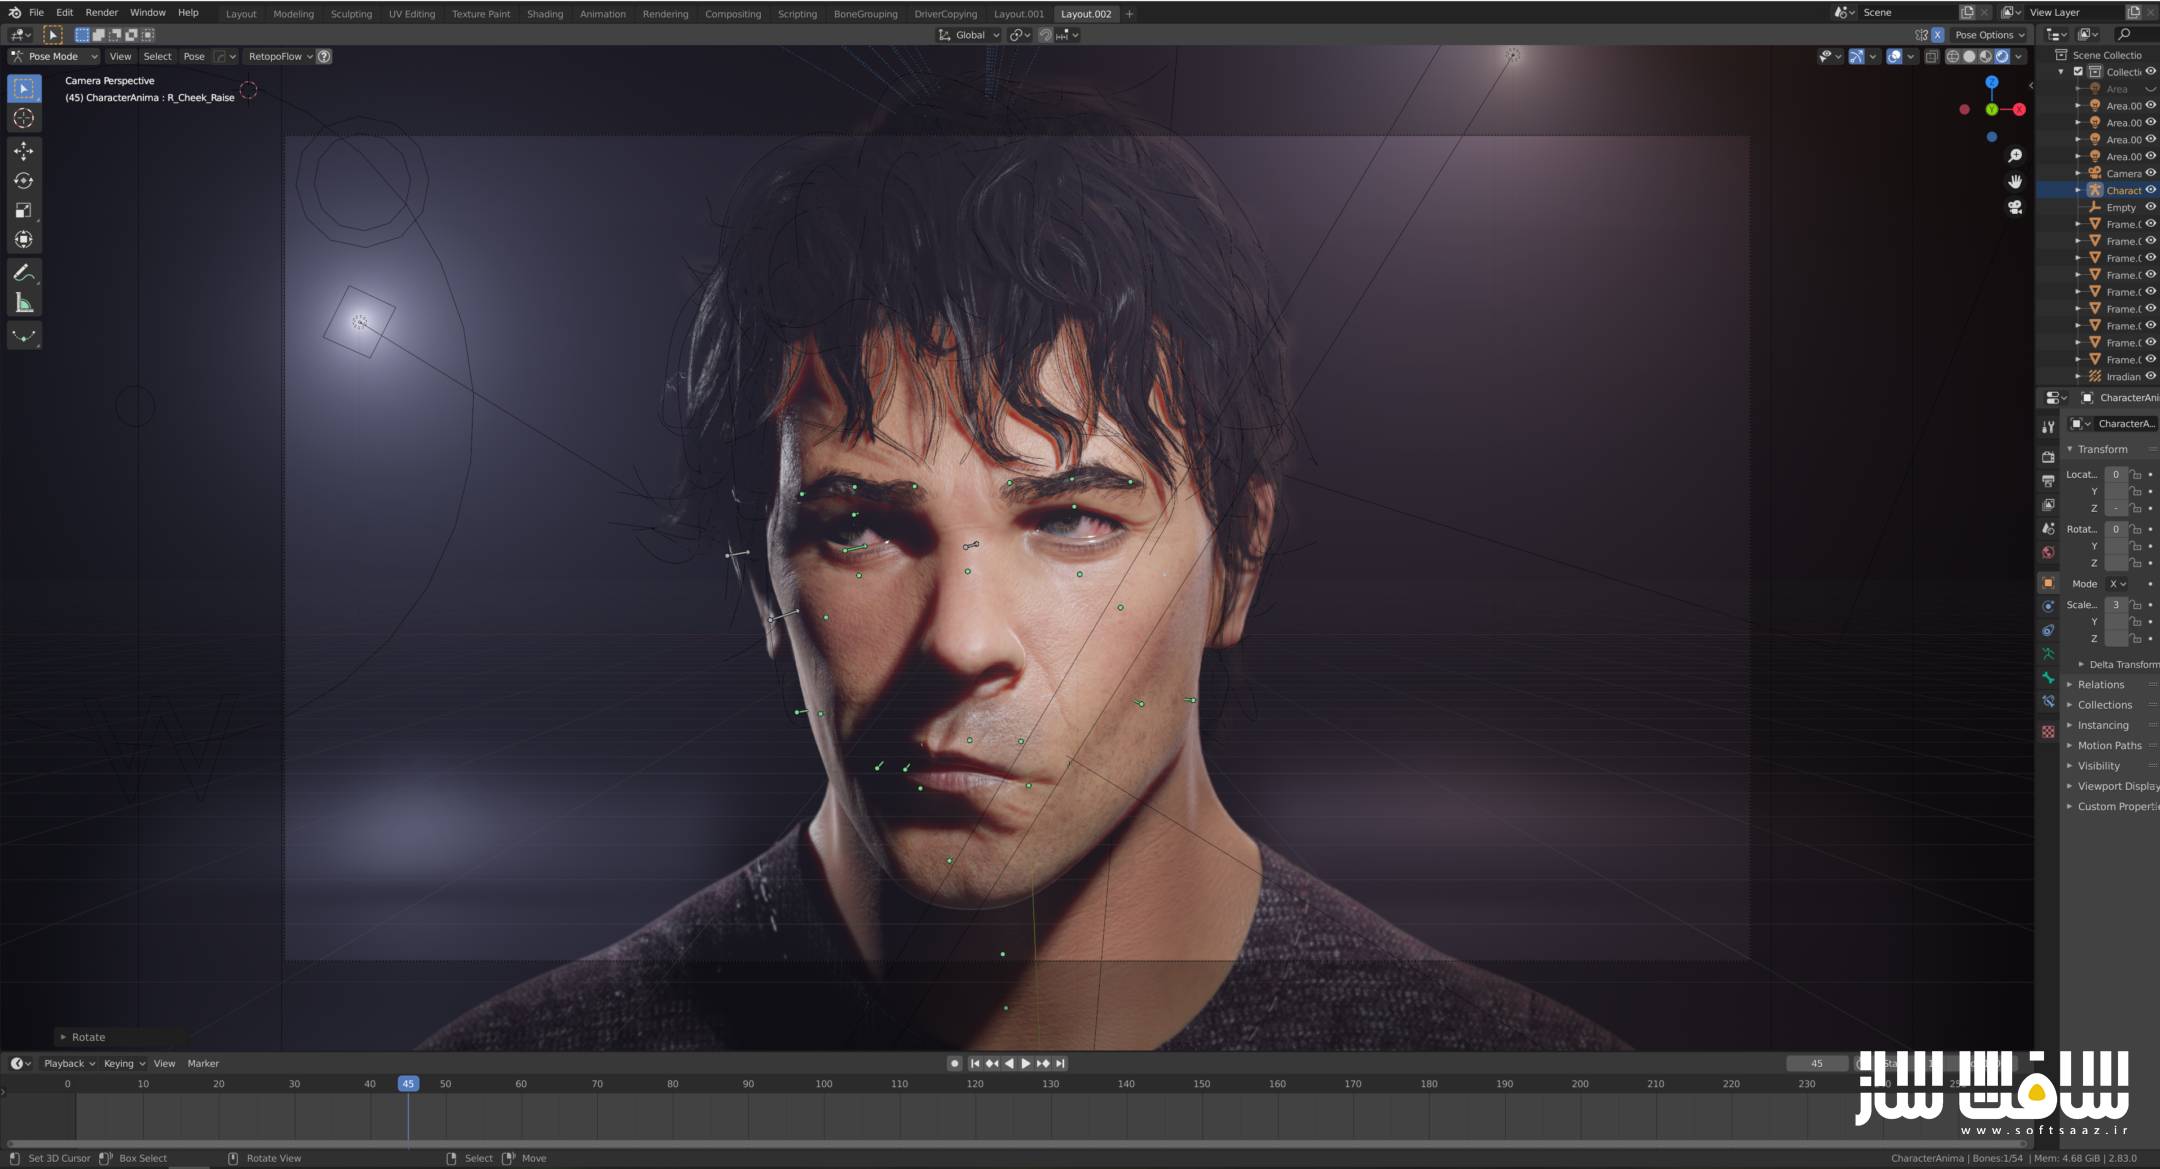
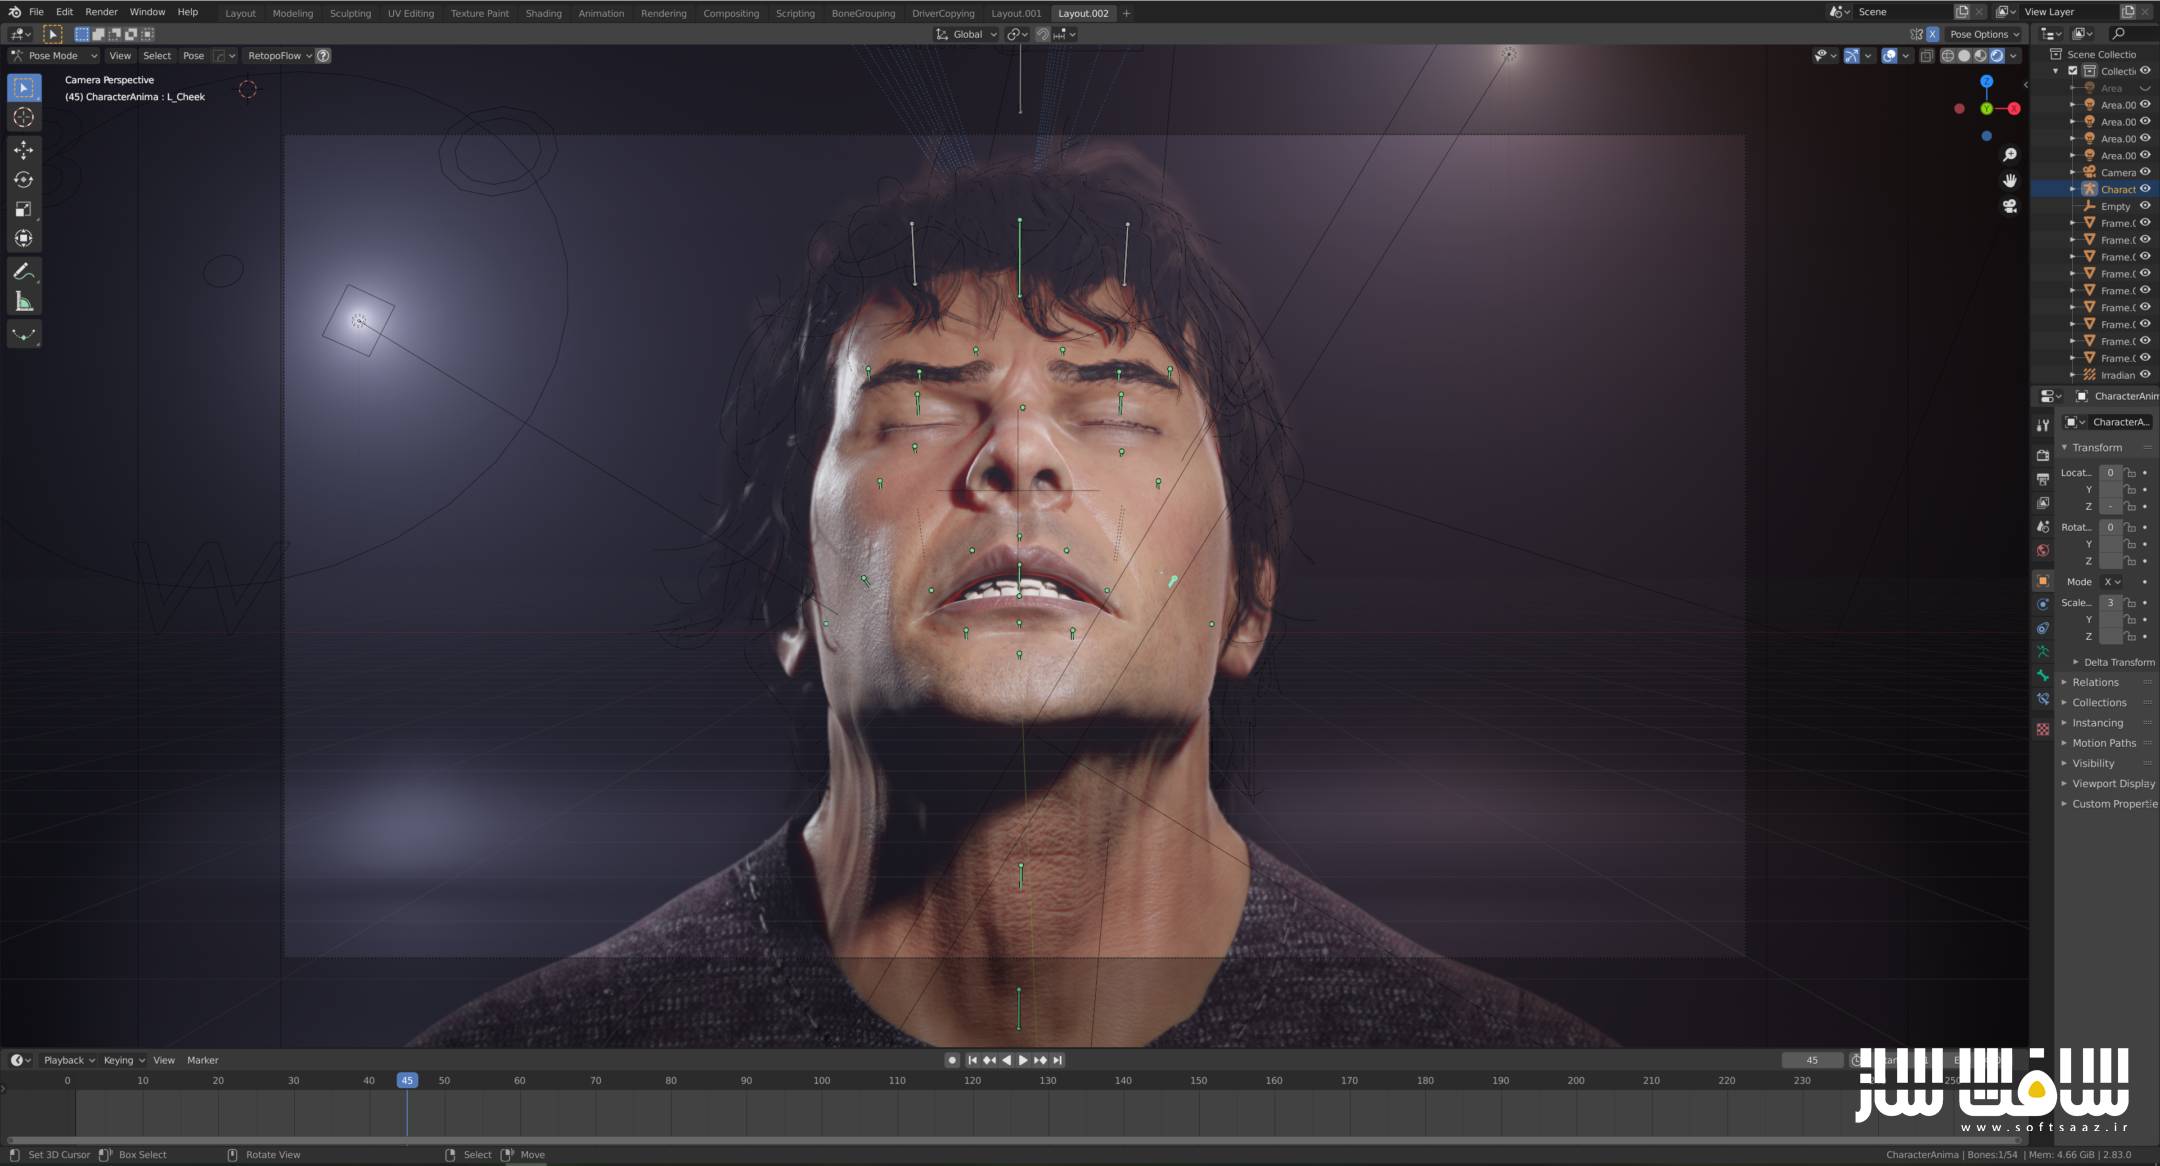
سپس اکسپرژن های اسکالپ شده را در زیبراش برمیداریم و آنها را بصورت ریگ صورت پیاده می کنیم. تغییر شکل صورت توسط shape key ها ایجاد می شود. علاوه بر این، از اطلاعات با جزییات بالا ساخته شده در Zbrush برای ایجاد یک سیستم چین و چروک پویا در Eevee استفاده میکنیم.
بعد نشان می دهیم که چطور میتوانید کار انیمیشن خود را با ایجاد سیستمهای عروسک بازی برای یک فرآیند متحرکسازی بصری راحت تر کنید. در پایان نحوه آماده سازی ریگ را برای اکسپورت به Unreal Engine را می آموزیم. این دوره آموزشی توسط تیم ســافــت ســاز برای شما عزیزان تهیه شده است.
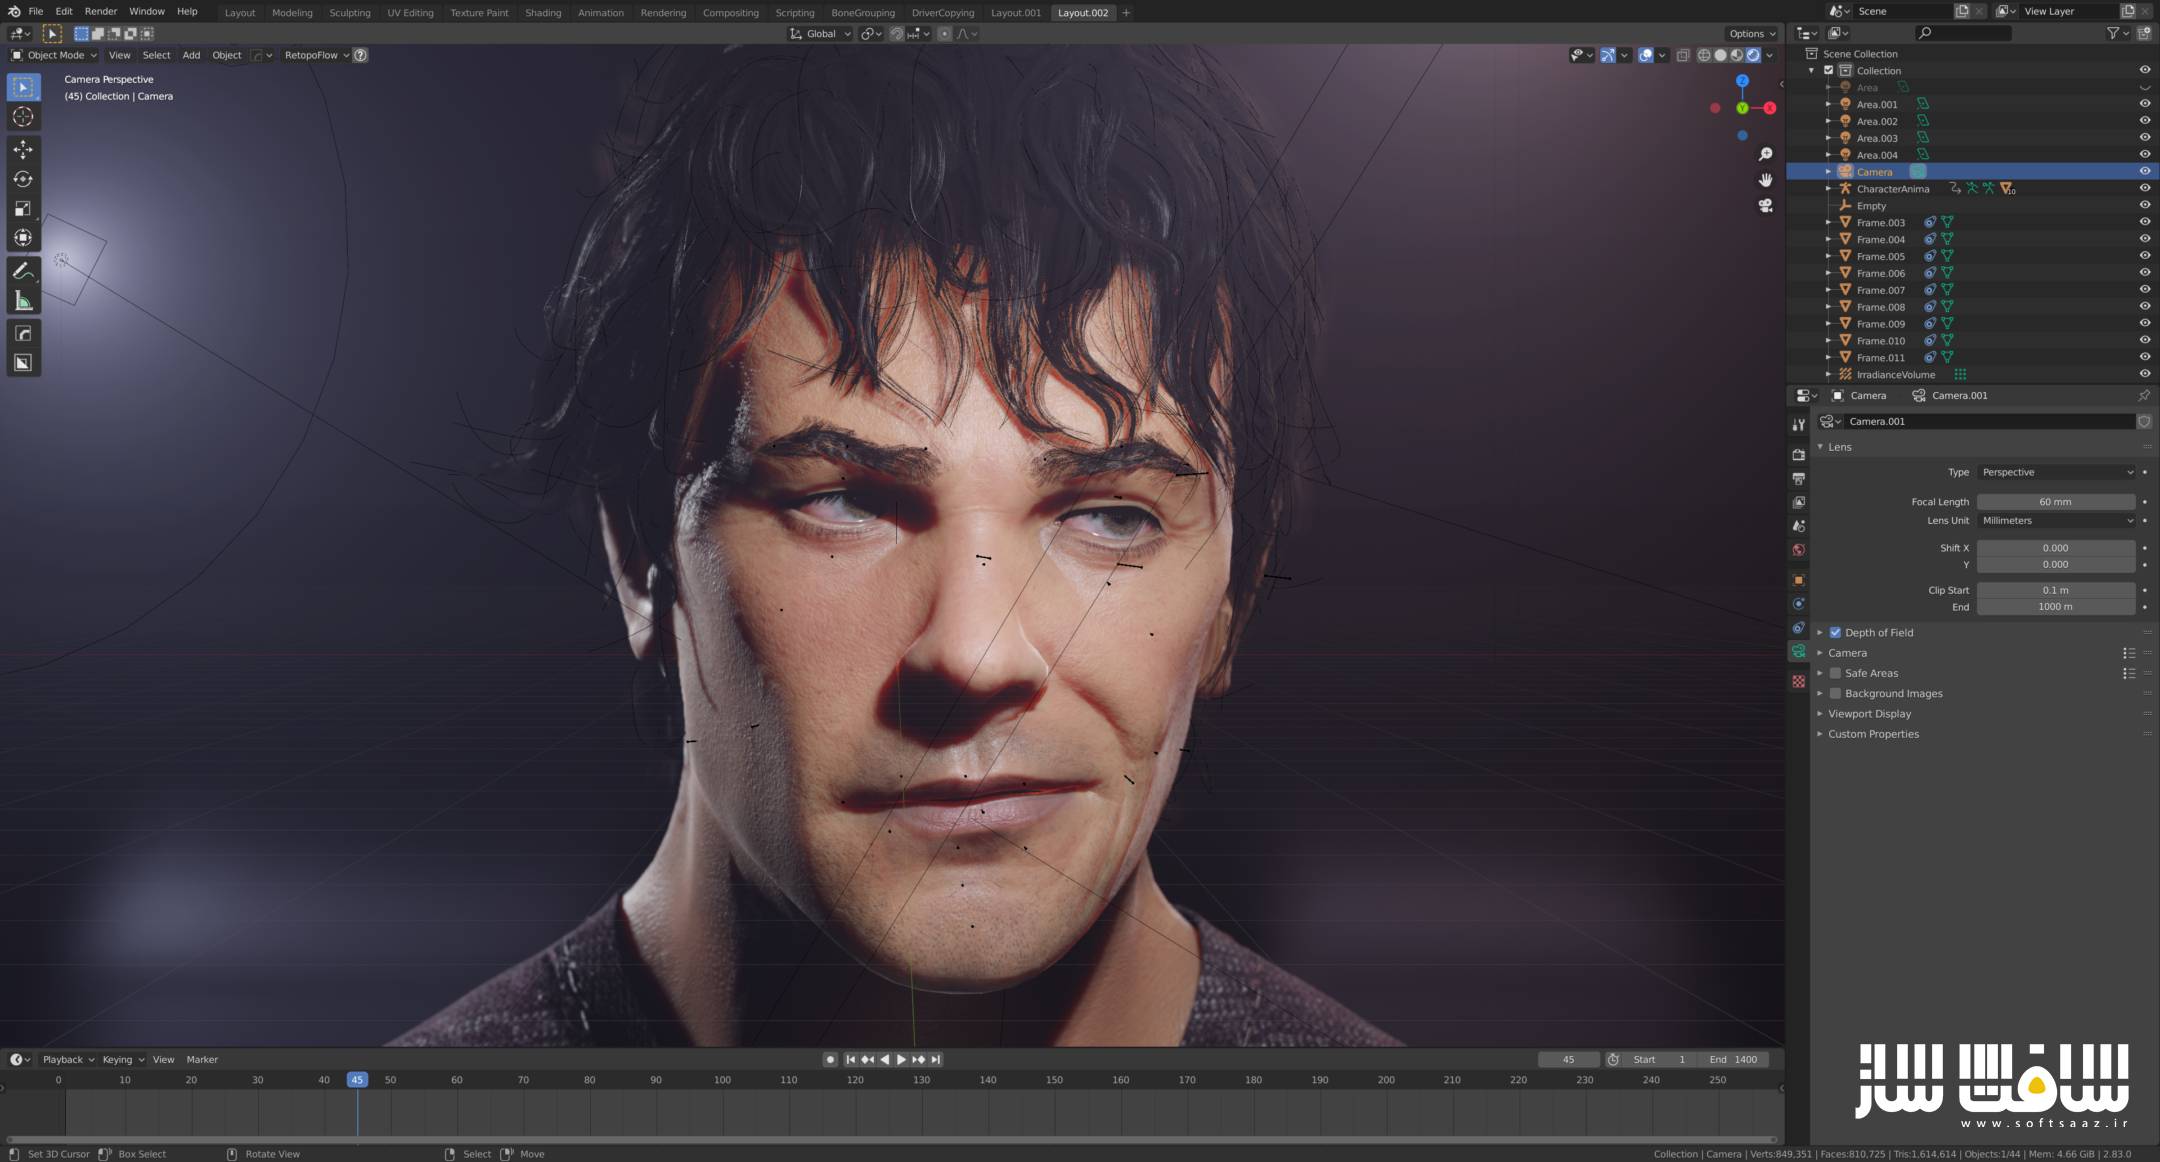
گالری این مجموعه :


عنوان دوره : FlippedNormals – Face Rigging in Blender Tutorial
سطح : متوسط
زمان کل دوره : – ساعت
تعداد فایل های تصویری : 20
سال آموزش : 2020
فایل تمرینی : دارد
مربی دوره : Konrad
نرم افزار : Blender , Unreal Engine , ZBrush
زیرنویس انگلیسی : ندارد
FlippedNormals – Face Rigging in Blender Tutorial
In this course, I’ll present to you my workflow of creating realistic Face Rig based on shape keys.
In the begging, after a small introduction to Face Action Coding system and some advice on organizing the work, I will walk you through the process of sculpting necessary expressions. I’ll show you how to utilize references, and give some tips and tricks on forming the face, managing stretches and sculpting important wrinkles. In the sculpting process I will be using ZBRUSH, but after some minor workflow adjustments you can without a problem do it in BLENDER (I show how to sculpt realistic face just in Blender in my “Realistic Face Creation in Blender” course.
Afterward, we will take all of the expressions sculpted in Zbrush and implement them to the face rig. Face deformations will be made by shape keys driven by the bones. Moreover, we will use high detail information made in Zbrush to create Dynamic Wrinkle System in Eevee (it works in Cycles as well).
Then I’ll show you how to make your animation work way more convenient, by creating puppeteering systems for a more intuitive animating process.
In the end, I’ll present to you, how to prepare your rig for the export to Unreal Engine. And how to set up the Dynamic Wrinkle system in it as well.
What’s inside?:
01_Introduction- Small introduction, Facial Action Coding system, and tips on organizing work.
02-08_ShapeKeysSculpting- In this series of 7 videos, we will go through the process of sculpting all the necessary shape keys/blend shapes/morph targets for the rig.
09_BasicBoneRigging- Introduction to basic bone rigging.
10-11_ImportingShapeKeys- Two videos dedicated to importing shape keys and implementing them to your rig (there’s a lot of them :D).
12_CorrectioveShapeKeys- I’ll show you how to sculpt corrective shape keys, to fix some of the deformations made by the bones.
13_BonesAndDriversSetup- Here we will make shape keys to be driven by the bones.
14_WrinkleMapPreparation- We will prepare all the necessary wrinkle maps in photoshop.
15_VisualControlersSetup- I’ll show you how to create handy visual controllers, helpful in controlling things like letter shape keys or full expressions.
16_EeveeDynamicWrinkleSystem- In this video, I’ll show you how to create the dynamic wrinkle system in Blender.
17_EyesShapeKeysAndFacialHair- I’ll teach you some tips that will make eyes animation look way more natural, and how to manage facial hair in the rig.
18_FaceRigPuppeteeringSystem- Here we will create handy puppeteering systems that will make your animation work way more convenient.
19_FaceRigPreparation- I’ll explain to you how to prepare your rig to export to Unreal Engine in order to make it painless and stress-free.
20_UnrealDynamicWrinkleSystem- In the last video we will create the same dynamic wrinkle system but in Unreal Engine.
حجم کل : 6 گیگابایت

برای دسترسی به کل محتویات سایت عضو ویژه سایت شوید
برای نمایش این مطلب و دسترسی به هزاران مطالب آموزشی نسبت به تهیه اکانت ویژه از لینک زیر اقدام کنید .
دریافت اشتراک ویژه
مزیت های عضویت ویژه :
- دسترسی به همه مطالب سافت ساز بدون هیچ گونه محدودیتی
- آپدیت روزانه مطالب سایت از بهترین سایت های سی جی
- بدون تبلیغ ! بله با تهیه اکانت ویژه دیگه خبری از تبلیغ نیست
- دسترسی به آموزش نصب کامل پلاگین ها و نرم افزار ها
اگر در تهیه اشتراک ویژه مشکل دارید میتونید از این لینک راهنمایی تهیه اشتراک ویژه رو مطالعه کنید . لینک راهنما
For International user, You can also stay connected with online support. email : info@softsaaz.ir telegram : @SoftSaaz
امتیاز به این مطلب :
امتیاز سافت ساز
لطفا به این مطلب امتیاز بدید 🦋