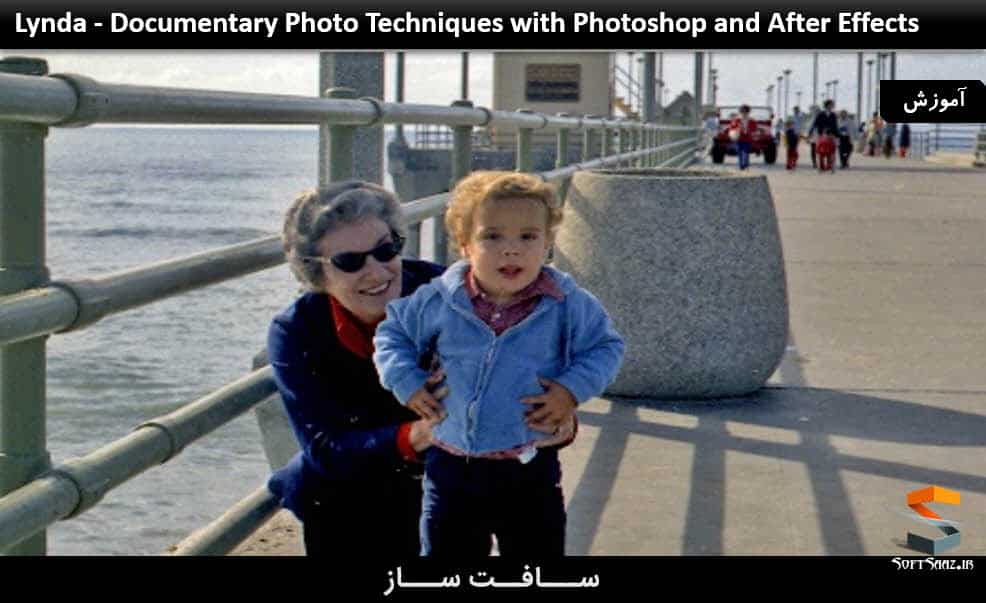
آموزش تکنیک های تصویر مستند با Photoshop و After Effects
Documentary Photo Techniques with Photoshop and After Effects
تکنیک های تصویر مستند
در این دوره ” تکنیک های تصویر مستند “،مربی دوره ریچ هرینگتون برای شما مخاطبان سافت ساز، بر دنیای مستند های داستانی نظری می اندازد تا با استفاده از تکنیک های متنوع در فوتوشاپ و افترافکت بتوان تصاویر قدیمی صدمه دیده به آثار هنری جدید تبدیل کرد.
در طی این دوره، ریچ تکنیک های پایه ویرایش تصویر مانند تونینگ، کراپینگ، شارپینینگ، تغییر اندازه و غیره را در فوتوشاپ مورد بررسی قرار میدهد. همچنین نحوه اضافه کردن حرکت به تصاویر در افتر افکت، که در ایجاد یک داستان پویا دراماتیک کمک میکند را توضیح می دهد. با سافت ساز همراه باشید.
عناوین اصلی تکنیک های تصویر مستند :
- آشنایی با رزولیشن
- سازماندهی تصاویر با Adobe Bridge
- تغییر نام فایلها
- کار با فضای رنگ درست
- حذف صدمه با ابزار cloning و healing
- ساخت مقیاس Content-Aware و تعمیر کردن fill
- کنترل فوکوس با بلورینگ و شارپنینگ
- چیدمان درست
- بازیابی کنتراست با منحنی ها و سطوح
- استفاده آسان و کمک گرفتن از keyframe
- درج تصاویر
- رندرینگ انیمیشن ها
- و …

پیش نمایش دوره تکنیک های تصویر مستند :
عنوان دوره : Lynda – Documentary Photo Techniques with Photoshop and After Effects
سطح : متوسط
زمان کل دوره : 2.39 ساعت
تعداد فایل های تصویری : 42
سال آموزش : 2017
فایل تمرینی : دارد
مربی دوره : Richard Harrington
نرم افزار : Photoshop – After Effects
زیرنویس : ندارد
Lynda – Documentary Photo Techniques with Photoshop and After Effects
In this course, Rich Harrington explores the world of documentary storytelling, using various techniques in Adobe Photoshop and After Effects to transform damaged photos into brand-new works of art. Throughout the course, Rich covers basic image editing techniques in Photoshop such as toning, cropping, sharpening, and resizing. He also shows how to add movement to photos in After Effects, which can help you create a dramatic story.
Topics include:
Understanding resolution
Organizing photos with Adobe Bridge
Renaming files
Working in the right color space
Removing damage with the healing and cloning tools
Making Content-Aware Scale and Fill repairs
Controlling focus with blurring and sharpening
Correcting alignment
Restoring contrast with Curves and Levels
Importing images in After Effects
Using ease and keyframe assistants
Adding vignettes
Rendering animations
1. Organize Your Photos with Adobe Bridge
Adding ratings to images 3m 59s
Checking focus in a photo 2m 38s
Using Review mode to check your images 2m 11s
Batch renaming files 3m 44s
2. Understanding Resolution
Resolution requirements for video 8m 23s
Requirements for panning and scanning 3m 3s
Using the Place command to size an image 4m 34s
Doubling an image 2m 35s
Batch processing with the Image Processor script 4m 10s
3. Working in the Right Color Space
Requirements for video 4m 8s
Batch converting images 3m 9s
4. Removing Damage
Removing damage with the Clone Stamp tool 4m 1s
Removing damage with the Healing Brush tool 3m 25s
Removing damage with the Patch tool 4m 19s
5. Content-Aware Repairs
Using Content-Aware Scale 3m 40s
Removing objects with Content-Aware Fill 2m 35s
6. Controlling Focus
Adjusting the focus point by blurring 3m 26s
Sharpening an image 4m 15s
Creating a Lens Blur effect 5m 31s
Adding a vignette 3m 19s
7. Removing Distractions
Correcting alignment 3m 45s
Cropping for composition 4m 8s
Cropping with a document 4m 41s
8. Toning Images
Restoring contrast with Levels 4m 25s
Shadow/Highlight effect 4m 25s
Restoring contrast with Curves 2m 44s
Adding a sepia-tone or duotone effect with gradient maps 2m 21s
Using layer styles for a consistent effect 4m 42s
9. Documentary Motion Control with After Effects
Why use After Effects? 2m 42s
Importing image files 3m 2s
Organizing images with folders 3m
Creating compositions 5m 13s
Essential animation controls 6m 6s
Using ease and keyframe assistants 6m 47s
Adding vignettes in After Effects 4m 17s
10. Exporting Animation
Rendering the animation 3m 31s
Creating render presets for consistent exports 2m 29s
Saving time with batch rendering 3m 45s
Using After Effects projects natively in Premiere Pro 5m 33s
حجم کل :

برای دسترسی به کل محتویات سایت عضو ویژه سایت شوید
برای نمایش این مطلب و دسترسی به هزاران مطالب آموزشی نسبت به تهیه اکانت ویژه از لینک زیر اقدام کنید .
دریافت اشتراک ویژه
مزیت های عضویت ویژه :
- دسترسی به همه مطالب سافت ساز بدون هیچ گونه محدودیتی
- آپدیت روزانه مطالب سایت از بهترین سایت های سی جی
- بدون تبلیغ ! بله با تهیه اکانت ویژه دیگه خبری از تبلیغ نیست
- دسترسی به آموزش نصب کامل پلاگین ها و نرم افزار ها
اگر در تهیه اشتراک ویژه مشکل دارید میتونید از این لینک راهنمایی تهیه اشتراک ویژه رو مطالعه کنید . لینک راهنما
For International user, You can also stay connected with online support. email : info@softsaaz.ir telegram : @SoftSaaz
امتیاز دهی به این مطلب :
امتیاز سافت ساز
لطفا به این مطلب امتیاز دهید