آموزش نحوه ایجاد جنگل Low-Poly در Blender
skillshare - Learn How To Create a Low-Poly Forest In Blender
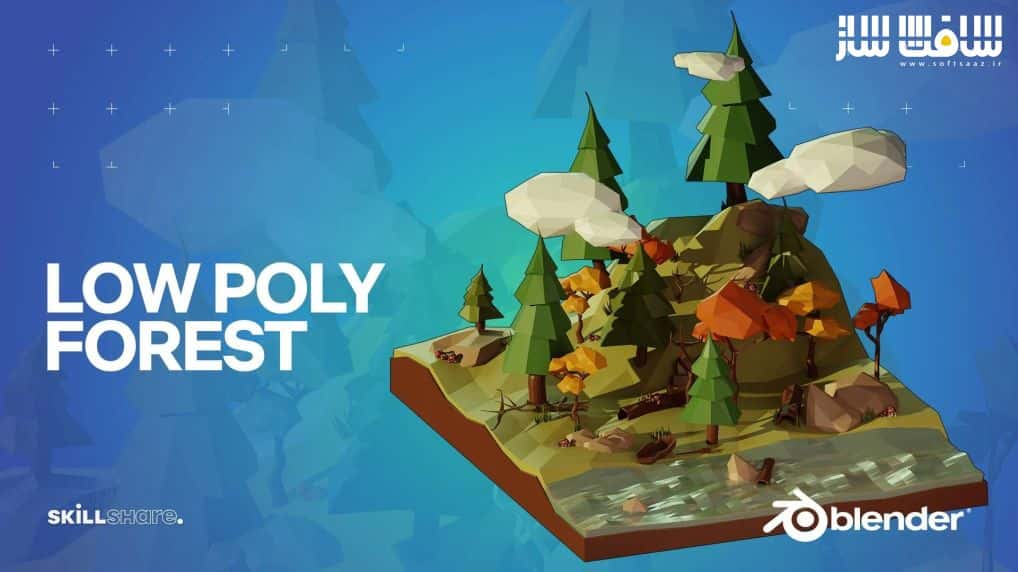
نحوه ایجاد جنگل Low-Poly در Blender
آموزش نحوه ایجاد جنگل Low-Poly در Blender : در این دوره از هنرمند Zerina 3D، با اصول مدلینگ و مش پایه و متریال سازی برای ساخت یک جنگل Low-Poly در بلندر آشنا خواهید شد. ایشان نحوه ایجاد یک درخت با یک راس و چند مادیفایر ،استفاده از رفرنس برای آبجکت در یک صحنه،مدلینگ درختان،سنگ و کنده های درخت را یاد می دهد. پس از اتمام ساخت آبجکت ها به تخصیص متریال به صحنه خواهد پرداخت. هنگام افزودن متریال، تایم لپس تنظیم مجدد آبجکت در صحنه و رندر نهایی را نشان خواهد داد. این دوره آموزشی توسط تیم ســافــت ســاز برای شما عزیزان تهیه شده است.

عنوان دوره : skillshare – Learn How To Create a Low-Poly Forest In Blender
سطح : مبتدی
زمان کل دوره : 1 ساعت
تعداد فایل های تصویری : 9
سال آموزش : 2022
فایل تمرینی : ندارد
مربی دوره : Zerina 3D
نرم افزار : Blender
زیرنویس انگلیسی : ندارد
skillshare – Learn How To Create a Low-Poly Forest In Blender
For this course, we will use all basic principles of modeling and basic mashes and materials.
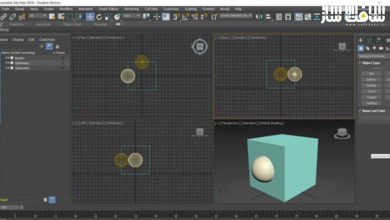
Also, I will show you how to create a tree starting only with one vertice and a few modifiers. I provided the render so you can use it as a reference for the objects in the scene.
You can download the references and color palette by clicking on this link HERE: REFERENCE AND COLOR PALETTE
Once we model the trees, we will then, part by part, model the rocks and the tree logs that we will include in the scene.
The models are low-poly so you won’t have any problems understanding the whole modeling process, and it will be effortless.
After we finish creating the objects, the next step will be assigning all the materials to the scene.
By importing the color palette I provided for you, you will be able to use the same materials as I do in the course.
I advise you to experiment with different color palettes and choose whichever you want. By doing so, you will begin finding your inner artistic self, and it will be better for your other projects in the future.
Once we have added the materials, I will show you the timelapse of rearranging the objects on the scene and the final render properties.
حجم کل : 0.7 گیگابایت

برای دسترسی به کل محتویات سایت عضو ویژه سایت شوید
برای نمایش این مطلب و دسترسی به هزاران مطالب آموزشی نسبت به تهیه اکانت ویژه از لینک زیر اقدام کنید .
دریافت اشتراک ویژه
مزیت های عضویت ویژه :
- دسترسی به همه مطالب سافت ساز بدون هیچ گونه محدودیتی
- آپدیت روزانه مطالب سایت از بهترین سایت های سی جی
- بدون تبلیغ ! بله با تهیه اکانت ویژه دیگه خبری از تبلیغ نیست
- دسترسی به آموزش نصب کامل پلاگین ها و نرم افزار ها
اگر در تهیه اشتراک ویژه مشکل دارید میتونید از این لینک راهنمایی تهیه اشتراک ویژه رو مطالعه کنید . لینک راهنما
For International user, You can also stay connected with online support. email : info@softsaaz.ir telegram : @SoftSaaz
امتیاز به این مطلب :
امتیاز سافت ساز
لطفا به این مطلب امتیاز بدید